Copyright 2013 Baker Hughes Company.
English–DPI620G Instruction Manual | 183
Procedures (CH1/CH2): DC mV/Volts (Measure)
12.4 Procedures (CH1/CH2): DC mV/Volts (Measure)
When you calibrate measure functions again for this range, an adjustment will affect the related
source function calibration. It will be necessary to calibrate the source function again after you
adjust the measure function:
1. Connect the applicable calibration equipment. Refer to Table 12-1.
2. Let the equipment get to a stable temperature (minimum: 5 minutes since the last power on).
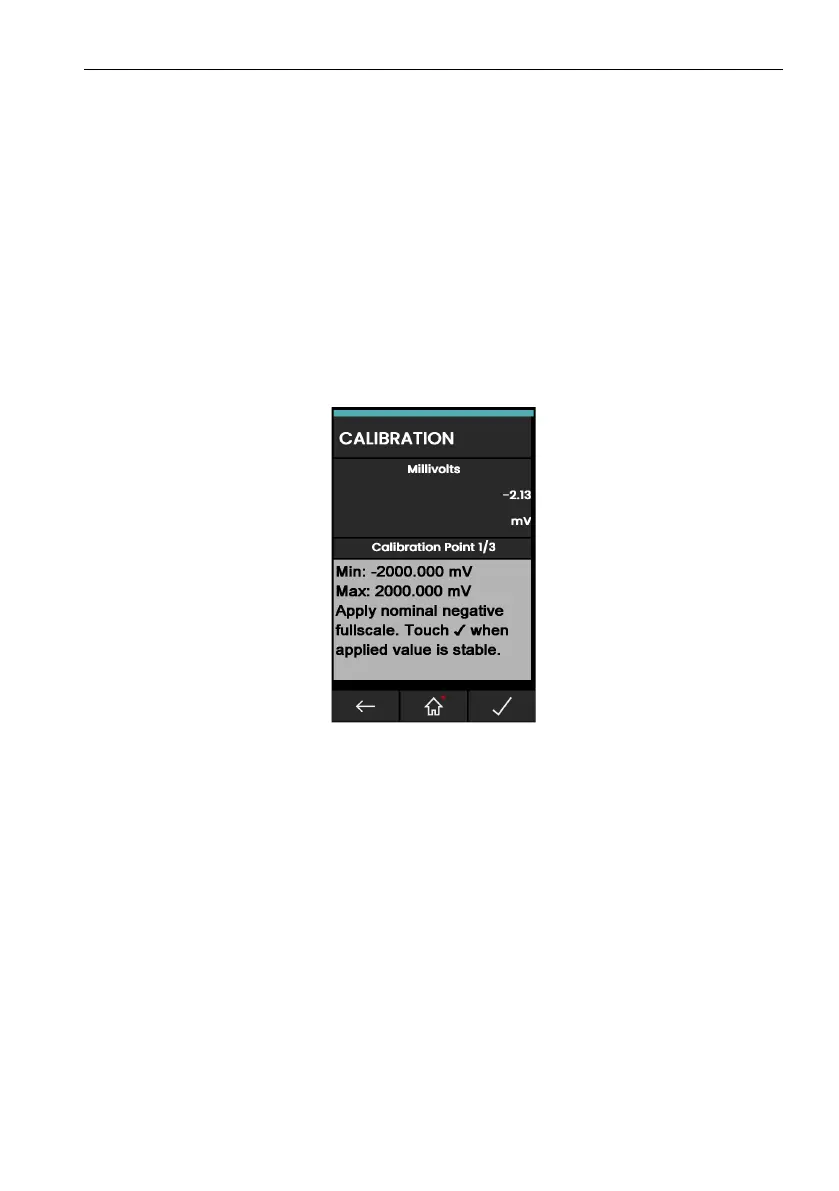
3. Use the calibration menu (see Section 12.1) to do a three-point volts or mV measure
calibration (-FS, Zero and +FS) for the applicable set of ranges:
a. mV (measure) ranges:
• 200mV
• 2000mV
b. Volts (measure) ranges:
• 20V
• 30V
Figure 12-4: Calibration – Millivolts Measure (Range: ± 2000mV)
4. Make sure the calibration is correct:
a. Select the applicable Millivolts or Voltage (measure) function via the Calibrator Task
menu.
b. Apply the input values that are applicable to the calibration:
mV: -
2
000, -1000, -200, -100, 0 (short circuit)
mV: 0, 100, 200, 1000, 2000
Volts (V): -
3
0, -21, -20, -10, -5, 0 (short circuit)
Volts (V): 0, 5, 10, 20, 21, 30
c. Make sure that the error is in the limit range. Refer to Table 12-4 or Table 12-5 on the
next page.
 Loading...