GE MEDICAL SYSTEMS LOGIQ 400 SERVICE MANUAL
2127661
RENEWAL PARTS
6–90
REV 9
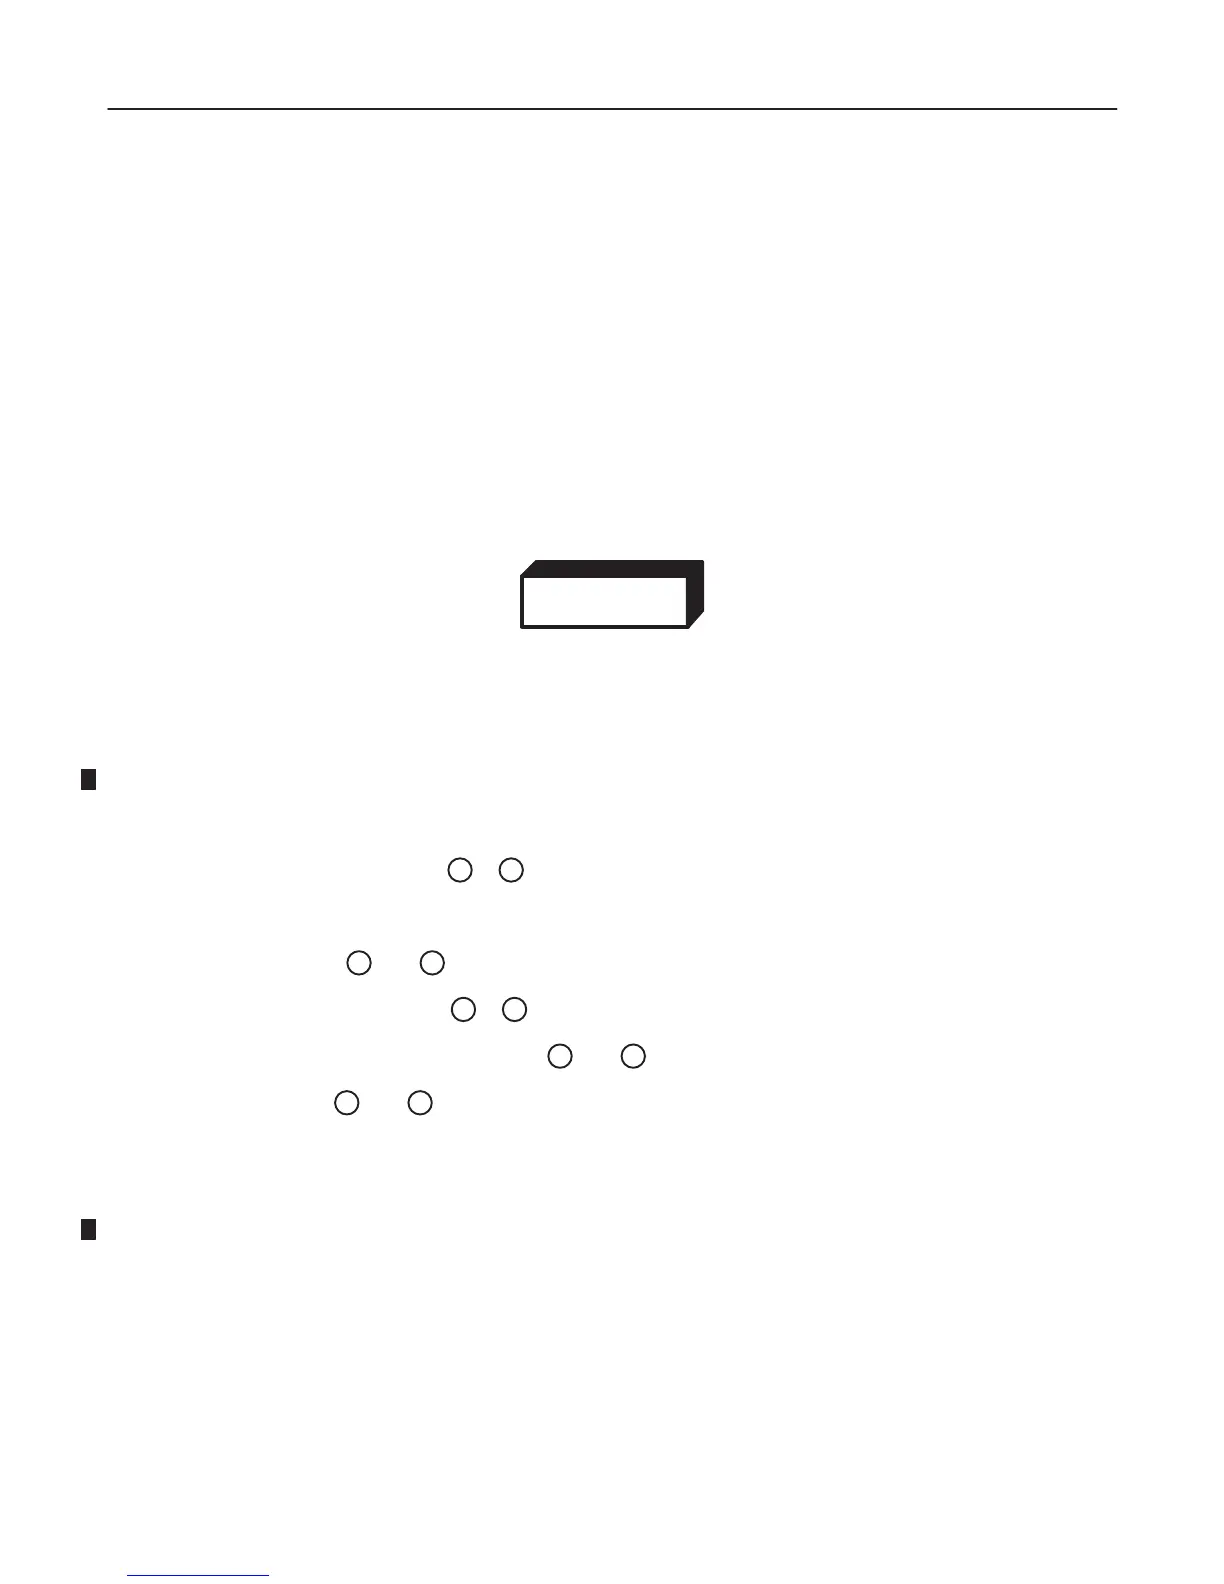
6–2–12 Monitor Assy NTSC (FRU No. 150), Monitor Assy PAL (FRU No. 151)
Time Required
0.25 Hours
Tool Required
Screwdriver
Hexagonal Wrench
Procedure
WARNING!
PERSONAL INJURY HAZARD. THE NECK ASSY IS SPRING LOADED. RELEASING ARM
WHEN MONITOR IS NOT INSTALLED WILL CAUSE SUDDEN UPWARD MOVEMENT. KEEP
YOUR HEAD AND BODY AWAY FROM ABOVE NECK ASSY.
Refer to ILLUSTRATION 6–28 on page 6–91.
1. Turn OFF the system.
2. Unscrew four hexagonal screws (
1
–
4
) located beneath the horizontal part of the Neck Assy.
3. Remove the cover located at the bottom of the Neck Assy.
4. Unscrew two screws (
5
and
6
) and remove the plate fixing the cables.
5. Disconnect the three connectors (
7
–
9
).
6. Remove two screw caps located at position (
10
and
11
).
7. Loosen two screws (
10
and
11
) and pull the Monitor Assy upwards.
Note
When replacing the monitor with the new Monitor Assy (2164505 or 2164506), be sure to attach the
proper label included with the monitor on to the Escutcheon. To attach the new label, refer to the pro-
cedures in section 6–2–14 on page 6–93.

 Loading...


