GE MEDICAL SYSTEMS
2127661
LOGIQ 400 SERVICE MANUAL
RENEWAL PARTS
6–252
REV 9
6–4–2 Preparing before Installation
1. Turn the system power OFF.
2. Unplug the system. Follow the OSHA Lockout/Tagout Requirements (29 CFR 1910.147, Direction 46–015902).
3. Replace the hard disk with new one if necessary. Refer to 6–2–74 on page 6–189 for the replacement procedure
of hard disk.
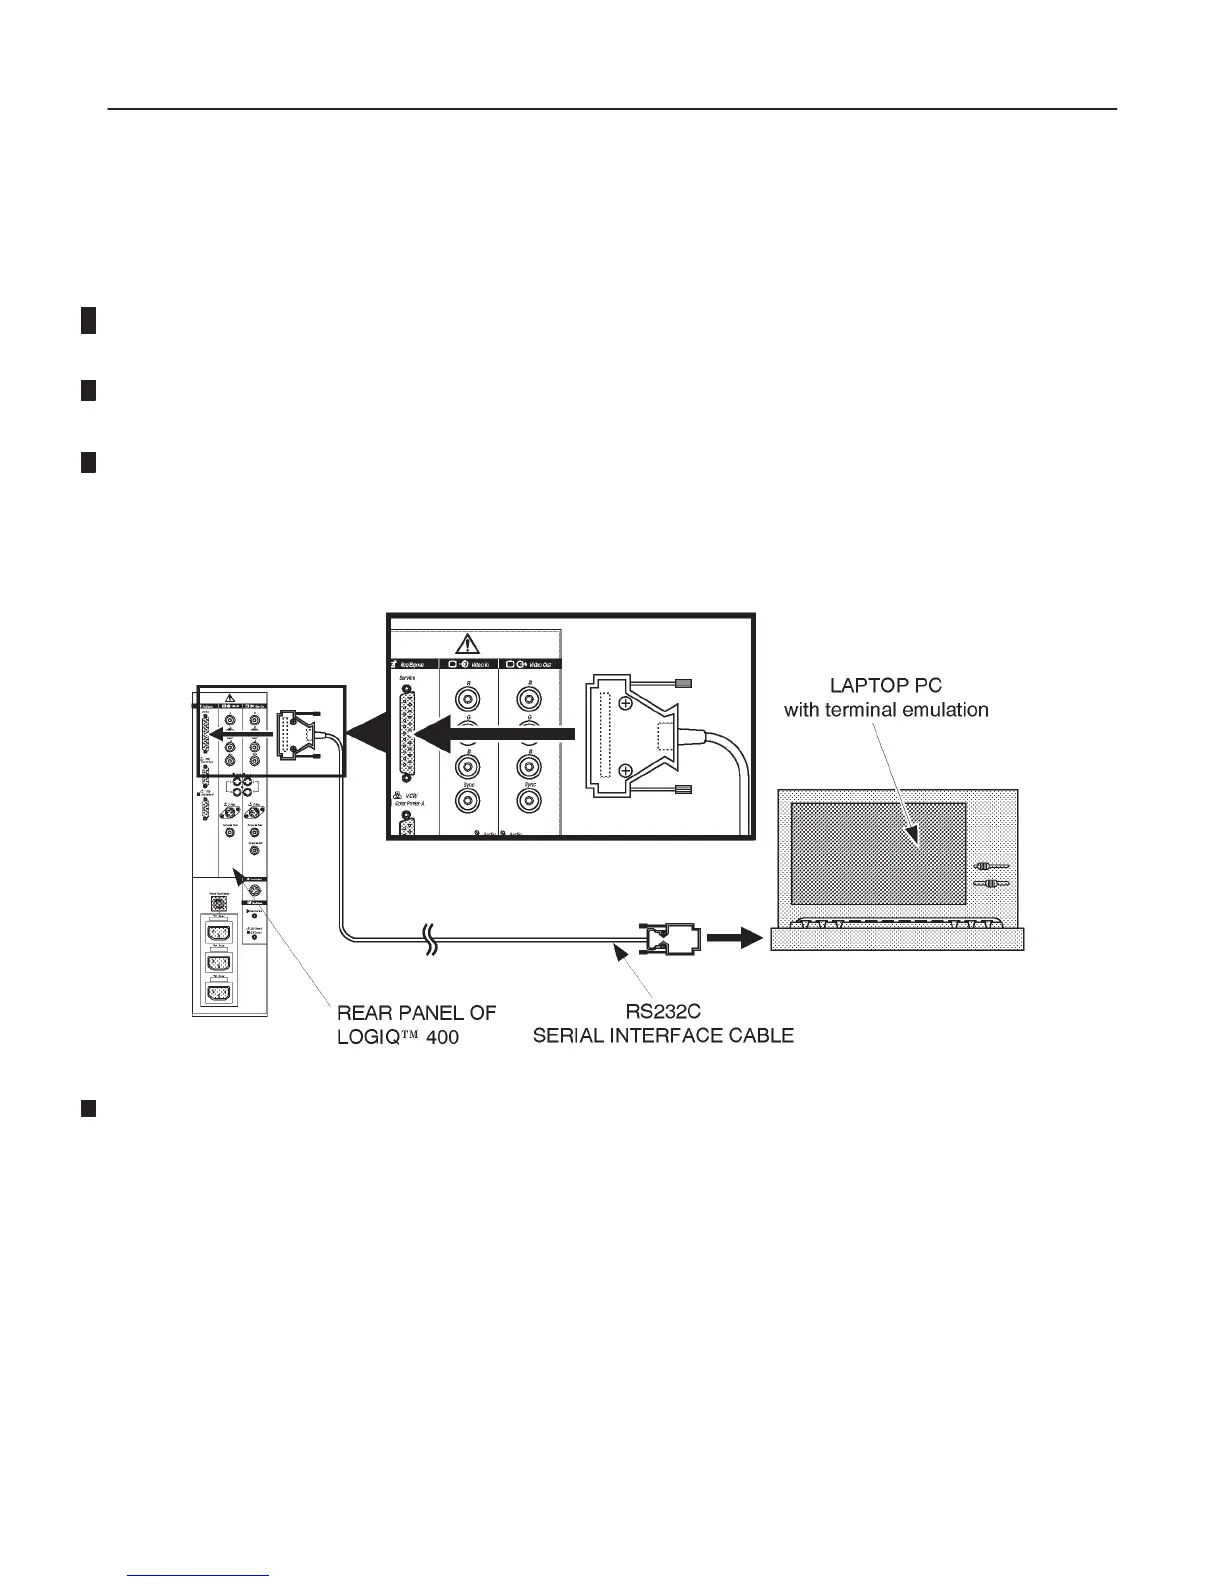
4. Connect the RS232C cable with the serial port of the Laptop PC. Refer to ILLUSTRATION 6–140.
5. Connect the connector of another side with the Service port located at the rear side of the LOGIQ400 as shown
in ILLUSTRATION 6–140.
Note
You may have to disconnect the insite connection.
CHARACTER TERMINAL CONNECTION
ILLUSTRATION 6–140
6. Plug the system into a dedicated power receptacle.
7. Plug the Laptop PC into a wall outlet.

 Loading...


