Service Parts Disassembly 8-61
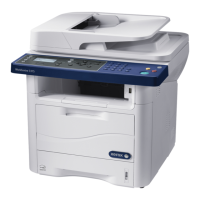
Electronics Module
(PL 5.5)
Videos are available with instructions for replacing the electronics
module. Videos are located on the WorkCentre C2424 Product
Training CD-ROM.
Caution
Touch the back of the electronics module before starting this procedure to
discharge any electrostatic charge present.
1. Remove the DADF and scanner assemblies (page 8-4).
2. Remove the output tray (page 8-8).
3. Remove the left and right side covers (page 8-11).
4. Remove the ink loader assembly (page 8-13).
5. Disconnect the 3 wiring harnesses from the top of the electronics module.
6. Disconnect the 2 printhead cables.
7. Remove 5 screws from the back of the electronics module.
8. Remove 2 screws from inside the printer chassis.
9. Disconnect 3 wiring harnesses on the right side of the module.
10. Disconnect 4 wiring harnesses on the left side of the module.
 Loading...