Interfaces Define a static IPaddress
AnywhereUSB® Plus User Guide
104
Define a static IPaddress
You can configure a static IPaddress for the AnywhereUSB.
1. Log into the AnywhereUSB Plus WebUI as a user with full Admin access rights.
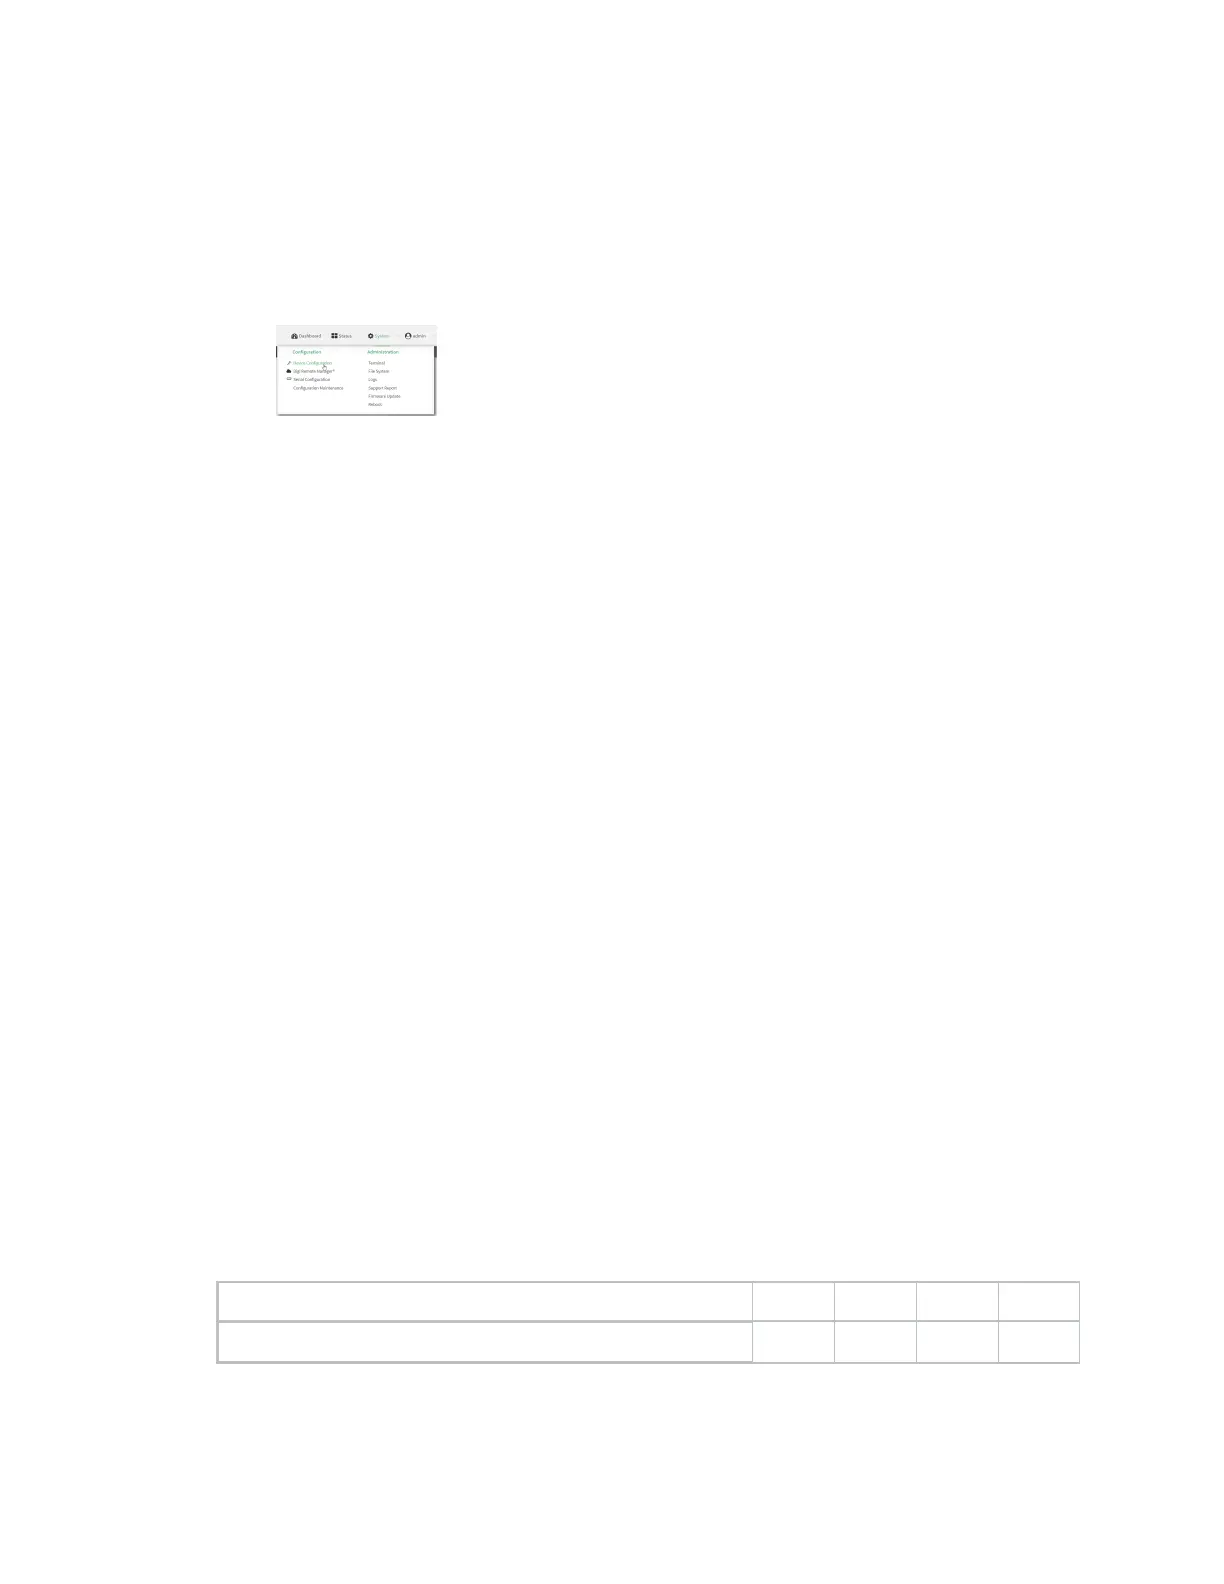
2. On the menu, click System. Under Configuration, click Device Configuration. The
Configuration window is displayed.
3. Click Network > Interfaces.
4. Click the desired Ethernet section: ETH1 or ETH2 for AnywhereUSB Plus 24, ETH1 for
AnywhereUSB Plus 8, or ETH for AnywhereUSB Plus 2.
Keep the default settings.
n
Enable: Selected
n
Interface type: Ethernet
n
Zone: Edge
n
Device: The option matches the selected Ethernet: Device: ETH1, Device: ETH2, or
Device ETH.
5. Configure IPv4 settings.
a. Click to expand IPv4 settings.
b. Enable IPv4 support, if it is not enabled. This is enabled by default.
c. For Type, select Static IPaddress.
d. For Address, type the IP address and subnet of the LAN interface. Use the format IPv4_
address/netmask, for example, 192.168.2.1/24. For more information about the netmask,
see IPaddress and netmask.
e. For Default gateway, type the default gateway associated with this network interface.
6. (Optional) Add DNSservers to use with this static IPaddress.
a. Expand the DNSServers section.
b. Click the plus sign icon next to Add DNSserver.
c. In the DNSserver field, enter the IP address of the DNSserver.
d. Repeat this process if you want to add another DNSserver.
7. Click Apply to save the configuration and apply the change.
IPaddress and netmask
The netmask is the length of the subnet mask in bits. For example, for a class C address with a subnet
mask of 255.255.255.0, the length in bits would be 24.
NETMASK 255 255 255 255
Netmask length
8 16 24 32
 Loading...