EN 279Ricoh Printer Assistant Software Frequently Asked Questions (FAQs)
Step 4: Restart the computer and the printer
Restart the computer and the printer after reinstalling the driver to finish setting up the software in Windows.
1. Turn off the printer.
2. Close all running programs on your computer, and then restart your computer.
3. Turn on the printer.
4. Open Ricoh Printer Assistant.
• If you can open Printer Assistant, the issue is resolved.
• If you cannot open Printer Assistant, and the Connect a printer tool displays, connect the printer
again, and then restart the printer and computer to complete the installation.
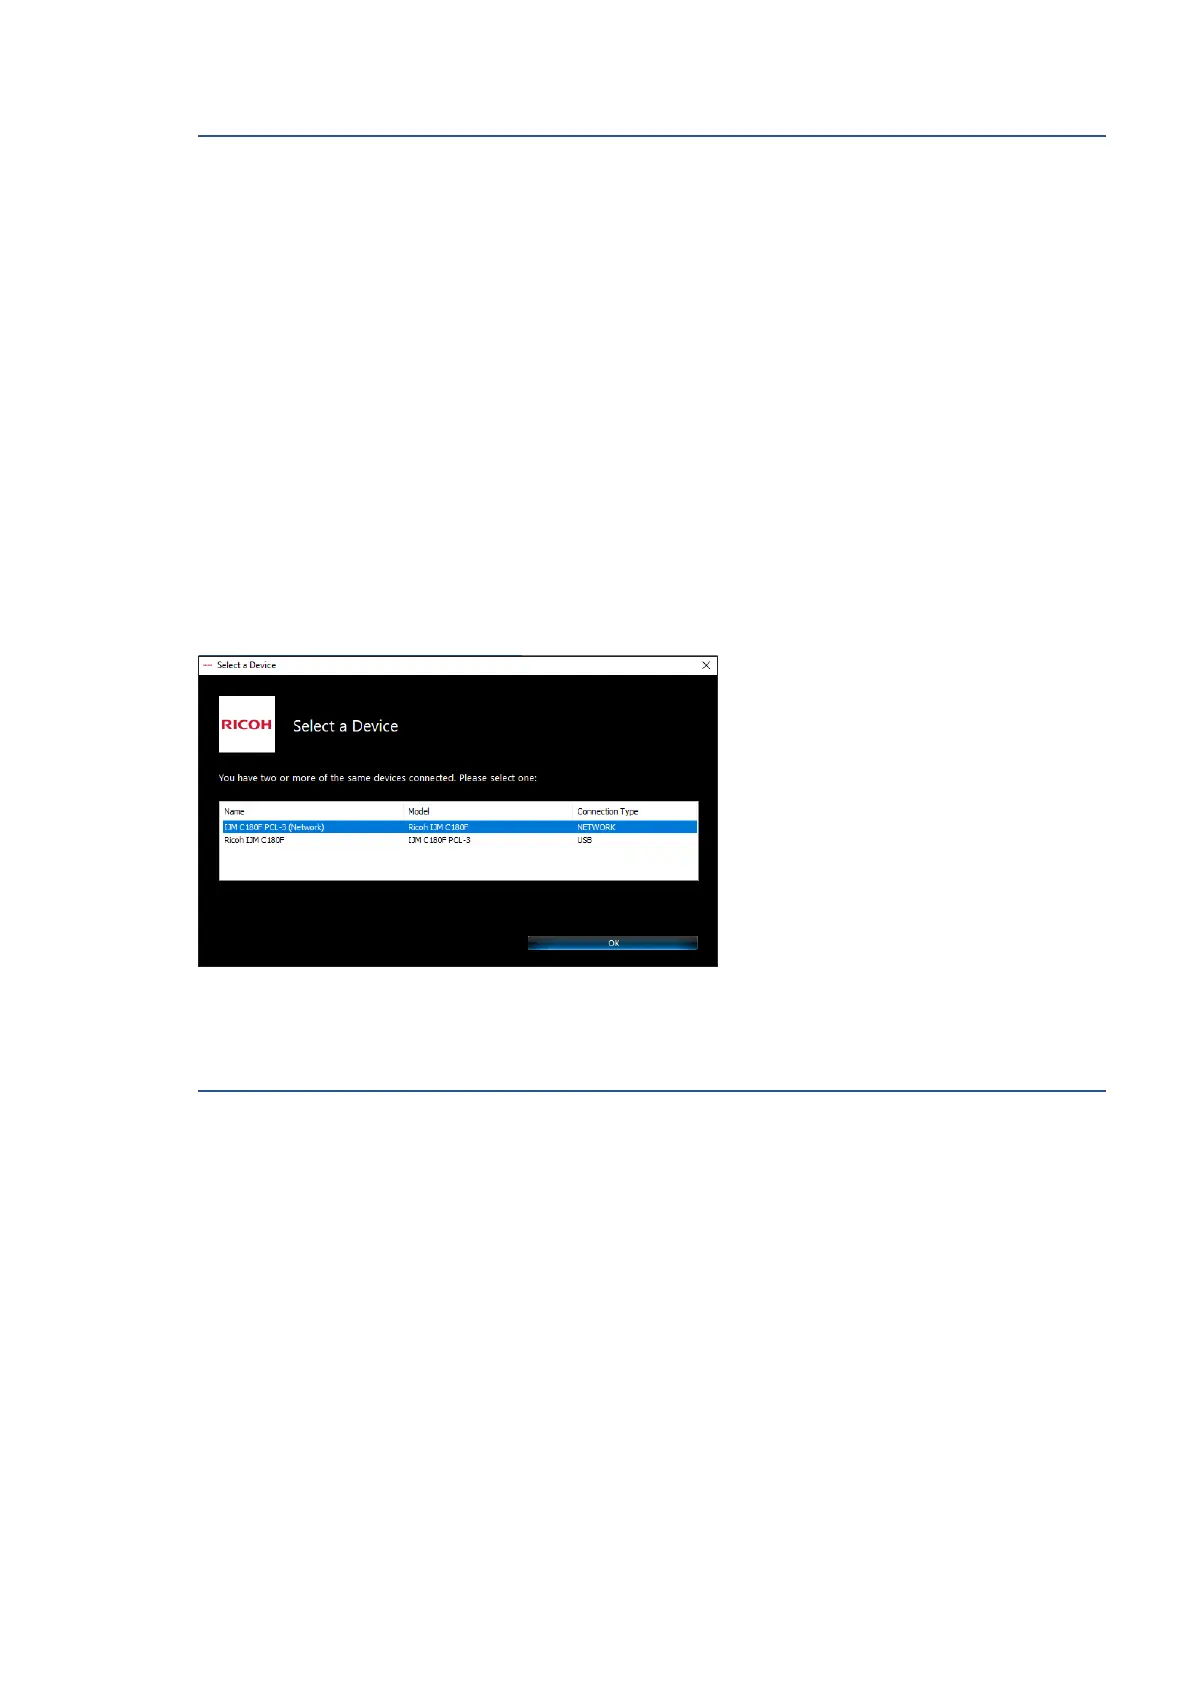
Select a Printer window displays instead of Ricoh Printer Assistant
This issue is for computers and network-connected printers upgraded to the most recent version of Windows.
After installing the full feature Ricoh printer software, the Select a Printer window displays with two or more
names for your printer when you open Ricoh Printer Assistant software. Printing functionality might be different
depending on which name you select.
Use the following workaround to remove all printer names from the Devices and Printers folder, and then set up
the printer again.
Step 1: Remove the printers from your list of devices
Delete the printers from Windows before setting up your printer again.
1. Close Ricoh Printer Assistant.
2. Search Windows for devices, and then click Devices and Printers in the list of results.
3. Right-click one of the icons for your printer, and then click Remove Device. Repeat this step for any other
icons for your printer.
 Loading...


