Roche Diagnostics
A-32 Operator’s Manual · Version 3.4
2 Introduction to the analyzer Cedex Bio analyzer
Daily operation
Validating QC results Each new QC result has to be validated. If flags were generated, you must determine
their cause and decide whether to accept or ignore the result.
You can automatically accept unflagged results and results with flags that are
contained in a specific list of flags that should be ignored.
e
See Editing the acceptable flags list on page B-174.
If you ignore a QC result you exclude the result from further QC result calculations
such as QC History statistics.
Sample handling
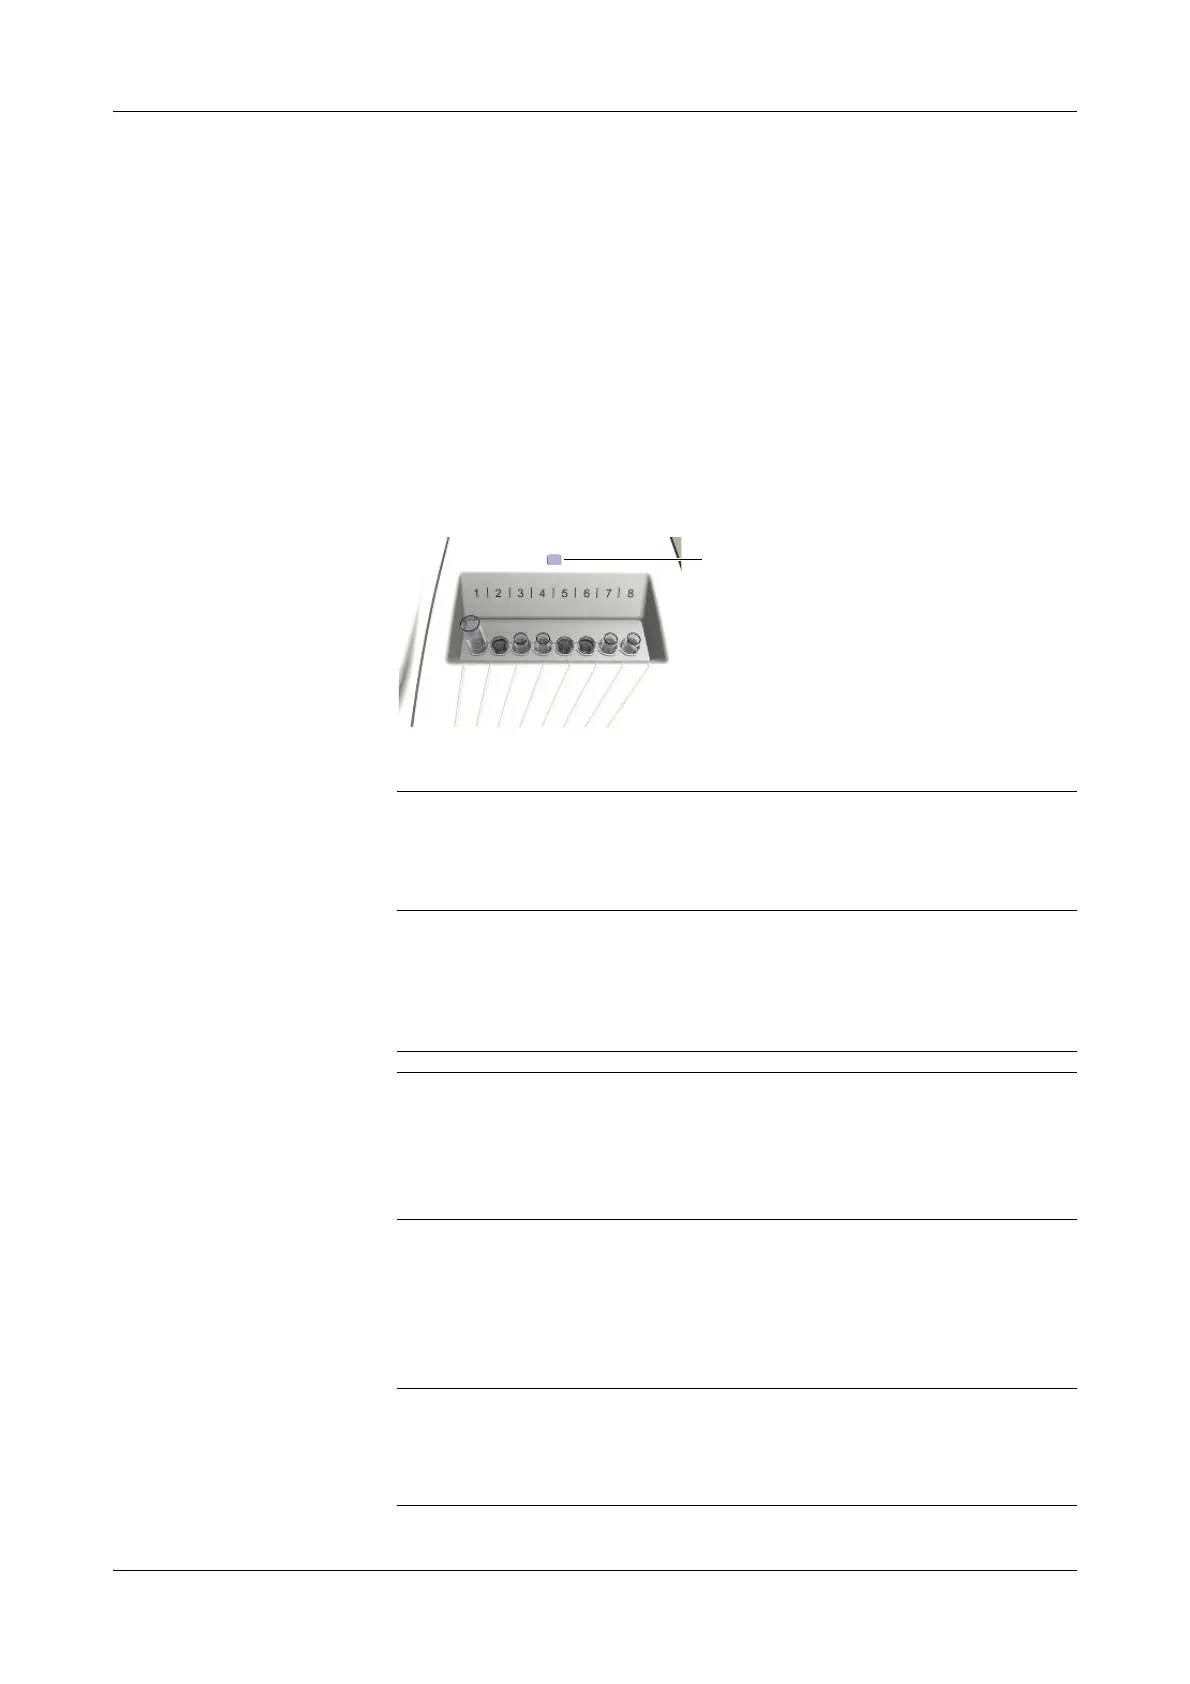
You can place up to eight sample tubes on the sample area.
Sample types The Cedex Bio analyzer can process aqueous samples from mammalian and bacterial
cell cultures and fermentation.
Sample tubes The Cedex Bio analyzer can use both primary and secondary tubes (cups).
You can use any type of primary tube, as long as their dimensions lay within
prescribed limits. Roche recommends using approved cups only.
e
See Tubes on page A-53.
A Sample area LED. A green LED indicates that you should place a tube, a blinking orange LED
that you should keep clear of the sample area.
Figure A-7 Sample area with sample tubes
Incorrect results due to inadequate sample preparation
Specimen containing clots may obstruct the probe. Specimen containing bubbles or foam
may cause level detection errors and air pipetting. Consequently, incorrect results may be
generated.
Take adequate care when preparing the samples.
Incorrect results due to insufficient fluid
Insufficient fluid may lead to inaccurate pipetting and consequently to incorrect results.
Always fill the tubes with enough fluid that at least the defined dead volume of fluid is left
when pipetting is complete.
e
See Tubes on page A-53.
Probe damage due to not removing primary tube caps
The probe is not designed to pierce tube caps. It can get damaged when trying to pierce
tube caps.
Always remove the caps of primary tubes before placing them on the analyzer.
 Loading...