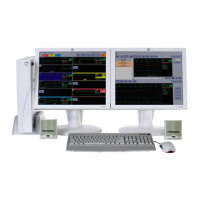
Field replaceable units (FRUs)
2026419-033E CIC Pro™ 9-17
Replacing the hard drive
CAUTION
NETWORK DEVICE TIME SYNCHRONIZATION — When
adding a new device (e.g., CIC Pro center) to the CARESCAPE
Network, the existing devices on the CARESCAPE Network will
synchronize to the new device’s time. To prevent potential time
synchronization issues, you should set the new device’s time to be as
close as possible to the time (within a few seconds) used by the
existing GE devices on the CARESCAPE Network.
1. Prepare the unit for disassembly on page 9-12.
2. Remove the cover on page 9-13.
3. Remove the power cable from the hard drive.
4. Remove the SATA cable from the hard drive.
5. Loosen the four screws that connect the hard drive to both sides of the mounting
bracket.
NOTE
The mounting bracket holds both the hard drive and the Flash drive. The
hard drive is on the top; the Flash drive on the bottom.
6. Slide the hard drive out of the mounting bracket.
7. Replace the hard drive.
8. Reverse steps to re-assemble.
9. Re-assemble the cover on page 9-24.
10. Re-image the system. See option 2 on page 11-5.
11. Perform the following checkout procedures:
Perform Ground continuity test on page 10-6.
Perform Ground (earth) wire leakage current test on page 10-7.
Perform Enclosure leakage current test on page 10-8.
Check read and write integrity of hard drive and solid state flash drive on
page 7-10.

 Loading...