P
r
o
t
e
c
t
e
d
b
y
c
o
p
y
r
i
g
h
t
.
C
o
p
y
i
n
g
f
o
r
p
r
i
v
a
t
e
o
r
c
o
m
m
e
r
c
i
a
l
p
u
r
p
o
s
e
s
,
i
n
p
a
r
t
o
r
i
n
w
h
o
l
e
,
i
s
n
o
t
p
e
r
m
i
t
t
e
d
u
n
l
e
s
s
a
u
t
h
o
r
i
s
e
d
b
y
V
o
l
k
s
w
a
g
e
n
A
G
.
V
o
l
k
s
w
a
g
e
n
A
G
d
o
e
s
n
o
t
g
u
a
r
a
n
t
e
e
o
r
a
c
c
e
p
t
a
n
y
l
i
a
b
i
l
i
t
y
w
i
t
h
r
e
s
p
e
c
t
t
o
t
h
e
c
o
r
r
e
c
t
n
e
s
s
o
f
i
n
f
o
r
m
a
t
i
o
n
i
n
t
h
i
s
d
o
c
u
m
e
n
t
.
C
o
p
y
r
i
g
h
t
b
y
V
o
l
k
s
w
a
g
e
n
A
G
.
15 - Charge Air Pressure Sensor - G31-
❑ Removing and installing. Refer to
⇒ 2.4 Charge Air Pressure Sensor G31 , Removing and Installing, page 269 .
16 - O-Ring
❑ Replace after removing
17 - Air Guide Hose
❑ Installing. Refer to ⇒ 2.2 Overview - Charge Air Hose Connections, page 265 .
18 - Air Guide Pipe
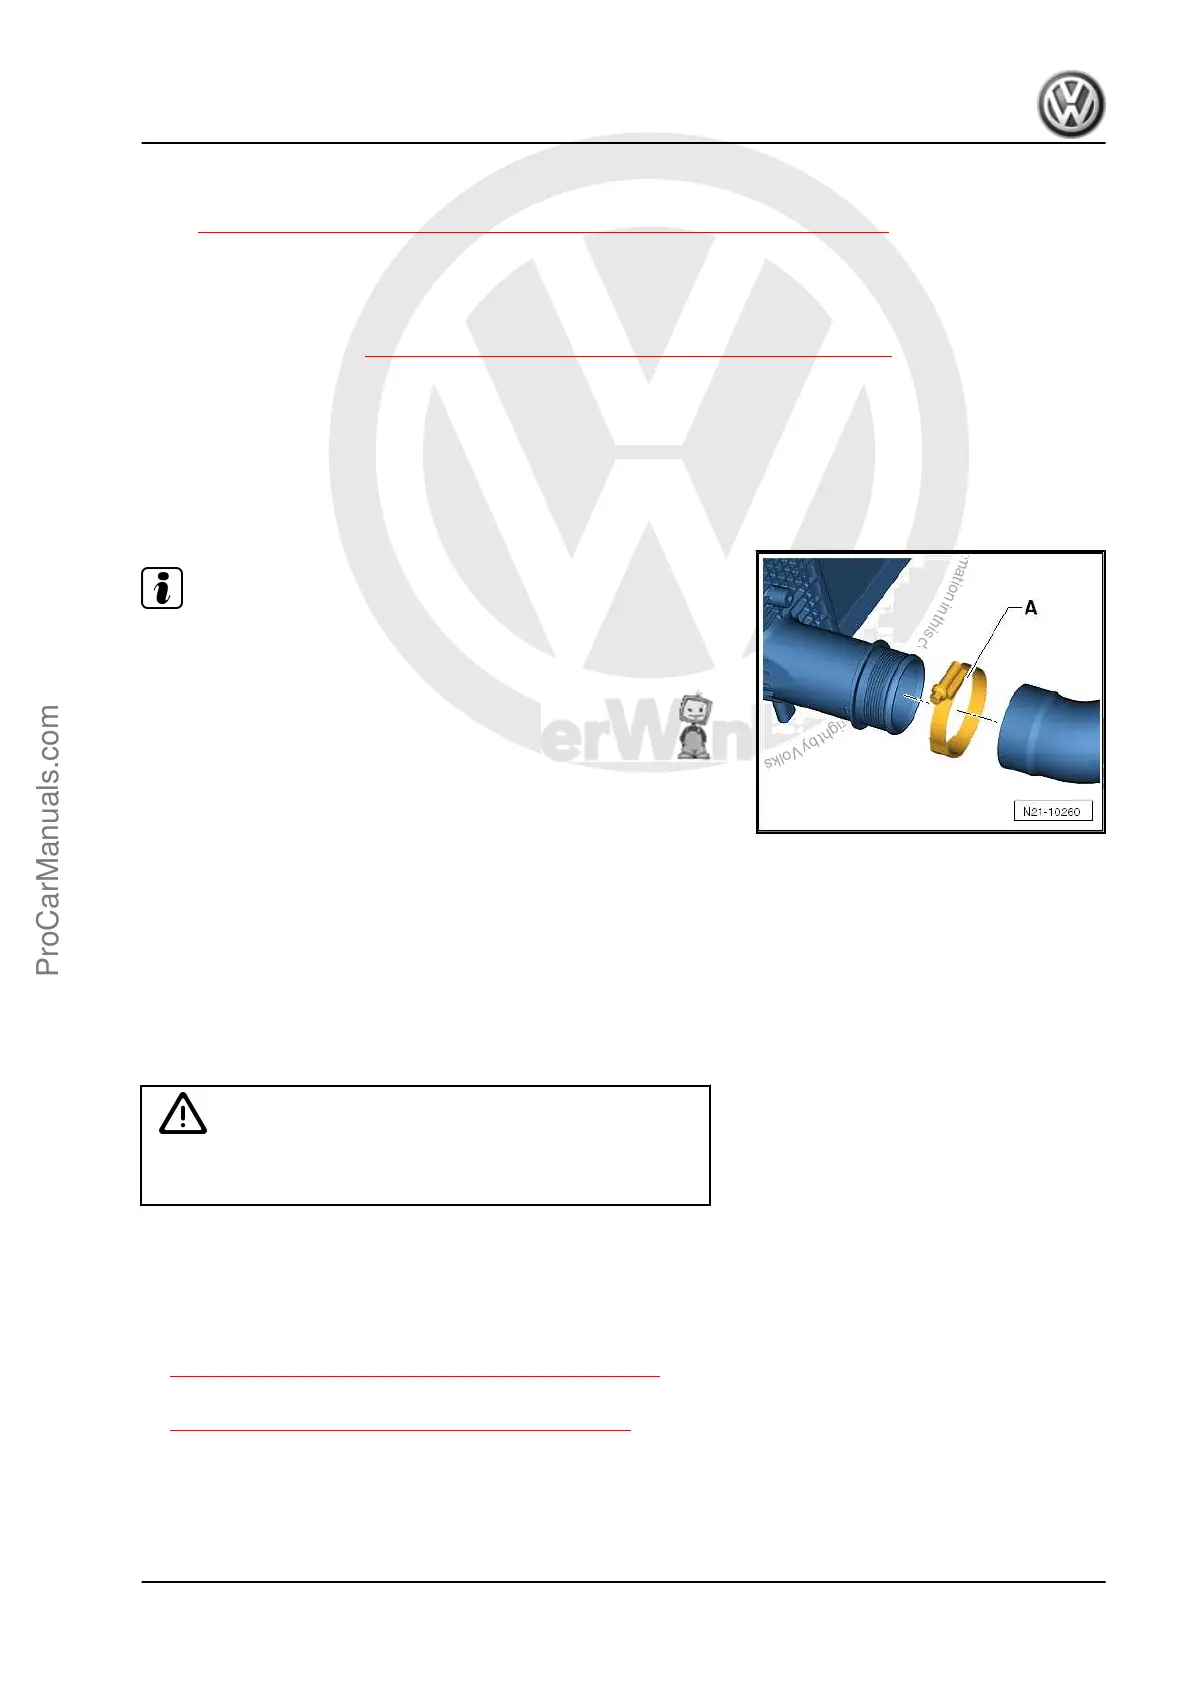
2.2 Overview - Charge Air Hose Connec‐
tions
Installing Hose Connections with Threaded Connections
Note
Tighten the clamps -A- on the charge air pipes to 5.5 Nm. An
insufficient or excessive tightening torque can cause the charge
air hose to come off the charge air pipe while driving.
– Before testing or performing a repair, check all air guide pipes
and hoses and all vacuum lines for leaks and secure seating.
– Clean the hose connections as well as the air guide pipes and
hoses before installing, they must be free of oil and grease.
– Secure hose connections with standard production clamps.
Refer to the Parts Catalog.
– The screws on the used clamps must be sprayed with a rust
remover before installing.
2.3 Charge Air Cooler, Removing and In‐
stalling
Special tools and workshop equipment required
♦ Engine Bung Set - VAS6122-
Caution
This procedure contains mandatory replaceable parts. Refer
to component overview prior to starting procedure.
Mandatory Replacement Parts
♦ O-rings - Charge Air Cooler
Removing
– Remove the fan shroud. Refer to
⇒ 4.5 Fan Shroud, Removing and Installing, page 249 .
– Remove the radiator. Refer to
⇒ 4.4 Radiator, Removing and Installing, page 247 .
– Remove the front bumper cover. Refer to ⇒ Body Exterior;
Rep. Gr. 63 ; Front Bumper; Bumper Cover, Removing and
Installing .
– Remove the bolts -1 and 3-.
Golf 2015 ➤ , Golf Variant 2015 ➤
Engine Mechanical, Fuel Injection and Ignition - Edition 04.2015
2. Charge Air System 265
ProCarManuals.com
 Loading...


