81
2.7 Electrical Unit
REGIUS MODEL 190 Service Manual Ver.1.00 2004.11.01
2.7 Electrical Unit
2.7.1 Replacement of MCB2 (Mechanical Control Board)
1.
Detach the left cover. ("2.2.2 Removal of the Left & Right
Covers, p.29")
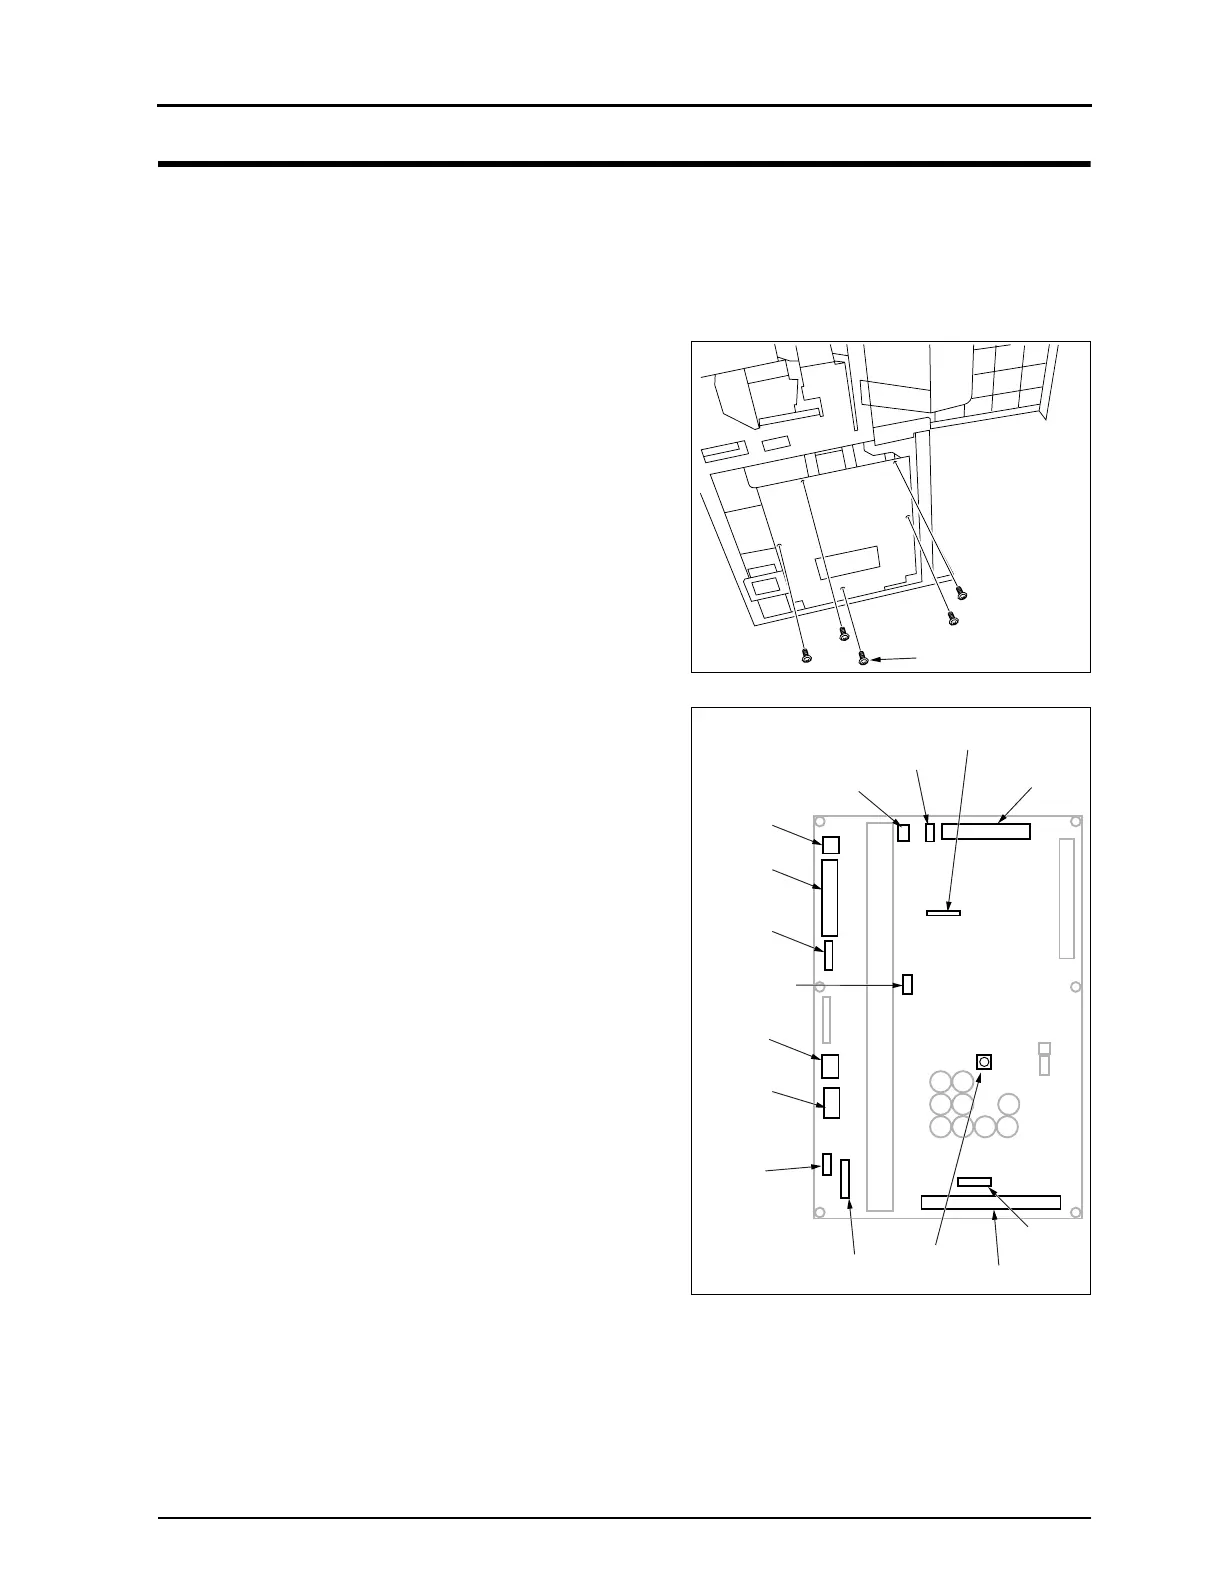
2.
Loosen 5 fixing screws, and remove the MCB2 box cover.
3.
Put note of the setting of rotary SW (SW4) and DIP SW
(SW3).
• This setting has been adjusted in "3.7 Adjusting the
Pressing Amount, p.122", and varies from one machine
to the other.
4.
Wear an earth strap.
5.
Unplug 13 connectors from the MCB2.
• CN1
CN2, CN4, CN5, CN6, CN7, CN8, CN9, CN11,
CN13, CN15, CN16, CN17
Fixing Screws (5pcs)
MCB2
CN4
CN5
CN6
CN7
CN13
CN9
CN8
CN15
SW3
CN2
CN1
CN16
CN11
CN17
SW4
 Loading...


