97
3.1 Maintenance Items
REGIUS MODEL 190 Service Manual Ver.1.00 2004.11.01
3.1.5
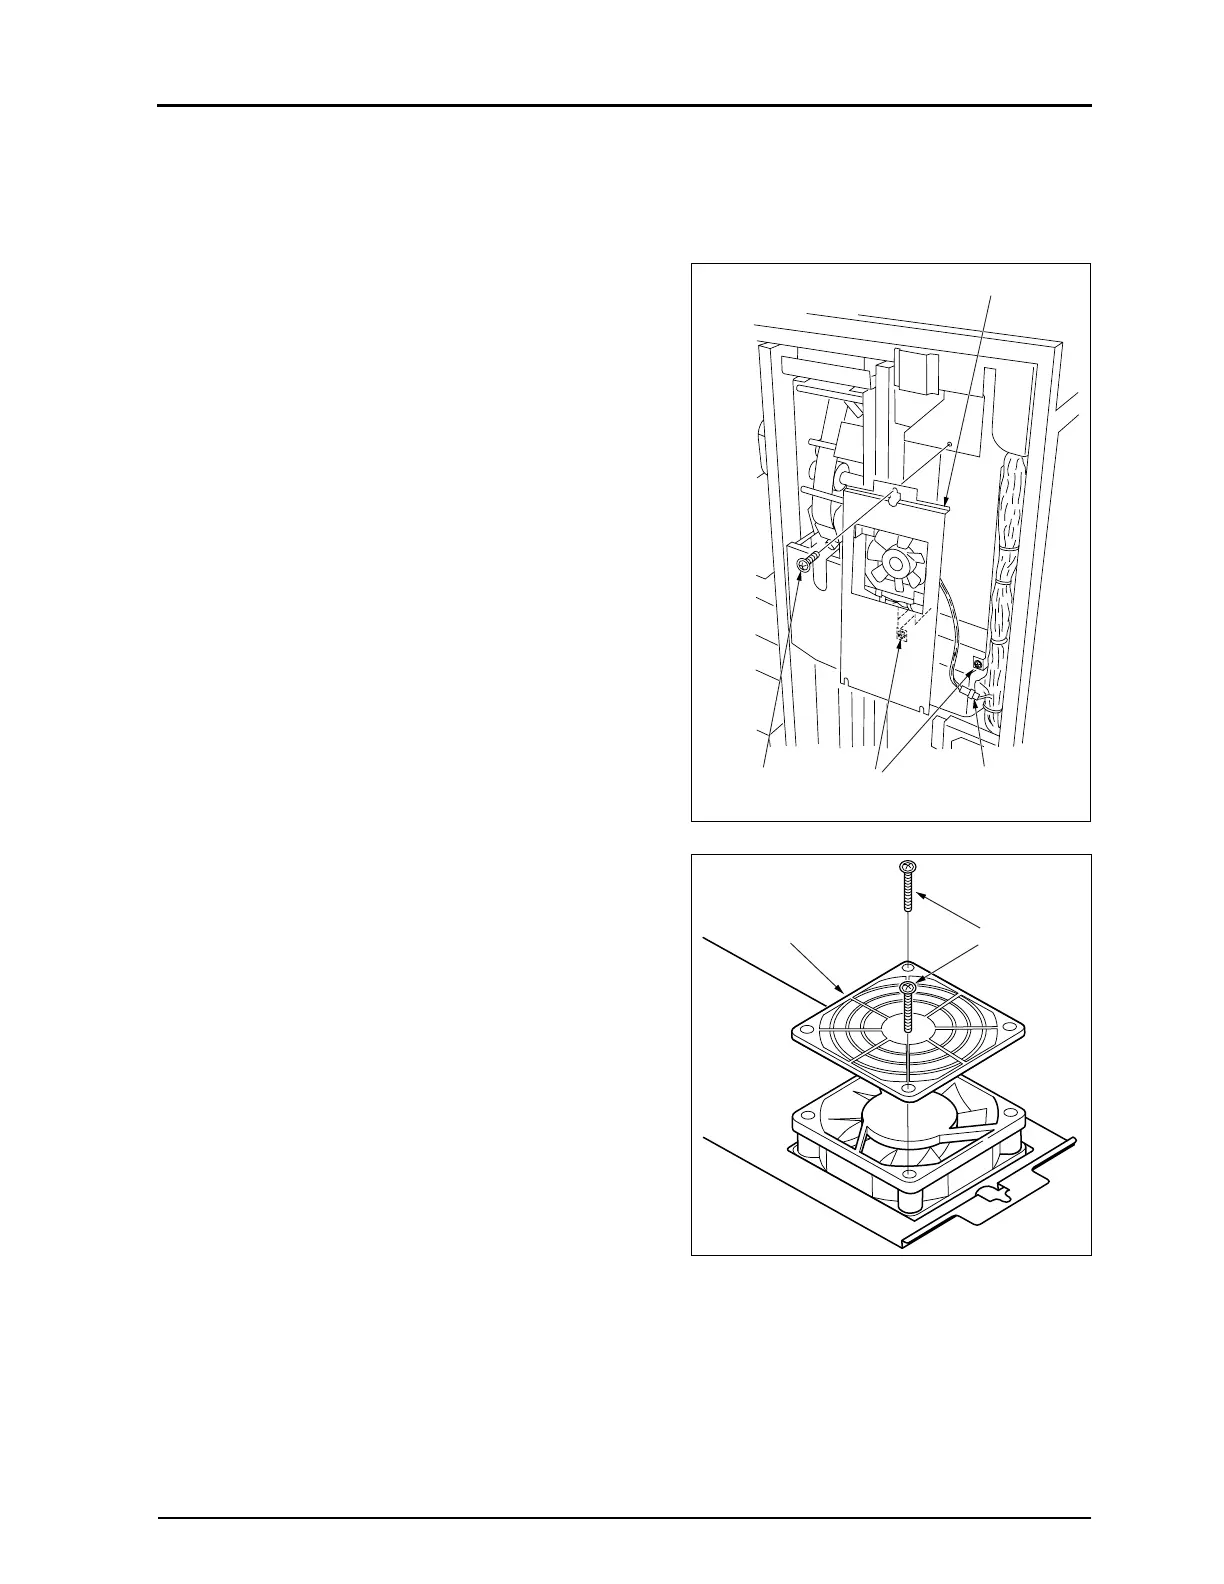
Cleaning of Power Supply Fan Filter
Clean the filter once a year following the procedure below.
1.
Remove the rear cover. (refer to p.28)
2.
Remove one fixing screw "a", and loosen 2 fixing screws
"b" to remove the fan bracket.
• Be careful not to apply excessive force to the DC power
supply cooling fan connector that is located on the back
of the fan bracket.
3.
Unplug one relay connector of the DC power supply cooling
fan.
• JJ60
4.
Remove 2 fixing screws retaining the power supply cooling
fan, and remove the power supply cooling fan filter.
5.
Vacuum the dust accumulated on the back side (fan side)
of the filter using a vacuum cleaner.
6.
Install the power supply cooling fan filter at its original posi-
tion, and install the fan bracket in the reverse order of
removal.
Fixing Screw "a"
(remove)
Fixing Screw "b"
(loosen)
Relay Connector
Fan Bracket
Fixing Screw
Power Supply
Cooling Fan
 Loading...


