54
2.4 Transport Unit
REGIUS MODEL 190 Service Manual Ver.1.00 2004.11.01
2.4.2 Removal of the Cassette Receive Unit
1.
Open the front door.
2.
Use the handle to tilt the Transport Unit.
3.
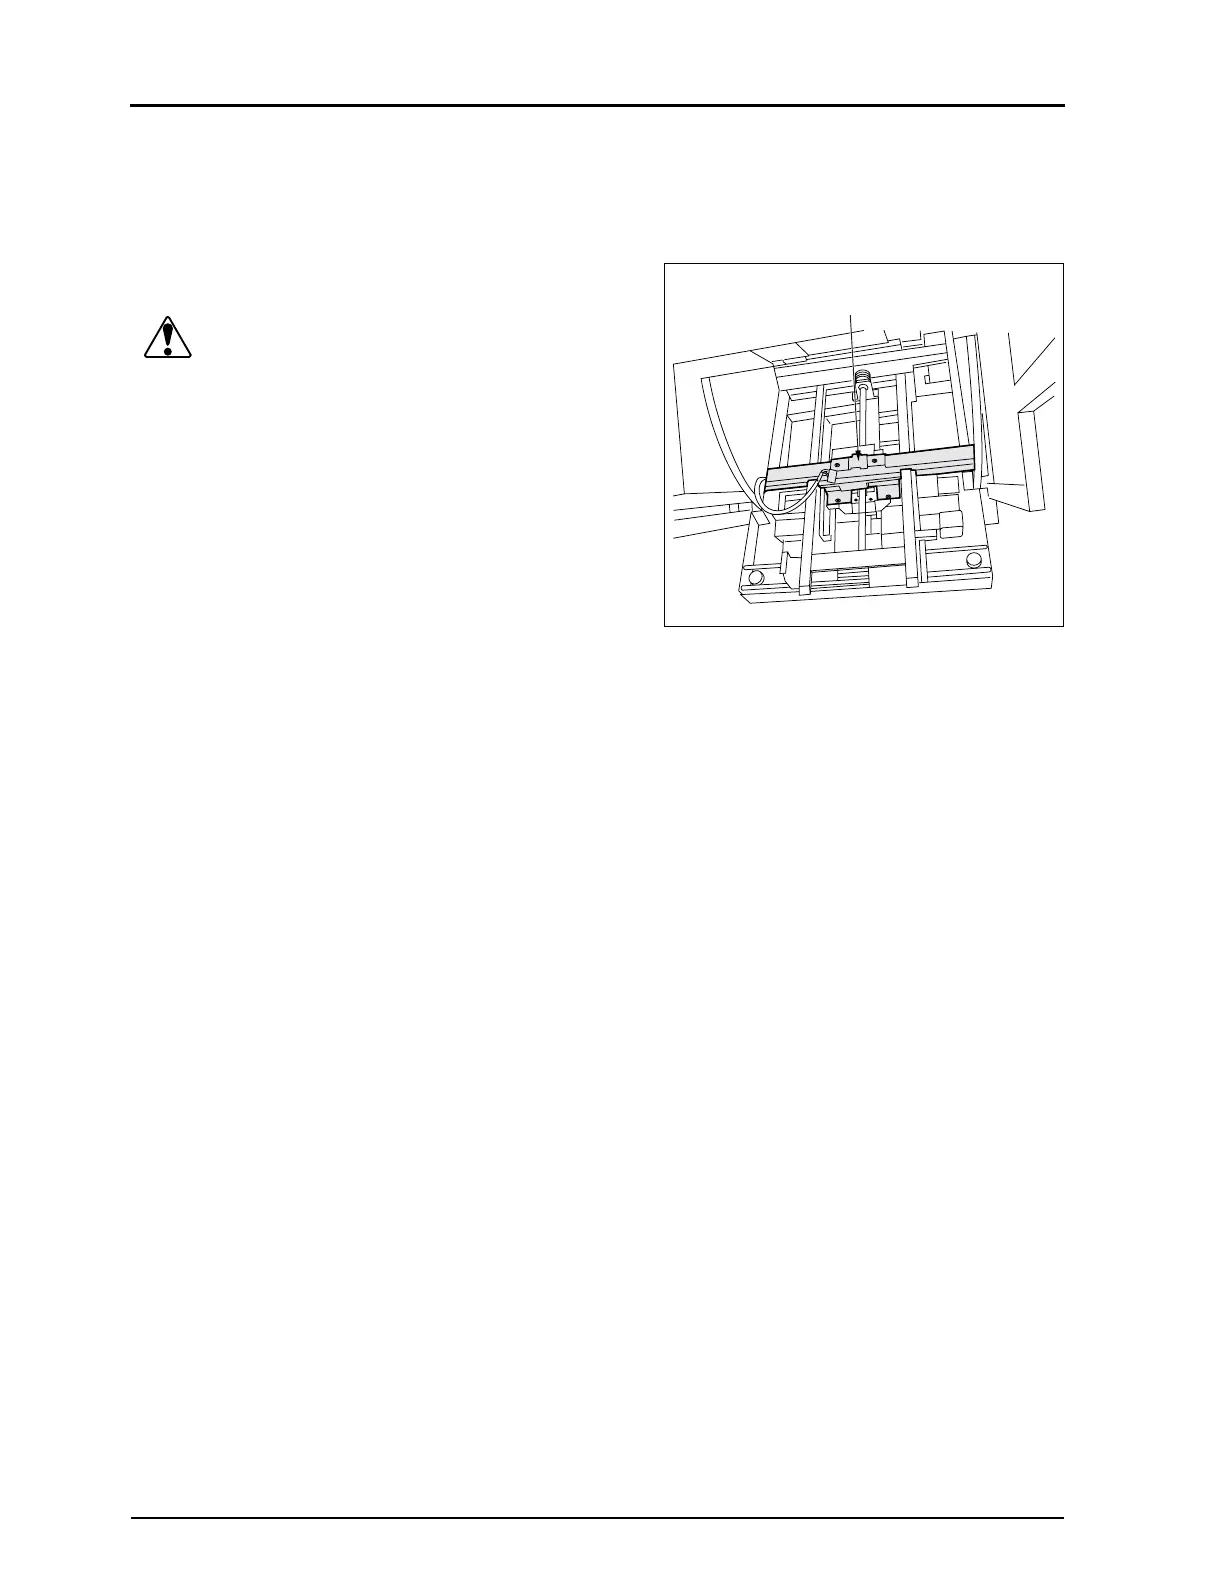
Remove the two fixing screws.
Caution Of the four fixing screws arranged in series,
remove only the outer two screws. The two inner
screws (painted in white) must not be removed,
and if this precaution is not observed, it may
become impossible for cassettes to be correctly
passed from the Transport Unit to the subscan-
ning section.
4.
Remove the wire bundle from the wire clamp.
5.
Unplug a connector.
• JP18
6.
Remove the receiver assy.
7.
Carry out reassembly in the reverse order to that described
above.
• Remarks for reinstallation
Fit the wire bundle into the wire clamp so the tie band for pre-
venting the pull-out comes out of the clamp.
Receiver Assy
 Loading...


