70
2.5 Subscan Unit
REGIUS MODEL 190 Service Manual Ver.1.00 2004.11.01
2.5.4 Replacement of Peel Detect Sensor 1/2 (S13 /S14)
Two peel detect sensor on the right and left are symmetric.The
one on the left is a peel detect sensor-L (S13), and the one on
the right is a peel detect sensor-R (S14).
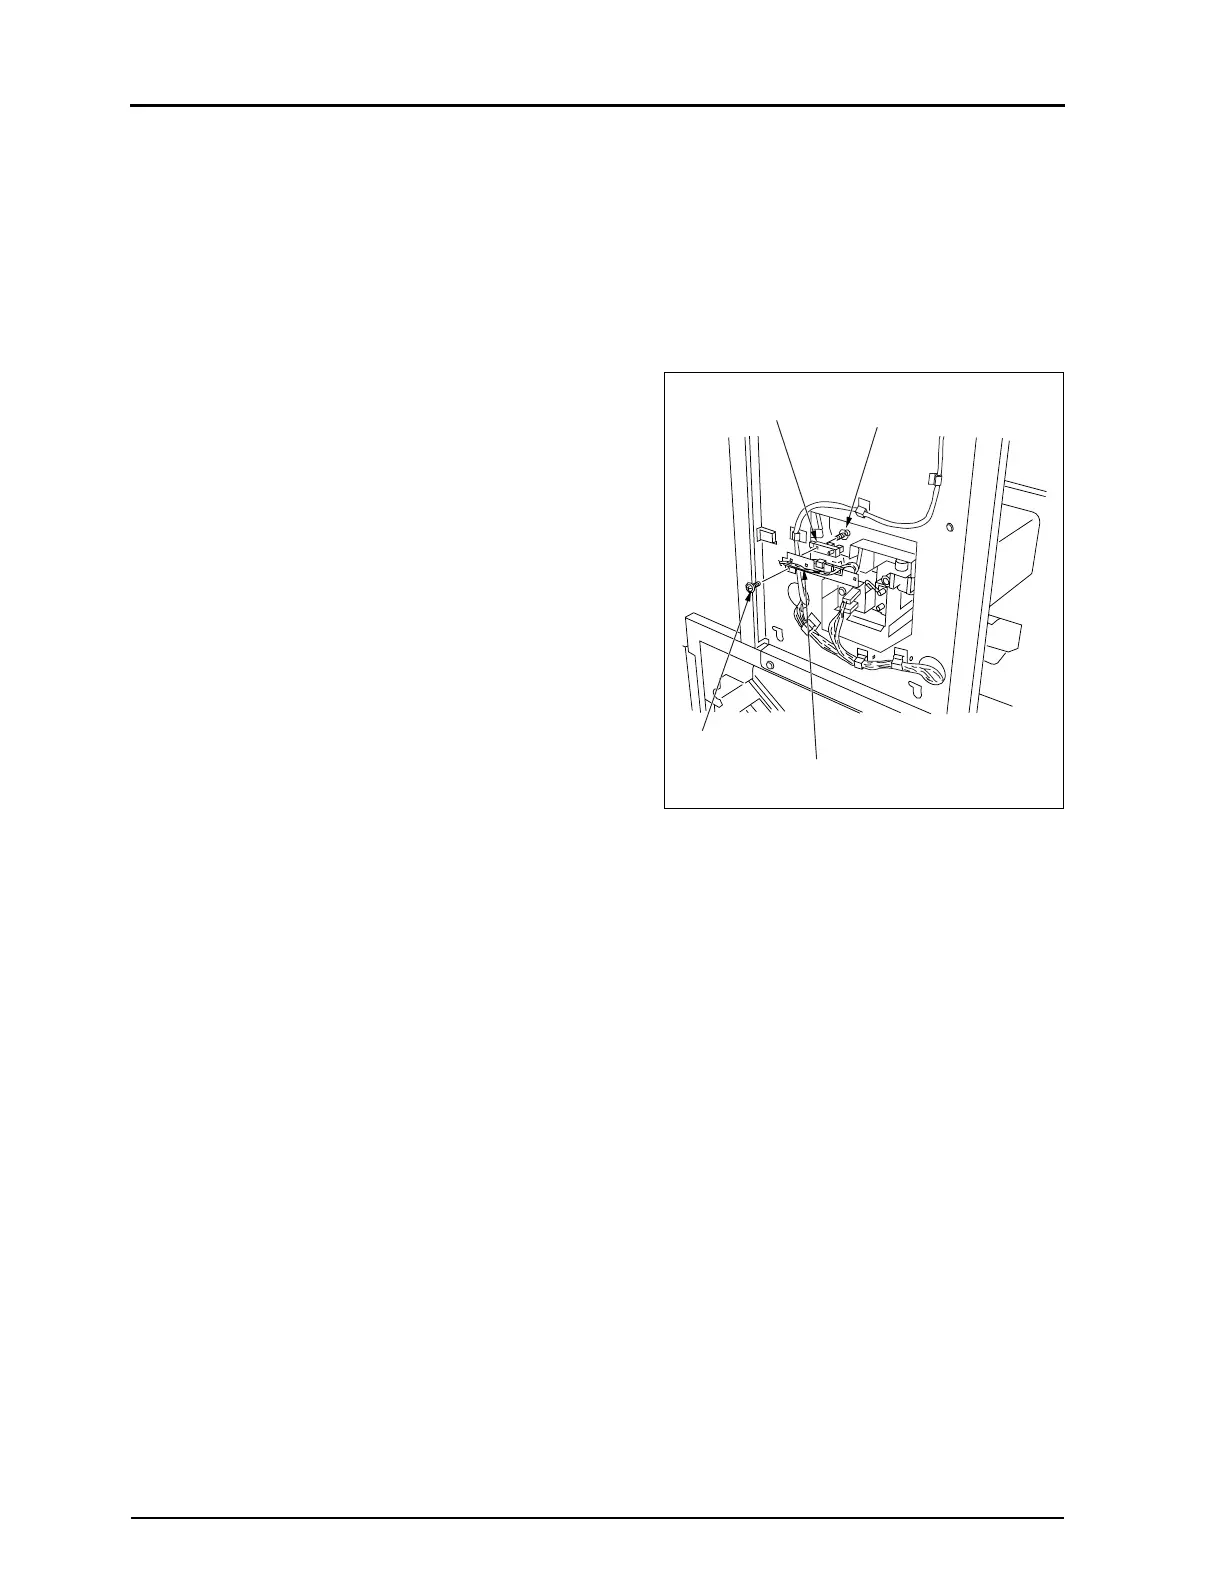
1.
Remove the left or right cover. ("2.2.2 Removal of the Left &
Right Covers, p.29")
2.
Remove a fixing screw "a", detach the peel detect sensor-L
mount plate or peel detect sensor-R mount plate.
3.
Remove a fixing screw "b" which is securing the peel detect
sensor, and detach the peel detect sensor.
4.
Remove the wire bundle from the wire clamp.
5.
Unplug the connector from the peel detect sensor.
• JP41 (S13) or JP42 (S14)
6.
Carry out reassembly in the reverse order to that described
above.
•
Adjustment after installation
Always carry out "3.6 Adjusting the Peel-Detection Rollers,
p.117".
Peel Detect Sensor
Fixing Screw "a"
Fixing Screw "b"
Peel Detect Sensor Mout Plate
 Loading...


