89
2.7 Electrical Unit
REGIUS MODEL 190 Service Manual Ver.1.00 2004.11.01
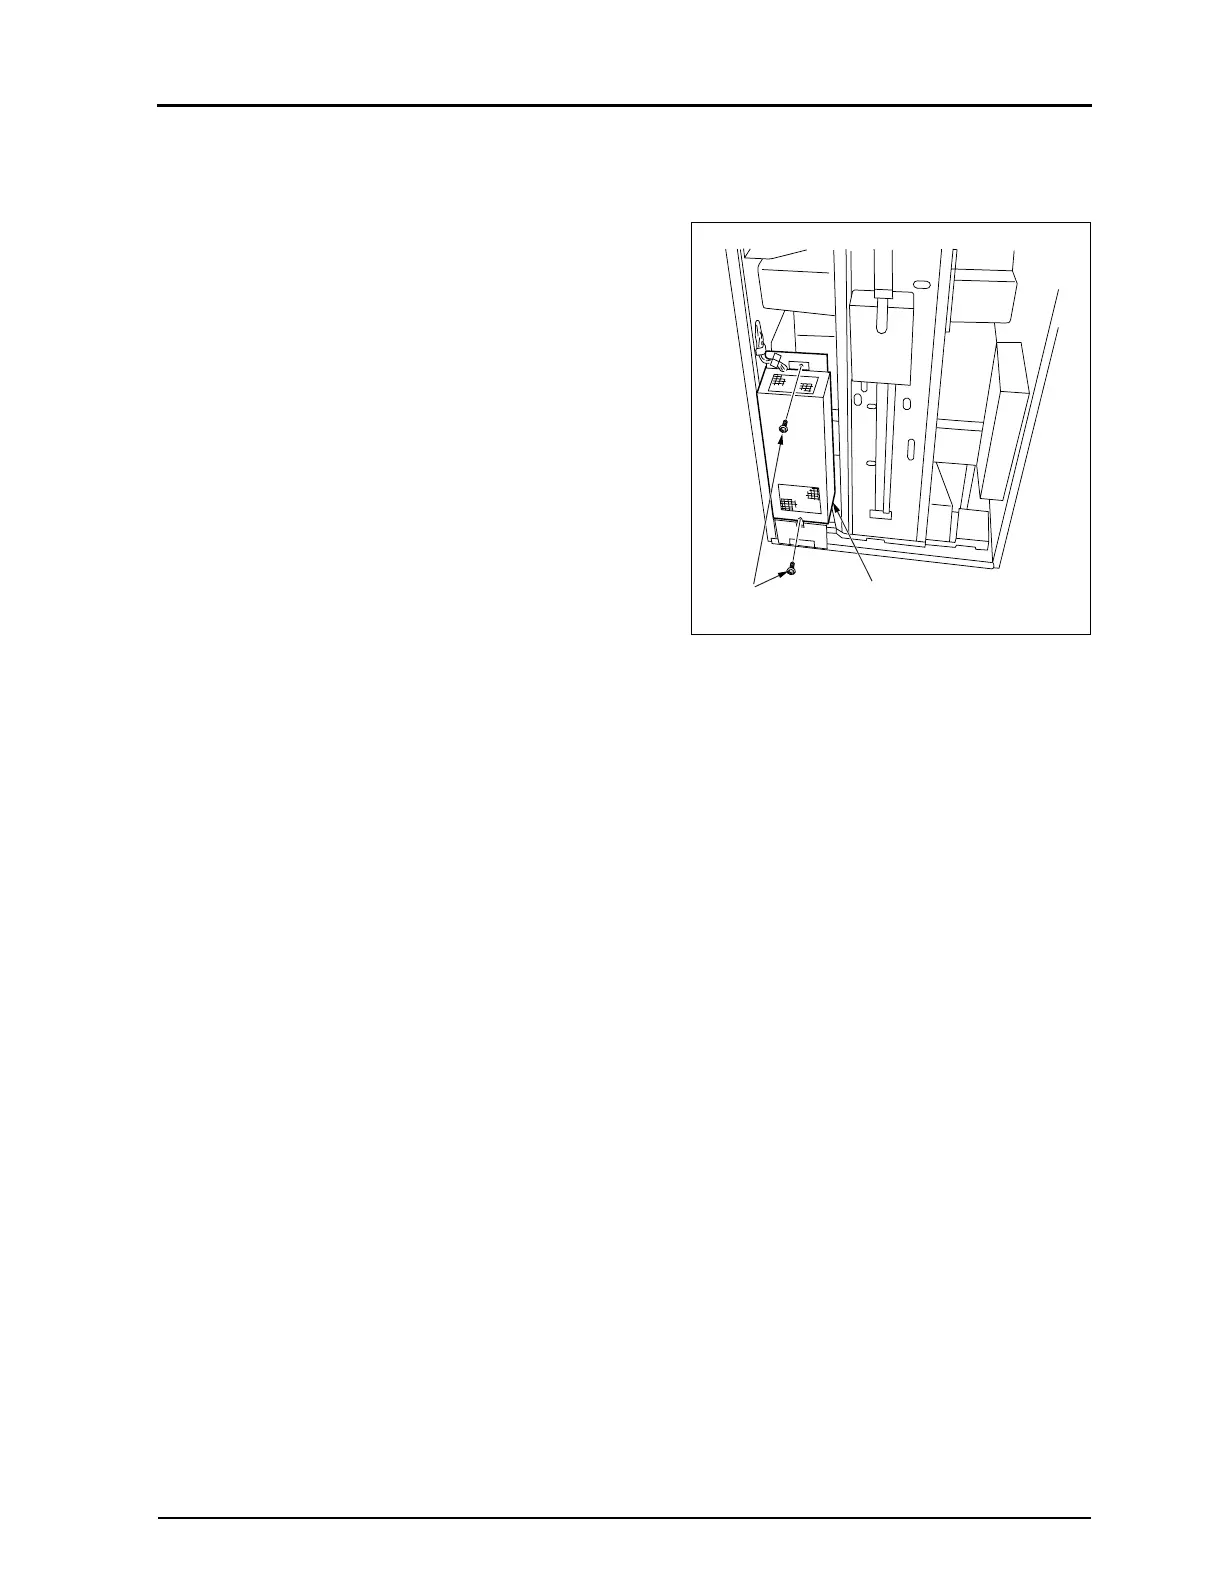
2.7.7 Replacement of SUP3(Halogen Power Supply)
1.
Remove the rear cover. (See p.28 )
2.
Remove two fixing screws, and remove the cover for the
SUP3 (halogen power supply).
3.
Unplug three connectors from the SUP 3 (halogen power
supply).
• JP8, JP9, JP11
4.
Remove 4 fixing screws, and remove the SUP 3 (halogen
power supply).
5.
Carry out reassembly in the reverse order to that described
above.
•
Remarks for installation
When it is replaced with a new SUP3, check the voltage at the
following point is DC 24V using a digital multi meter.
• DC 24V: Between SUP3 JP11 / PIN 1 (24V) - PIN 5
(GND)
SUP3 (halogen power supply)Fixing Screws
 Loading...


