44
2.3 Insertion / Ejection Unit
REGIUS MODEL 190 Service Manual Ver.1.00 2004.11.01
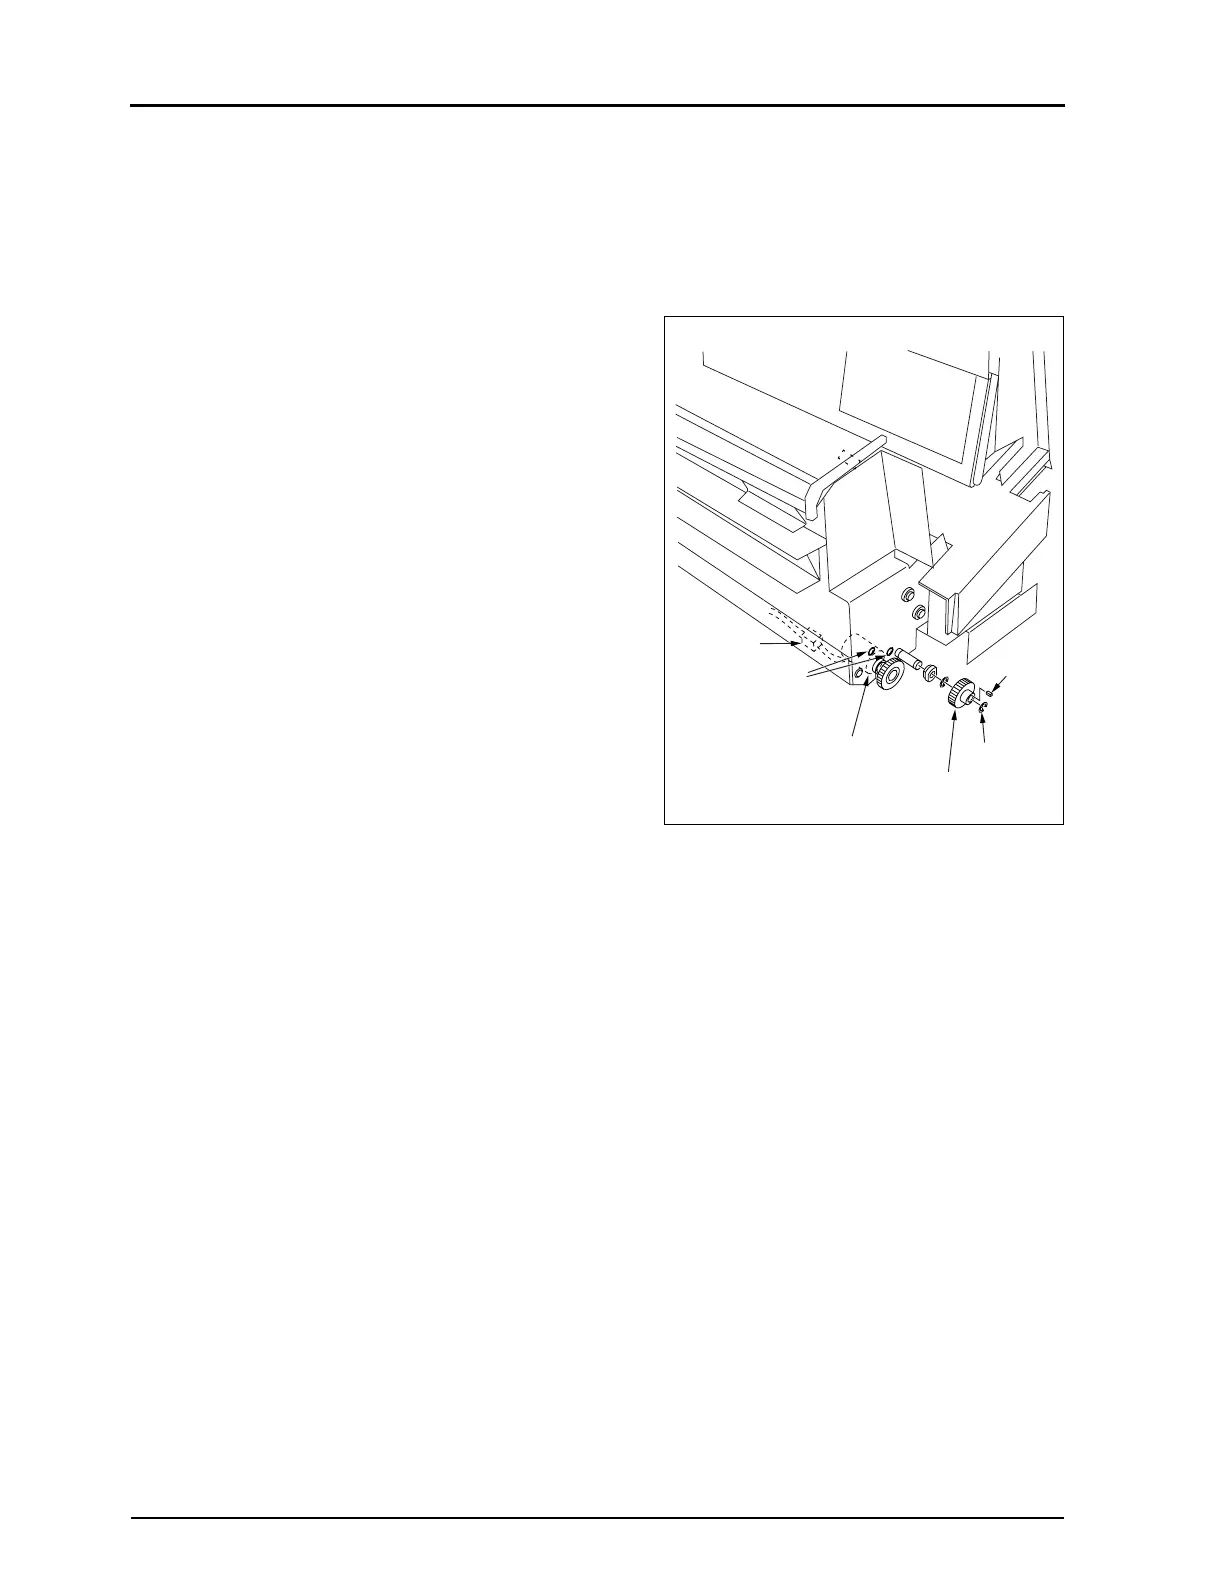
2.3.7 Replacement of Shutter Motor (M2)
1.
Remove the insertion / ejection unit. ("2.3.2Removal of the
Insertion/Ejection Unit", p.37)
2.
Remove the insertion / ejection unit front cover. ("2.2.4
Removal of Insertion / Ejection Front Cover, p.31")
3.
Remove an E-ring, and then an idler gear.
• At the same time, a parallel pin will also become free. Be
cautious not to loose this pin.
4.
Remove the wire bundle from the wire clamp. Then unplug a
connector.
• JJ48
5.
Remove two fixing screws, and remove the shutter motor
(M2).
6.
Carry out reassembly in the reverse order to that described
above.
E-Ring
Parallel
Pin
Idler Gear
Shutter Motor (M2)
Connector
Fixing Screw
 Loading...


