71
2.5 Subscan Unit
REGIUS MODEL 190 Service Manual Ver.1.00 2004.11.01
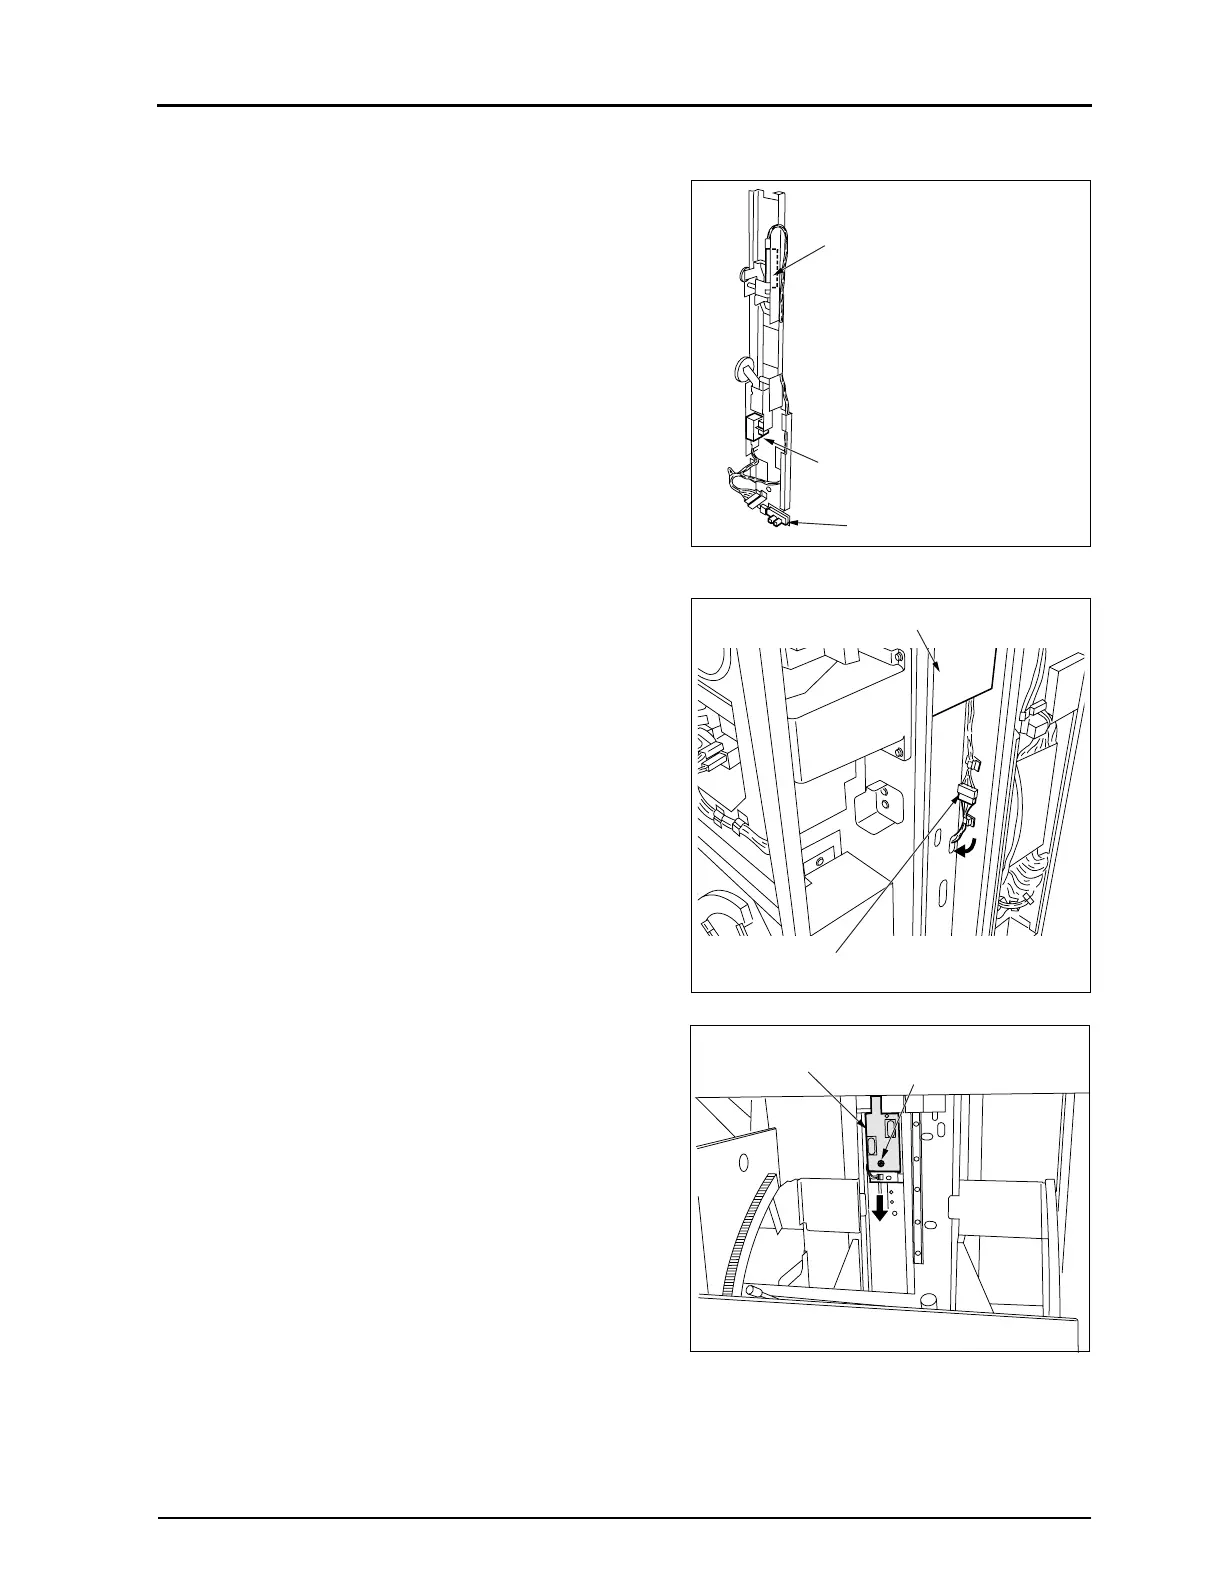
2.5.5 Removal of the Sensor Assembly
The sensor assembly contains three different types of sensor,
and from the top down, these are the V-SYNC sensor (S12),
the absorption detection sensor (S15), and the subscanning
HP sensor (S17).
1.
Remove the rear cover. ("2.2.1 Removal of the Rear Cover, p.28")
2.
Manually raise the balance weight to the top.
3.
Uncouple the relay connector and push it out to the front
through the hole in the main unit.
• JP65
4.
Lower the balance weight to the bottom by hand.
5.
Move to the front, and open the front door.
6.
Use the handle to tilt the Transport Unit.
7.
Remove a fixing screw which secures the lower part of the
sensor assy.
8.
Lower the sensor assembly while holding the sheet metal
section.
V-sync Sensor (S12)
Magnetization Detect
Sensor (S15)
Subscan HP Sensor (S17)
Relay Connector
Balance Weight
Fixing Screw
Sensor Assy
(Sheet Metal)
 Loading...


