59
2.4 Transport Unit
REGIUS MODEL 190 Service Manual Ver.1.00 2004.11.01
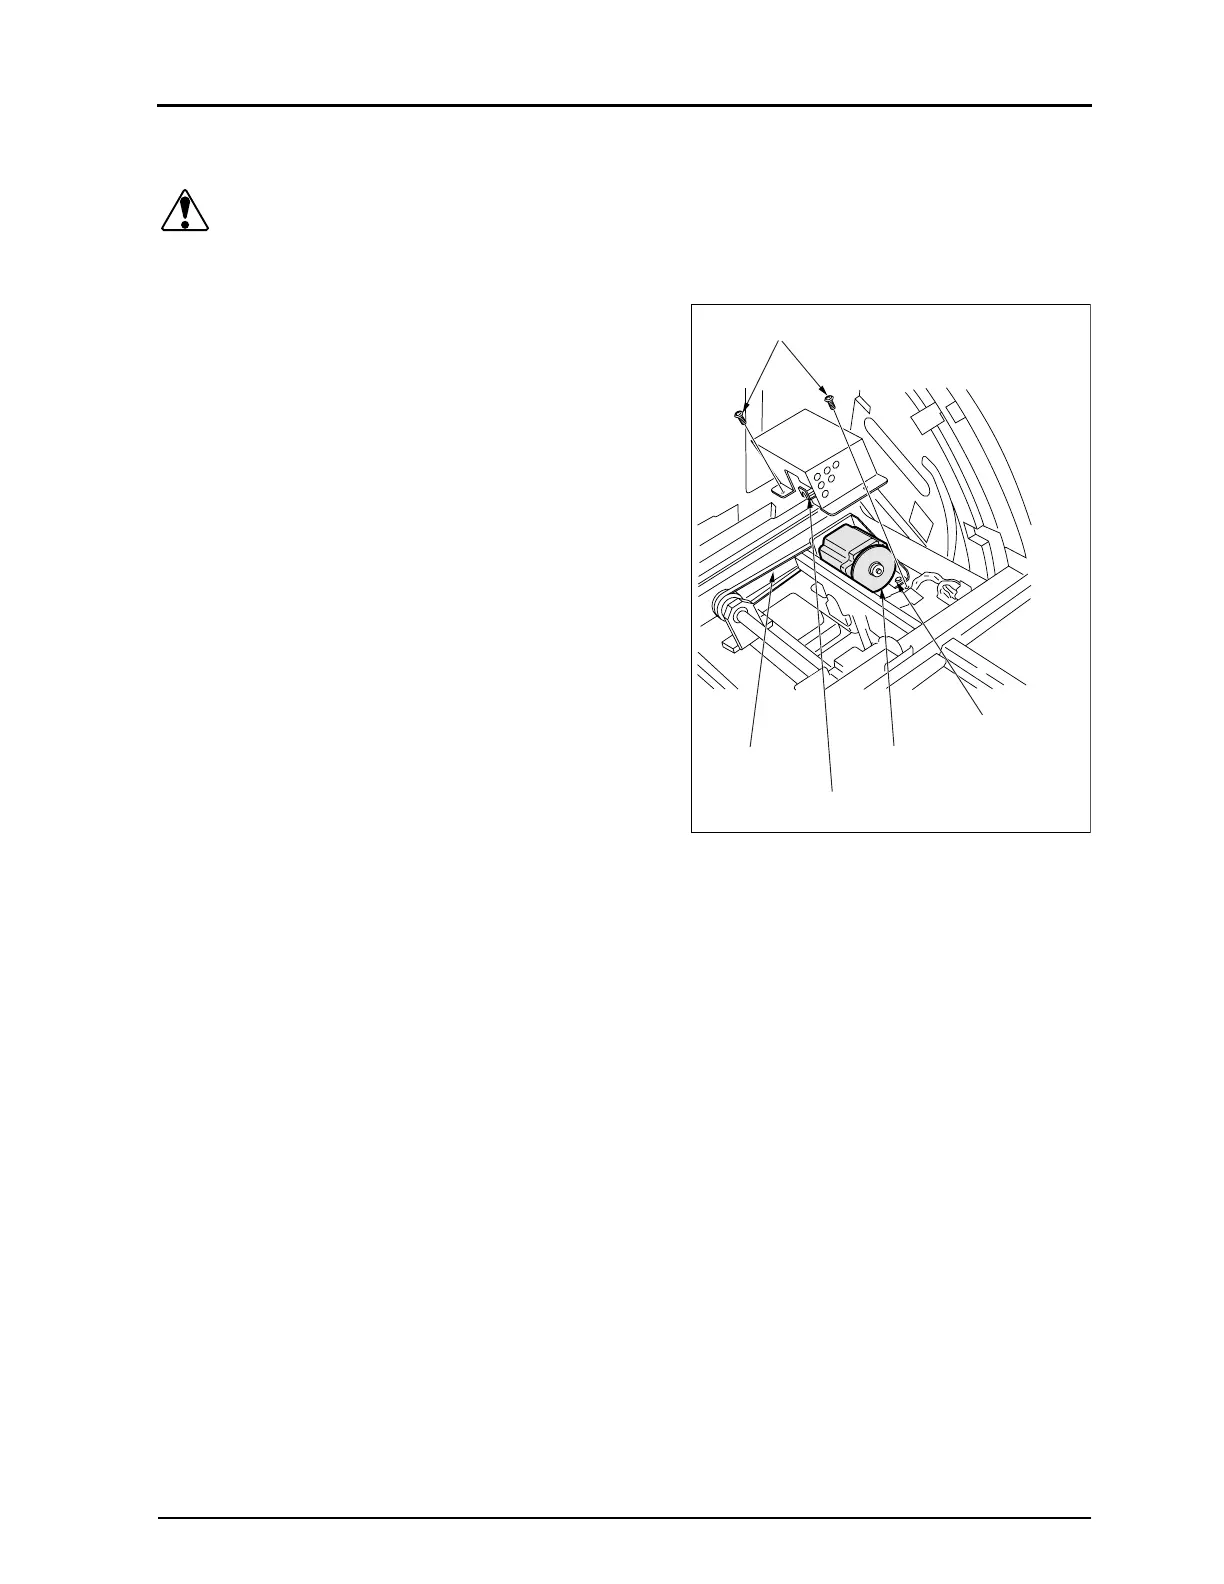
2.4.5 Replacement of Elevator Motor (PM1)
Caution To protect from burning, do not touch the justifi-
cation motor immediately after it stops.Open the
front door.
1.
Open the front cover.
2.
Use the handle to tilt the Transport Unit.
3.
Unscrew and remove the two fixing screws "a" which are
securing the elevator motor's cover in place.
4.
Unplug the connector and remove the wire bundle from the
notch in the elevator motor's cover.
5.
Remove the elevator motor's cover.
6.
Remove the two fixing screws "b" which are securing the
elevator motor.
7.
Unplug the connector from the elevator motor.
• JP28
8.
Remove the elevator motor (PM1).
9.
Carry out reassembly in the reverse order to that described
above.
• Tension adjustment
The elevator motor is to be secured in such a way that a 2-mm
deflection in the center of the belt will be caused by a load of
between 0.5 ~ 1.5 N (51 ~ 153 gf). The target value will be
approached if the elevator motor is moved towards the right
side.
Fixing Screw "a"
Fixing Screw "b" (2pcs)
Notch on Elevator Motor Cover
Elevator Motor (PM1)
Belt’s Center
 Loading...


