Setting Up System Hardware
Topics:
• Mount and Position the System
• Setting Up a Microphone
• Setting Up the Polycom StereoSurround Kit
• Adding a Touch Monitor
• Adding a Polycom SoundStation IP 7000 Conference Phone
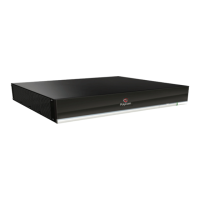
Mount and Position the System
This manual provides information to supplement the setup sheets provided with your RealPresence
Group Series system and its elective peripherals. A printed copy of the setup sheet is provided with each
system. PDF versions of the setup sheets are available at Polycom Support.
RealPresence Group Series systems are designed to be placed on tabletops or in equipment racks. If the
system or any accessories are installed in an enclosed space, such as a cabinet, ensure that the air
temperature in the enclosure does not exceed 40°C (104° F). You might need to provide forced cooling to
keep the equipment within the operating temperature range.
Note: Keep ventilation openings free of any obstructions.
Procedure
1. Do one of the following:
• If you plan to place the system on a table or open shelf, attach the self-adhesive feet to the
bottom of the system.
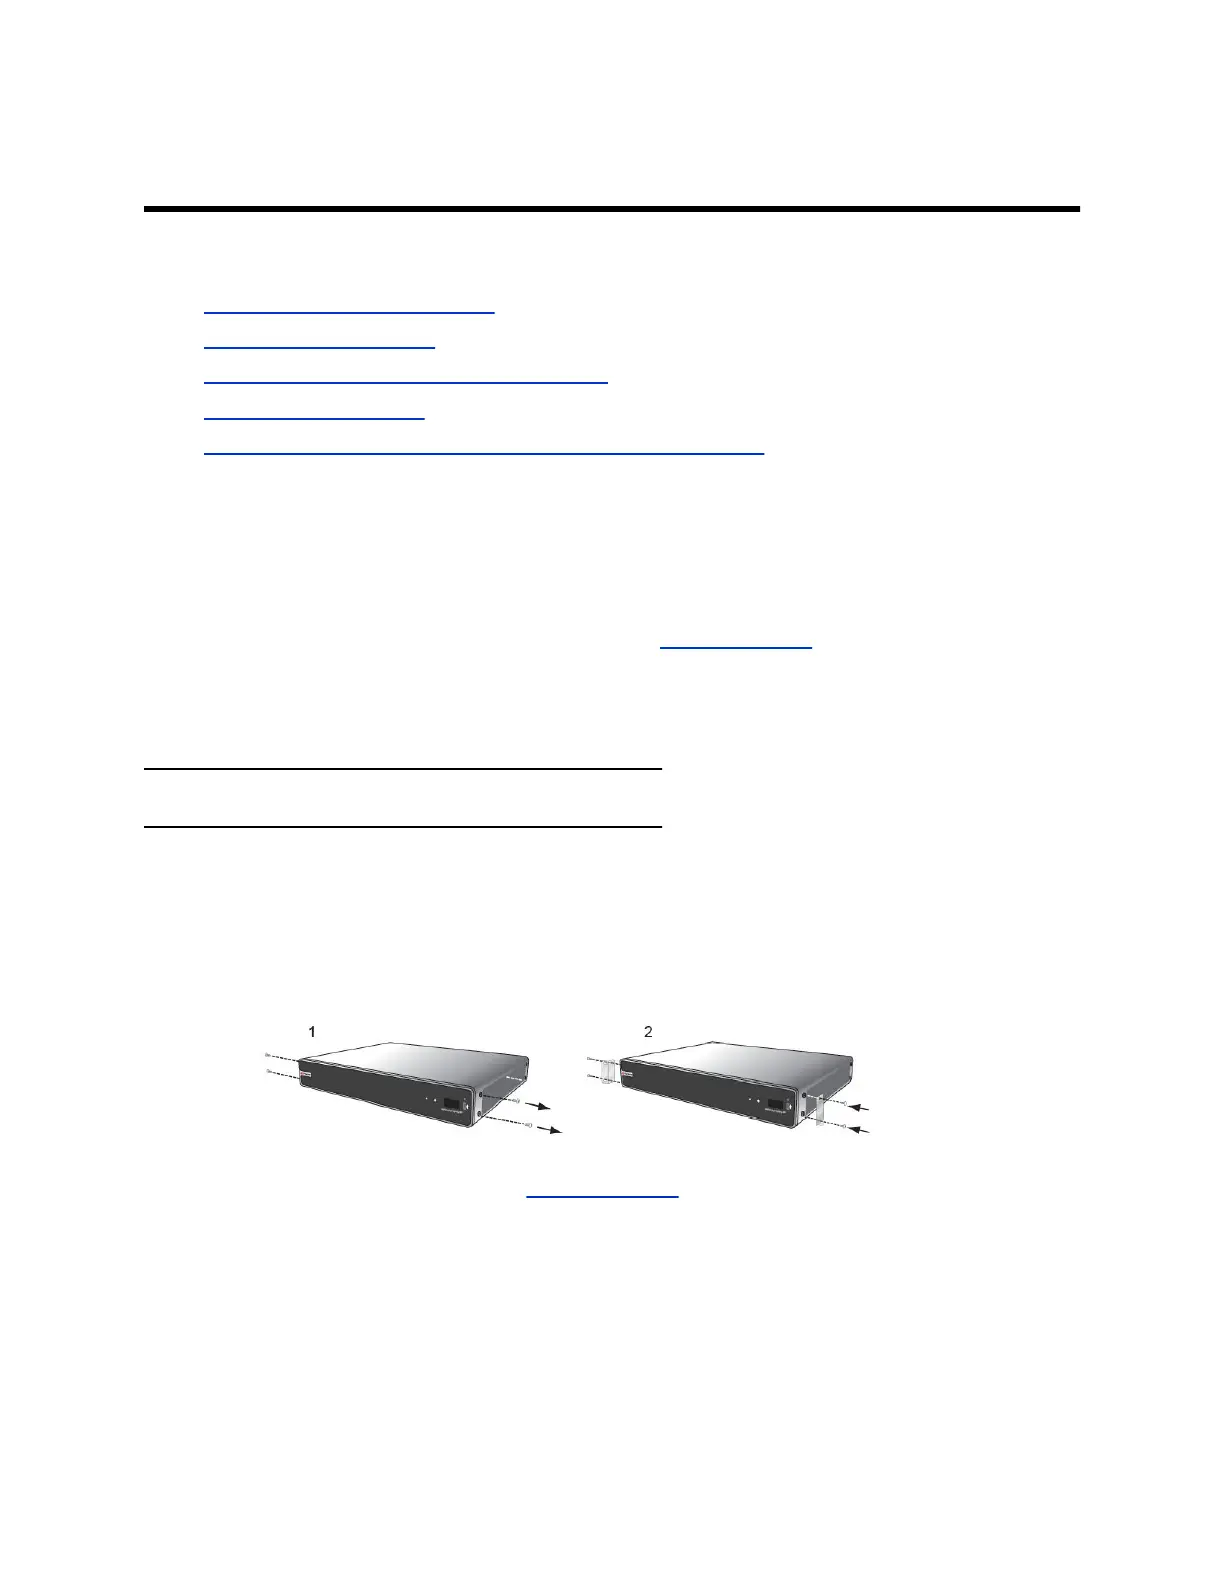
• If you plan to mount a RealPresence Group 700 system in an equipment rack, install the
mounting brackets, as shown in the following figure.
• RealPresence Group 300, 310, and 500 systems use a different type of mounting bracket.
For more information, refer to Polycom Support or contact your Polycom distributor.
2. Place the system in the desired location, keeping in mind the following pointers:
• Position the system so that the camera does not face toward a window or other source of
bright light.
• Leave enough space to connect the cables easily.
• Place the camera and display together so that people at your site face the camera when
they are looking at the display.
Polycom, Inc. 21
 Loading...