INSTALLATION
The installation sequence is shown in the Block Diagram below.
Solvent
cleaning
Drying
\
rr
0
5
Assembly
Solvent
Drying
4
-8-9
F
10
-11
B
12
Temporary
installation
Installation
(Cord drawing)
Bonding
agent
filling
Ooze
cleaning
Solvent
wiping
cleaning
1)
As for the cleaning, use cleaning solvent.
The use of alcohol or thinner adversely affects
some kinds of adhesives in terms of bonding
strength. Hence, use sufficient care to select
proper cleaning solvent.
2) When cleaning the weatherstrip, apply a 3 kg
or more pressure on a clean cloth to wipe and
clean it.
3) After cleaned with solvent, each item should
not be touched by hand fouled with grease,
etc.
4) Make a glass-and-weatherstrip assembly,
Thereafter, carefully keep the assembly free
from dust to assemble it to the window panel
(body) as soon as possible.
5) Glass installation
When assembling the glass into the weather-
strip’s glass channel, and when assembling the
glass-and-weatherstrip assembly to the window
panel (body) soapy water must not be used as
lubricant. If the installation is felt hard, use
cleaning solvent as lubricant,
1,
Soapy water
Fig. 20-2-4
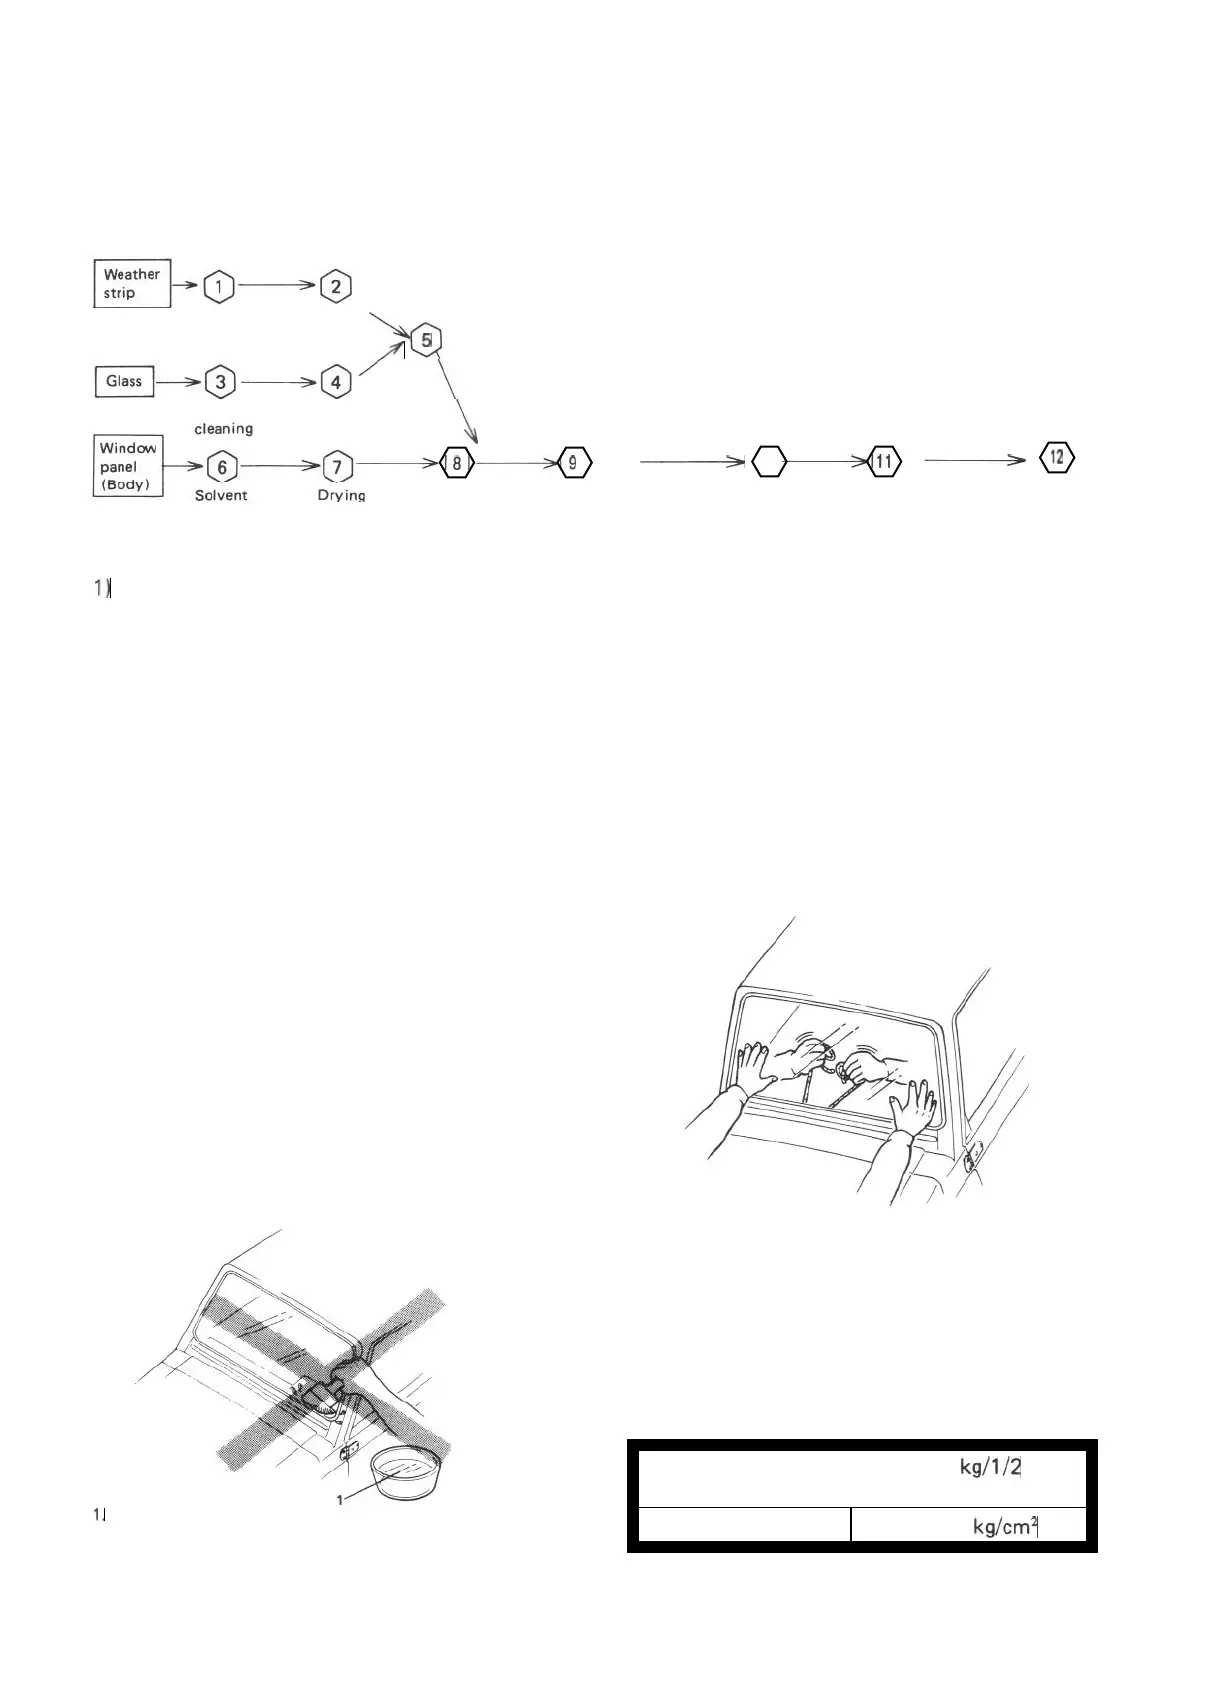
l When installing the glass-and-weatherstrip
assembly to the window panel (body), pre-
viously fit a cord into the weatherstrip’s
body flange channel.
l Start the installation from the central bottom
portion of the glass.
l Position the glass-and-weatherstrip assembly
in the window panel (body) opening with a
helper applying pressure by palm from the
outside. Then, pull the weatherstrip over the
flange with the cord to install the assembly
into position.
Fig. 20-2-5
l To settle the glass
from the outside.
in place, tap it by palm
6) As for the bonding
agent, use urethan-based
bonding agent having the strength as shown
below:
I
Separating Strength
At least 6
kg/l/2
in
wide
I
Shearing Strength
At least 10
kg/cm2
I
20-9
 Loading...