Graphs & Geometry 517
2. Click once on the work area and move to the next point. The first click
represents one side of the angle. As you move to the next point, a
dotted line shows the path used for angle measurement.
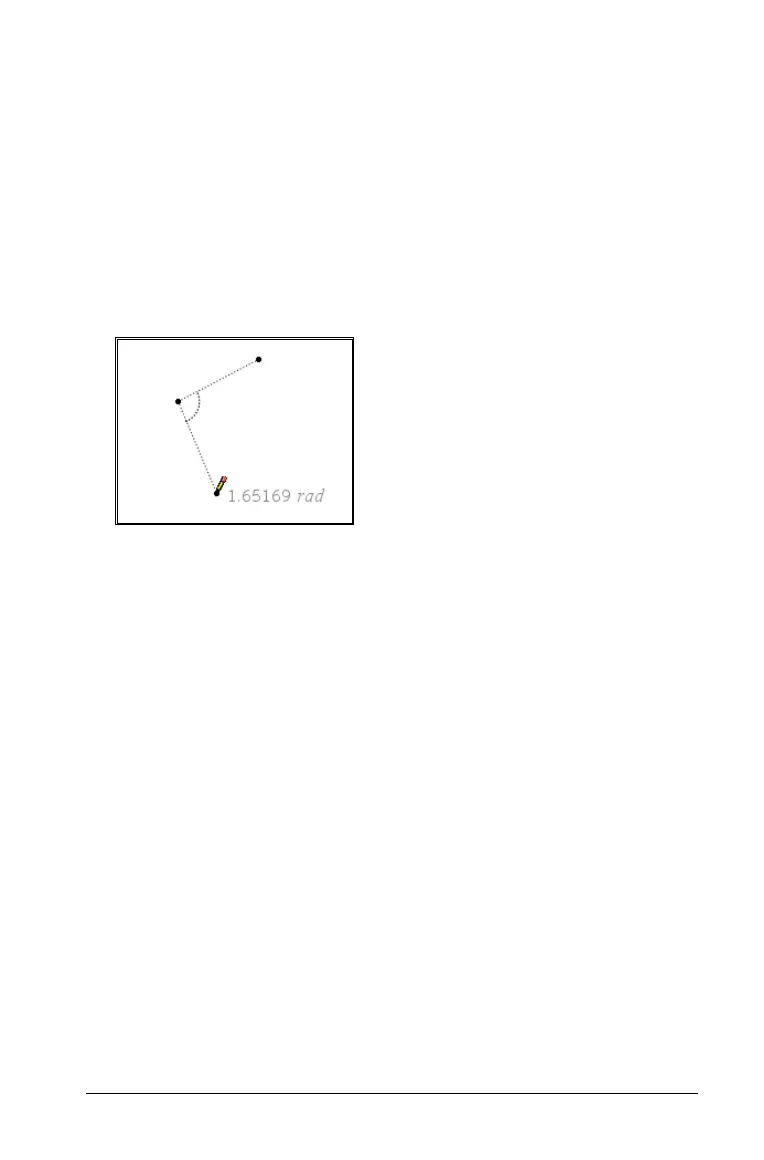
3. Click a second time on the work area. The second click represents the
vertex. As you move to the next point, Graphs & Geometry calculates
the measurement of the angle and displays it on the work area.
If you are defining an angle with a specific measurement, you can
change the path to adjust the angle size.
4. Click a third time on the work area, or press
·. The third click
represents the second side of the angle and anchors the three points.
The measurement remains visible and close to the angle even if you
change the size of the angle. If you alter the angle, the measurement
updates to reflect the new value.
Notes:
– The value of any angle will always be between 0- and 180- in
degree mode or between 0- and p in radian mode.
– The default angle measure is in radians for measurements within
Graphing View or an Analytic Window, and in degrees for
measurements within Plane Geometry View. To change it, change
the document settings.
Repositioning a measured value
1. From the Actions menu, select Pointer.
2. Select and drag the measurement to the desired location.
Finding the slope of a line, ray, segment, or vector
1. From the Measurement menu, select Slope.
2. On the work area, press · to select the object.
3. Press
· to anchor the value on the work area.
 Loading...