• Mirror Image
• Image Shift
Now that you are familiar with Job Segment programming, you can continue to Using Build Job.
Working with Job Tickets
Job tickets are groups of saved job settings. Saving job settings from previous jobs allows the same user
or a different user to quickly set up the machine to perform the same actions. This is a tremendous
time-saver when you have many original documents requiring the same settings. Rather than trying to
re-create your programming, or have another user attempt to, rely on Job Tickets.
These settings could include:
• Number of pages
• Special Pages, such as covers, tabs, etc.
• Image Quality settings
• Image Adjustments (re-sizing, centering, reduction/enlargement, etc.)
• Finishing options
Job Tickets can be submitted to the system from a remote client computer using the FreeFlow Print
Manager application. See the applicable documentation for generating job tickets with FreeFlow.
Open a job ticket
Once a job has been submitted to the Xerox Nuvera and saved, it can be retrieved and opened at a later
time.
1. Select the Job Manager button, then choose Saved tab.
See Finding a Saved Job To Print.
2. Use the file type filter to find the job ticket.
3. Double-click or right-click the job ticket file you want to open and make any additional programming
choices.
4. When satisfied with your settings, click the Print button at the bottom of the window.
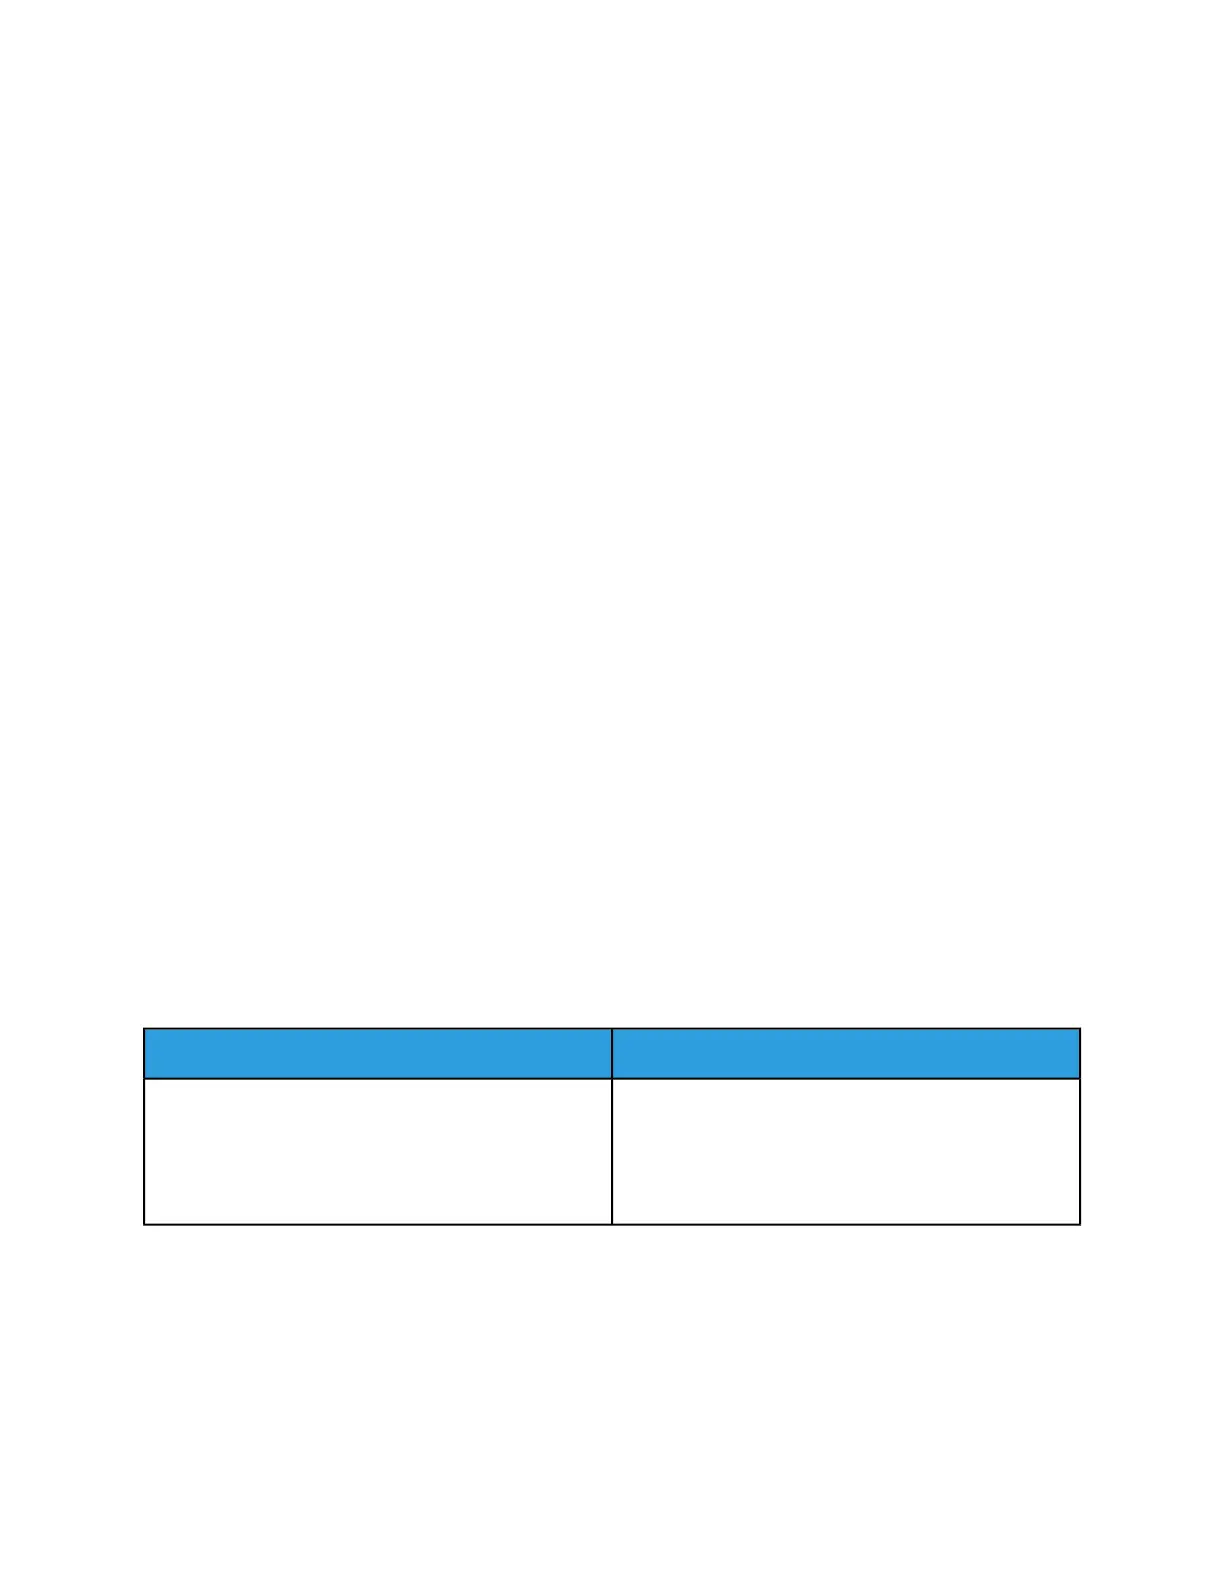
Related Hints and Tips
Hint/Tip DescriptionSubtopic
Selecting Cancel from FreeFlow Print Manager, while a
job is being submitted to the system, does not com-
pletely cancel the job. The workaround is Delete the
canceled job at the printer, which appears in the Com-
pleted Jobs list as completed with errors.
FreeFlow Print Manager and canceling job submission
Xerox
®
Nuvera
®
14-70
User Guide and Training Aid (UGTA)
How Do I...
 Loading...