3. Before installing the driveshaft, set the opening side of the circlip facing downward.
4. After installation, check that the driveshaft cannot be removed by hand.
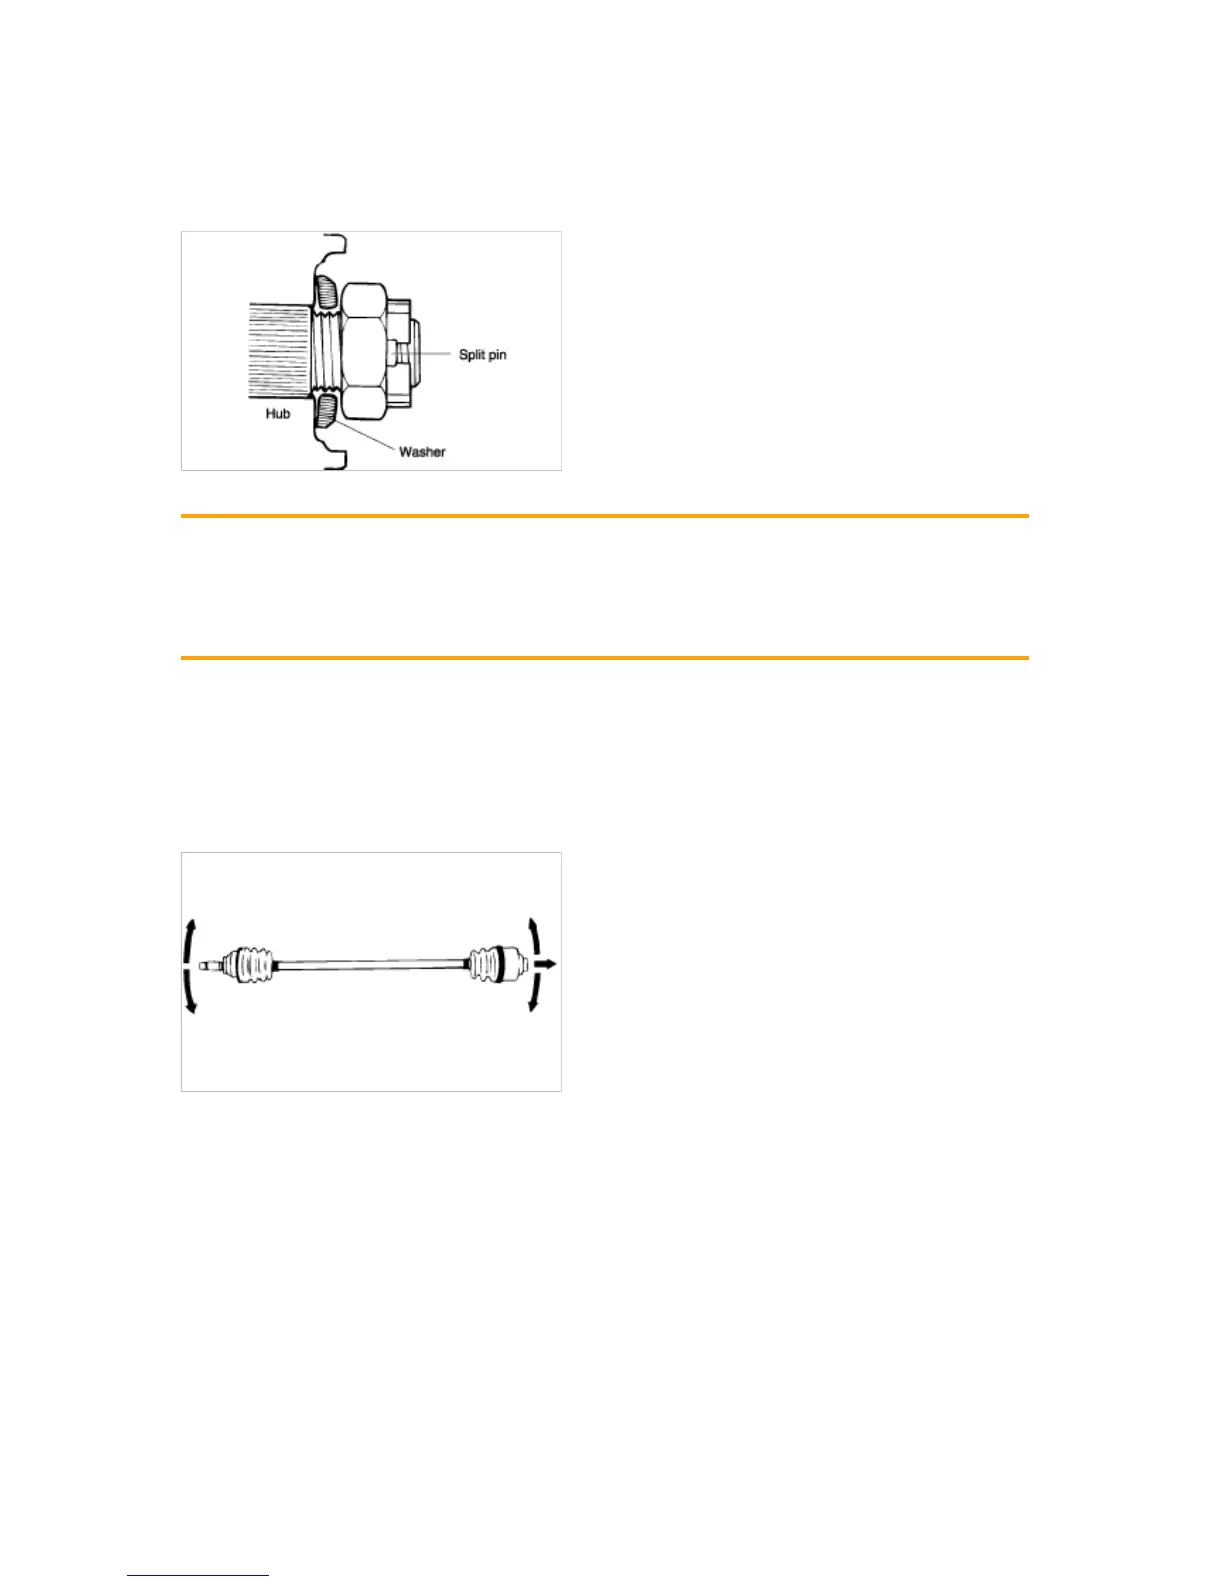
5. Position the convex side of the washer to face outside and install the nut and split pin.
6. Replace the self-locking nuts and split pin with new ones after removal.
7. Tighten the below parts to the specified torque
Driveshaft nut
2.0L : 200~260Nm (2000~2600 kgf·cm, 148~192 lbf·ft)
2.7L : 200~280Nm (2000~2800 kgf·cm, 148~207 lbf·ft)
Lower arm ball joint nut
60~72Nm (600~720 kgf·cm, 44~53 lbf·ft)
1. Check the driveshaft boots for damage and deterioration.
2. Check the ball joints for wear and damage.
3. Check the splines for wear and damage.
4. Check the dynamic damper for cracks and wear.
1. Check the driveshaft spline for wear or damage.
2. Check that there is no water or foreign material in the birfield joint.
3. Check the spider assembly for roller rotation, wear or corrosion.
4. Check the groove inside the tripod joint case for wear or corrosion.
5. Check the dynamic damper for damage or cracks.
http://www.hmaservice.com/viewer/content.asp?IsPrint=true&imgnum=1&print_title

 Loading...