Upgrading Firmware
134
TPI-PRO-DVI - Instruction Manual
2. Press the Master IP/URL button to open the on-screen keyboard, and enter the Master’s IP address or URL.
NOTE: This information can be obtained from the Networking Addresses dialog in NetLinx Studio. See Appendix B: Using NetLinx
Studio to Connect to a NetLinx Master on page 158 for details.
3. Reboot the TPI (see the Rebooting the TPI section on page 51).
Upgrade the TPI Firmware
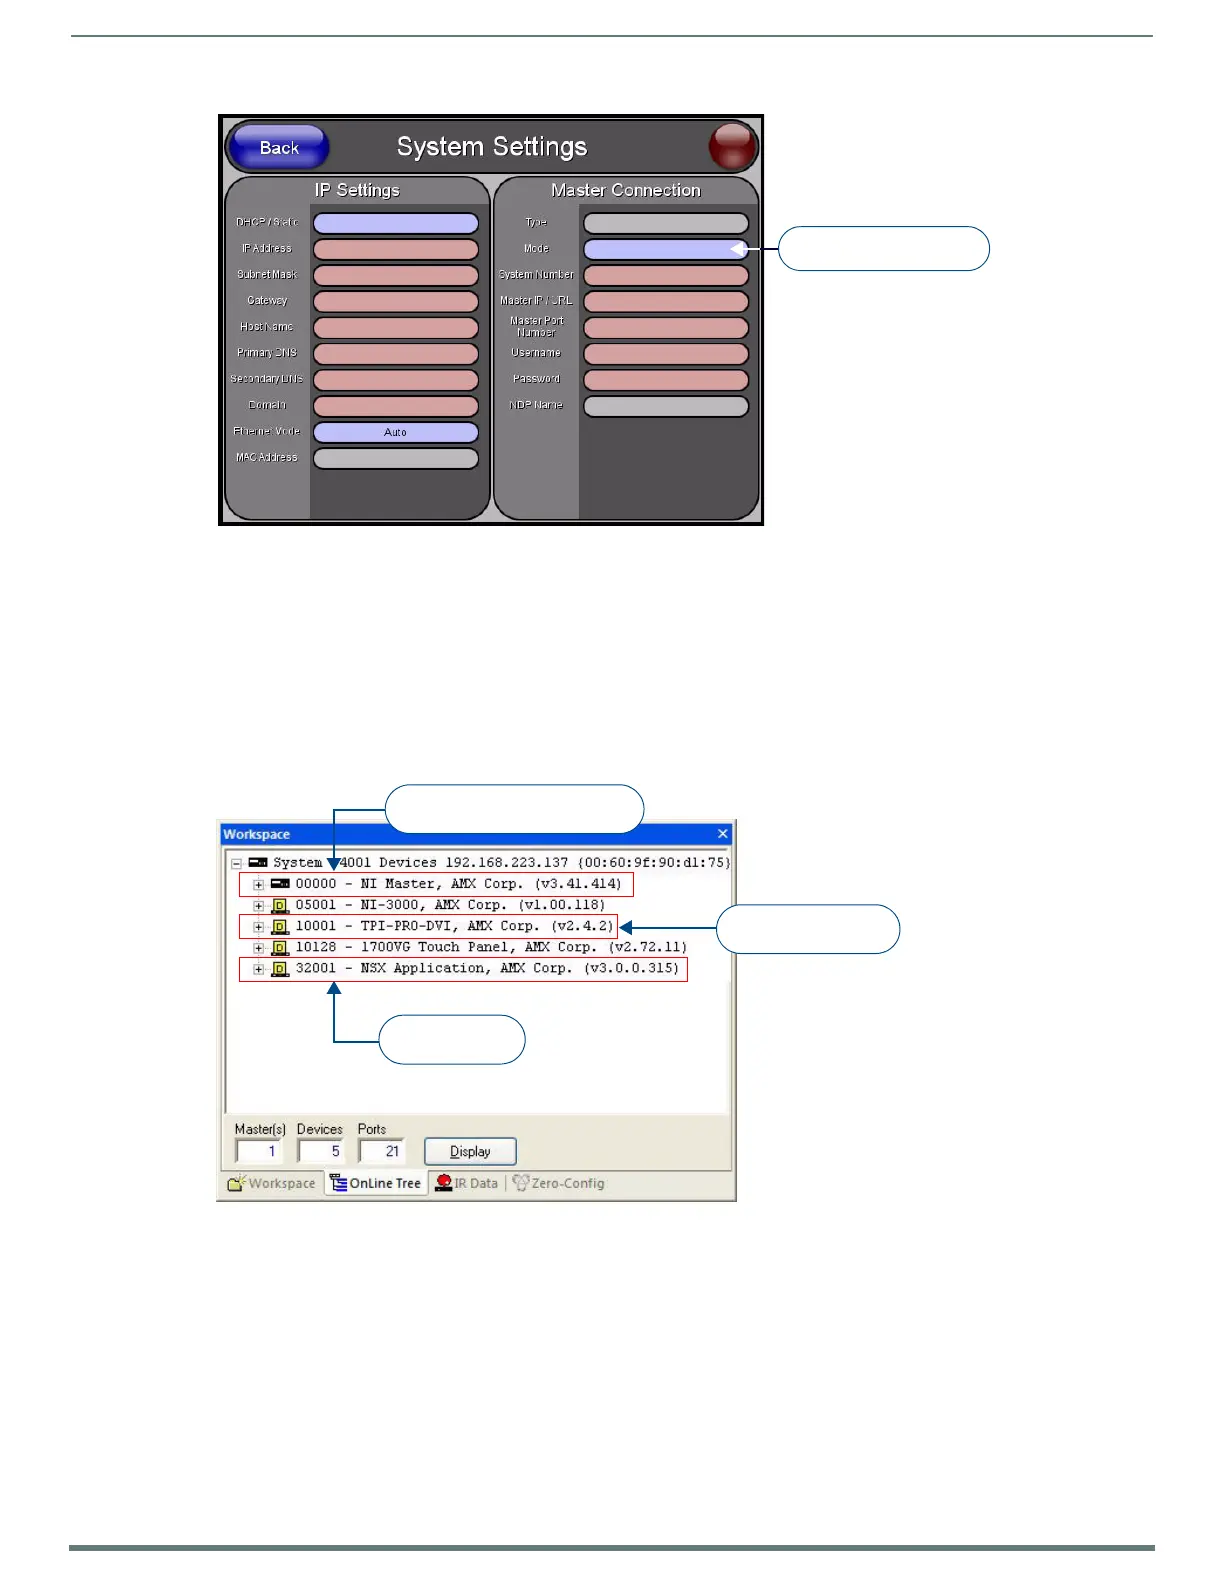
1. Use the OnLine Tree in NetLinx Studio to view the devices on the System. Verify the TPI appears in the OnLine Tree tab of the
Workspace window (FIG. 81).
Click on the Display button to open the Online Tree context menu, and select Refresh System to refresh the device tree.
The default TPI device number is 10001.
2.
Sending Firmware to the TPI (via NetLinx Studio)
NOTE: Check www.amx.com for the latest firmware (*.KIT f ile) for the TPI. Firmware updates are available for registered AMX Dealers
to download from the Tech Center section of the website.
Download the appropriate firmware (*.KIT) file from the AMX web site to your PC.
FIG. 80
System Settings page
FIG. 81 NetLinx Workspace window (showing connected TPI)
Press to toggle connection
Master Connection Modes
TPI - firmware version
and device number
NetLinx Master - firmware version
and device number
NetLinx Studio -
version number

 Loading...


