Configuring Communication Settings
46
TPI-PRO-DVI - Instruction Manual
Conf iguring the Ethernet Connection on the NetLinx Master
When using Ethernet as the communication method, the NetLinx Master must first be setup with either a DHCP or static IP address
obtained from either NetLinx Studio or your System Administrator.
NOTE: Verify that you are using the latest NetLinx Master firmware (available at www.amx.com).
Before you start, verify that the NetLinx Master is receiving power and is communicating via Ethernet with the PC running NetLinx
Studio.
1. Apply power to the TPI (see the 12VDC PWR (Power) Connector section on page 30).
2. Connect the TPI to a valid Ethernet Hub on the same LAN as the NetLinx Master and the PC running NetLinx Studio (see the
ETHERNET 10/100 (RJ-45) Port section on page 28).
Verify the green LED on the Ethernet ports on both the NetLinx Master and the TPI are illuminated, indicating a proper
connection.
Verify the yellow LED on the Master’s Ethernet port is blinking, indicating active communication.
3. Open the System Settings page on the TPI:
a. Press the SETUP pushbutton on the front panel to access the Setup page.
b. Press the Protected Setup button to access the Protected Setup page, using the on-screen keypad to enter the password
(default = 1988).
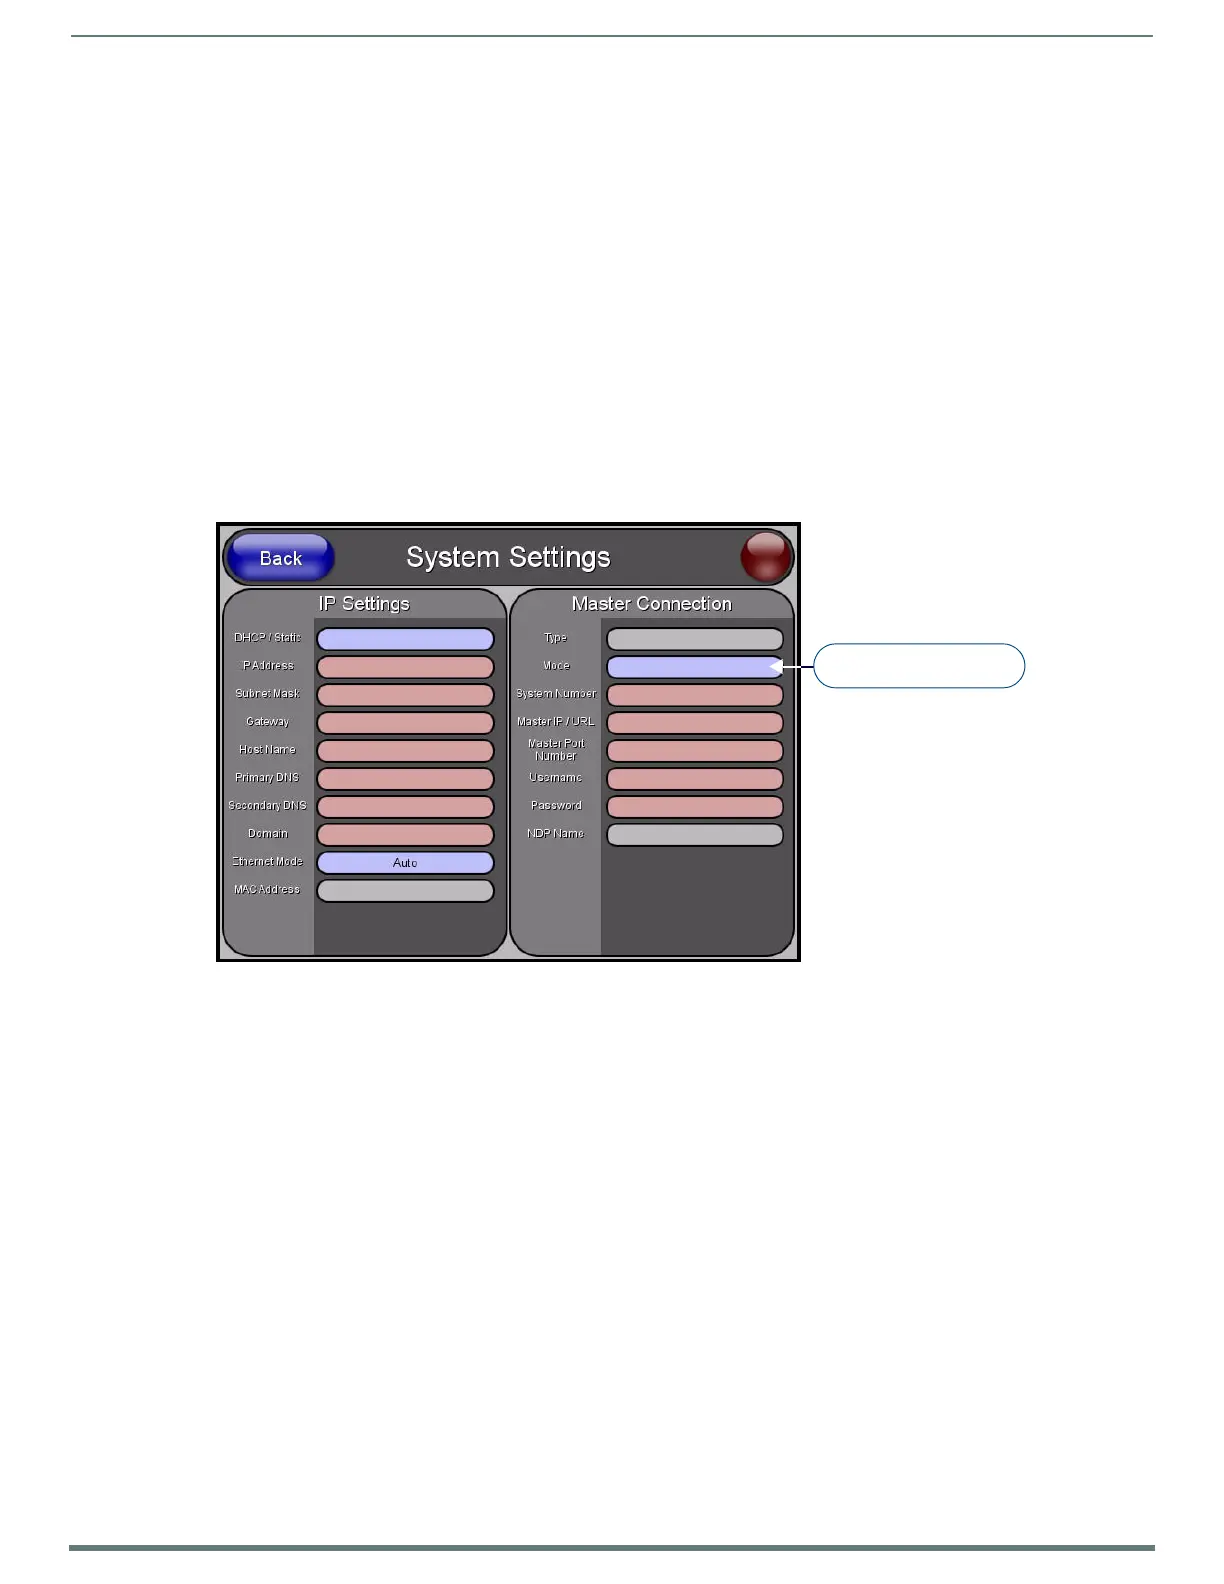
c. Press the System Settings button to open the System Settings page (FIG. 43).
NetLinx Master IP Address - URL Mode
In URL mode, enter the System Number and the IP/URL of the NetLinx Master in the System Settings page.
Use 0 (zero) for if the System Number is unknown (default setting).
The default Master Port Number is 1319. Do not alter the Master Port Number value.
1. Press the Mode button until the option cycles to URL.
By selecting URL, the System Number field becomes read-only, because the TPI retrieves this value from the Master.
If the TPI does not appear in the Online Tree in NetLinx Studio, make sure that the NetLinx Master System Number, which
can be derived from NetLinx Studio’s Device Addressing dialog (FIG. 44), is assigned correctly.
FIG. 43
System Settings page
Press to toggle connection
Master Connection Modes

 Loading...


