Using Takenote™
153
TPI-PRO-DVI - Instruction Manual
Downloading Captured TakeNote Image Files To a Local Directory
1. Launch the AMX TakeNote Web application. If the application is already open, select File > Refresh to refresh the image list.
2. In the Thumbnail Images window, select a file that you want to save to a local directory on your PC or LAN.
NOTE: Image files must be downloaded one at a time (multi-selection is not supported for downloading f iles).
3. Press the Download button (FIG. 117).
Alternatively, select Image > Download Image from the Menu Bar.
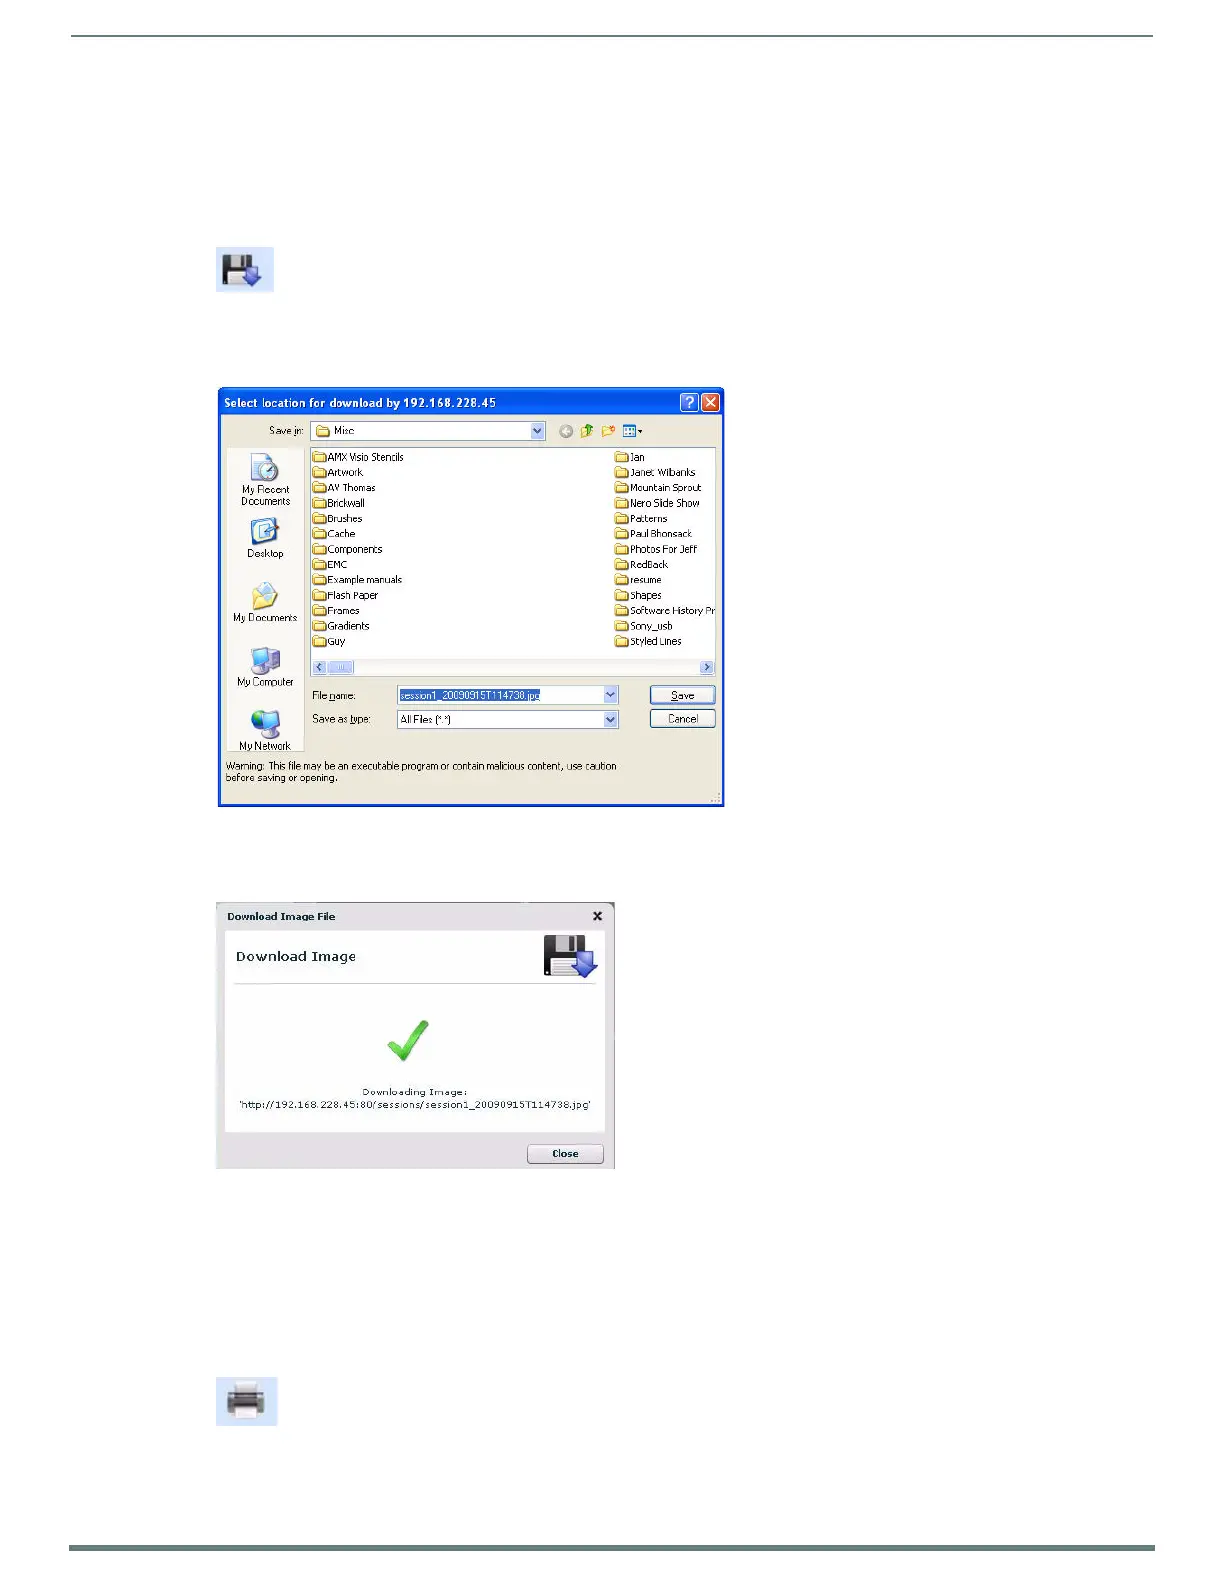
4. The application prompts you to specify a target directory for the image (.JPG) file (FIG. 118):
5. Select a target directory, and click Save.
6. The application notifies you that the file has been saved (FIG. 119):
7. Click Close to return to the main application window.
Printing Captured TakeNote Image Files
1. Launch the AMX TakeNote Web application. If the application is already open, select File > Refresh to refresh the image list.
2. In the Thumbnail Images window, select a file that you want to print.
NOTE: Image files must be printed one at a time (multi-selection is not supported for printing f iles).
3. Press the Print button (FIG. 117).
Alternatively, select Image > Print Image from the Menu Bar.
FIG. 117
Download button
FIG. 118 Select Location for Download dialog
FIG. 119 Download Image File dialog
FIG. 120 Print button

 Loading...


