Configuring Communication Settings
41
TPI-PRO-DVI - Instruction Manual
Conf iguring Communication Settings
Overview
Communication between the TPI and the NetLinx Master consists of using an Ethernet connection (DHCP or Static IP).
Conf iguring TPI Communication Settings
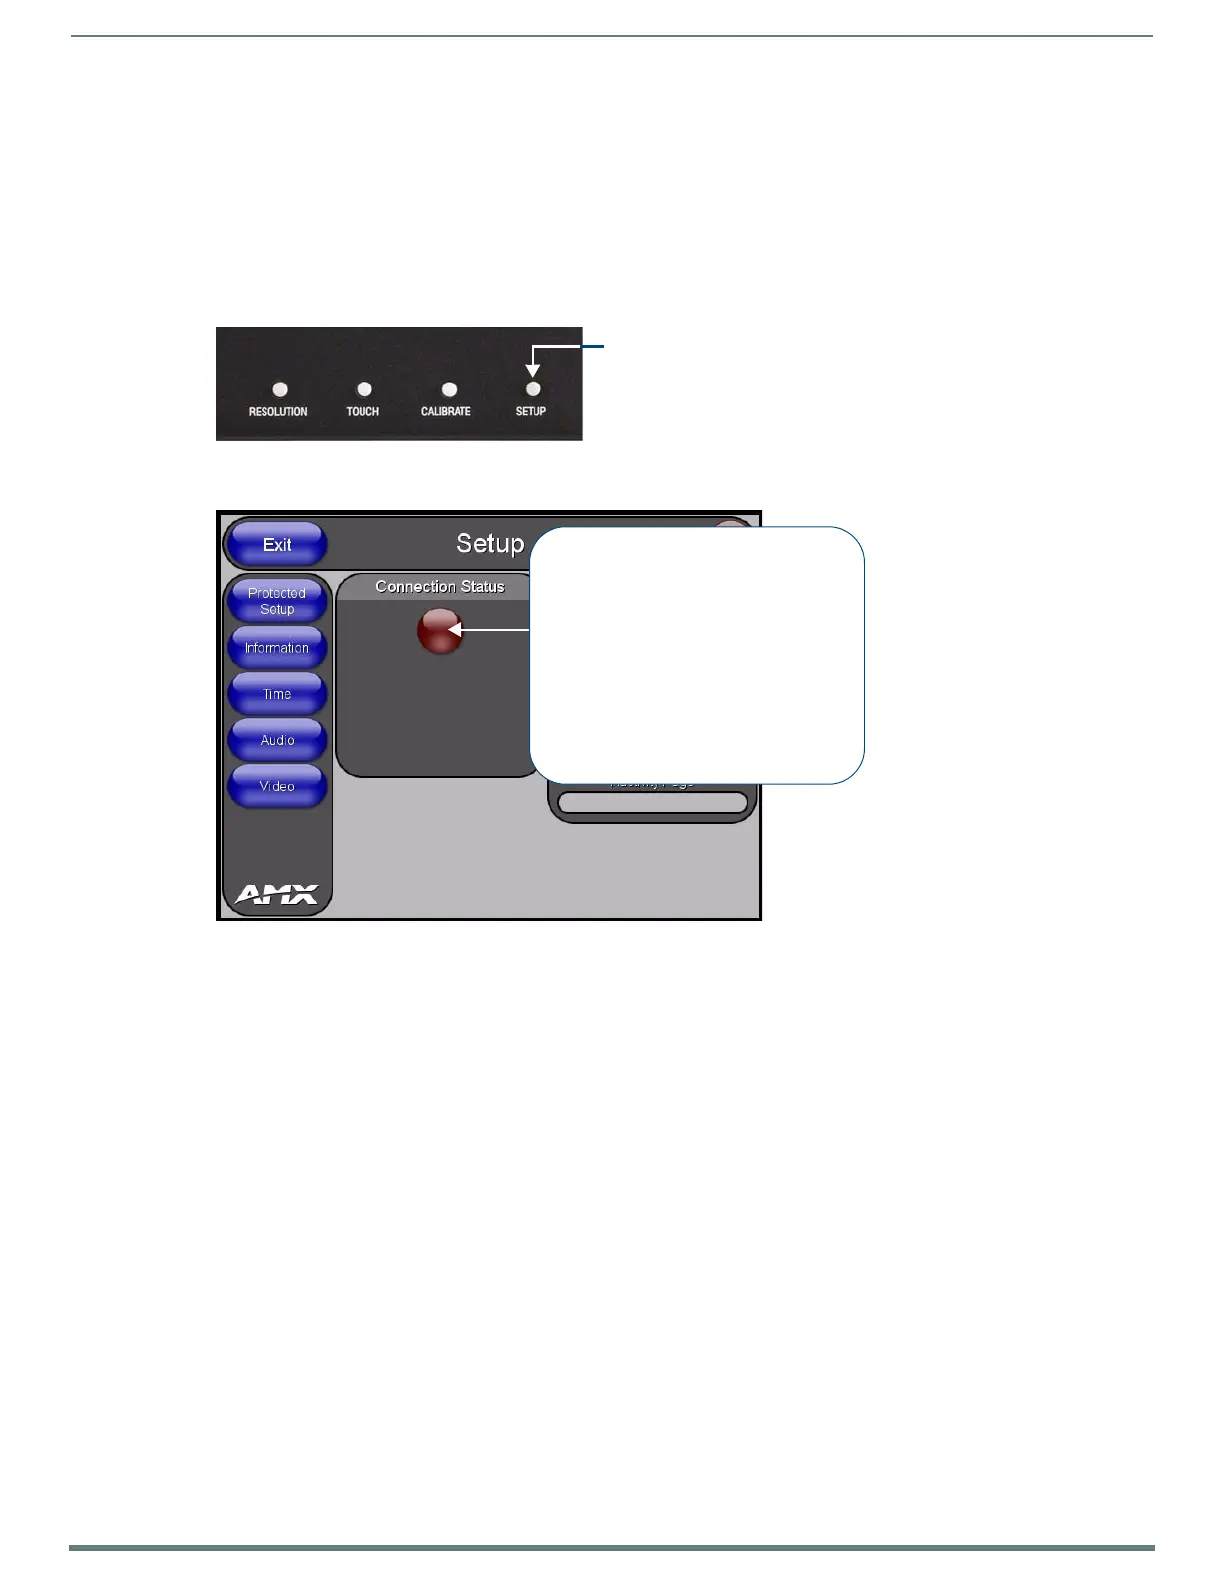
Press the SETUP pushbutton on the front panel (FIG. 34) to open the Setup page.
The options in the Setup page allow you to configure communications between the TPI and NetLinx Master (FIG. 35).
NOTE: Before commencing, verify you are using the latest NetLinx Master firmware. Verify the NetLinx Studio program being used is
version 2.8 or higher.
The basic steps involved with configuring the TPI’s communications settings include:
1. Assign a Device Number to the TPI (see page 42).
2. Set the Serial Port Baud Rate (see page 43).
3. Configure the Master Connection Settings (see page 43).
FIG. 34
Setup Pushbutton (front panel)
FIG. 35 Setup page
Press to open the Setup page
Connection Status:
Red Connection Status icon - indicates
Green Connection Status icon with LOCK -
no connection to a Master
Yellow Connection Status icon - indicates
an unreliable network connection
active communication to an encrypted
Green Connection Status icon - indicates
active communication to a Master
Master (password required to connect)

 Loading...


