Using Takenote™
149
TPI-PRO-DVI - Instruction Manual
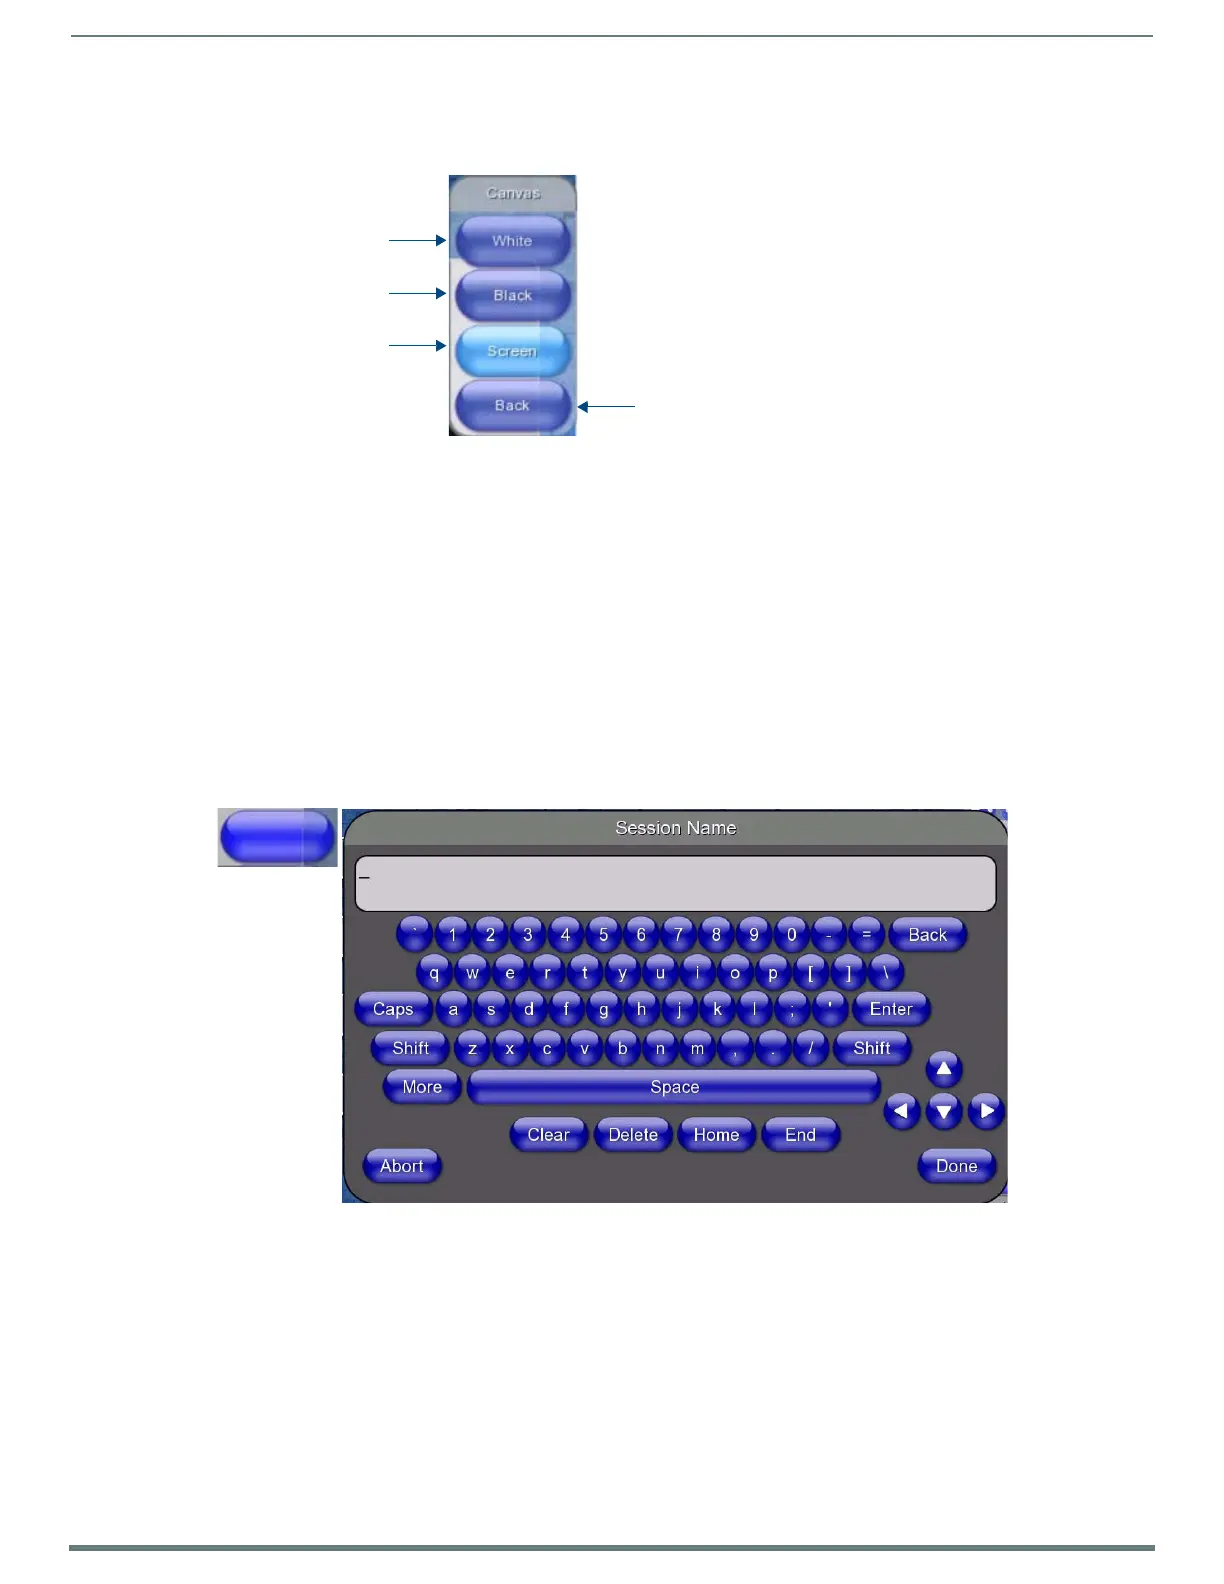
Canvas Options Menu Bar
Press the Canvas button on the TakeNote Menu Bar to access the Canvas Options Menu Bar (FIG. 109):
The options in this menu apply to the super-imposed drawing layer used by TakeNote for annotations.
White: Press to use a white canvas (overlay).
Black: Press to use a black canvas (overlay).
Screen: Press to use a totally transparent overlay (default setting). In this case, the canvas is invisible.
Working With Opacity Settings
The Opacity setting can affect the performance of the TPI, as semi-transparent lines can place substantial demands on the
processor. Generally, semi-transparent lines should be used as sparingly as possible. The opacity settings are intended for minor
highlighting, but not for large areas or complex drawings.
Session Tools
Naming the TakeNote Session
Click the Session button in the TakeNote Menu Bar (see FIG. 91 on page 140) to access the Session Name Keyboard shown in
FIG. 110:
Use this keyboard to enter a name for the current TakeNote session. To type, press on each letter or symbol button and click Done
when finished. The session name entered here will be used in two ways:
It will appear in the TakeNote Control (Protected Setup) page (see FIG. 89 on page 139) in the Session Name field.
It will be used as a prefix in the system-generated file names applied to all saved screen images. See the Using the Save
Tool section on page 143 for details.
FIG. 109
Canvas Options Menu Bar
FIG. 110 Session Name Keyboard
Show white canvas
Close the Canvas Options Menu Bar
(return to the main TakeNote Menu Bar)
Show black canvas
Show screen only
(no visible canvas layer)

 Loading...


