Using Takenote™
139
TPI-PRO-DVI - Instruction Manual
Using Takenote™
Overview
The TakeNote application allows you to create on-screen annotations over the displayed video sources, using a Pointing device (i.e.
USB mouse or touch screen) connected to a TPI.
Refer to the Protected Setup - TakeNote Control Page section on page 75 for descriptions of all of the options on the
TakeNote Contro l page.
Verify your NetLinx Master has the latest firmware (*.KIT) file loaded.
Verify your NetLinx Master’s IP Address and System Number have been properly entered into the Master Connection
section of the System Settings page (see the Configuring the Master Connection Settings section on page 43).
Enabling TakeNote on the TPI
The TakeNote feature of the TPI must be enabled before TakeNote can be used:
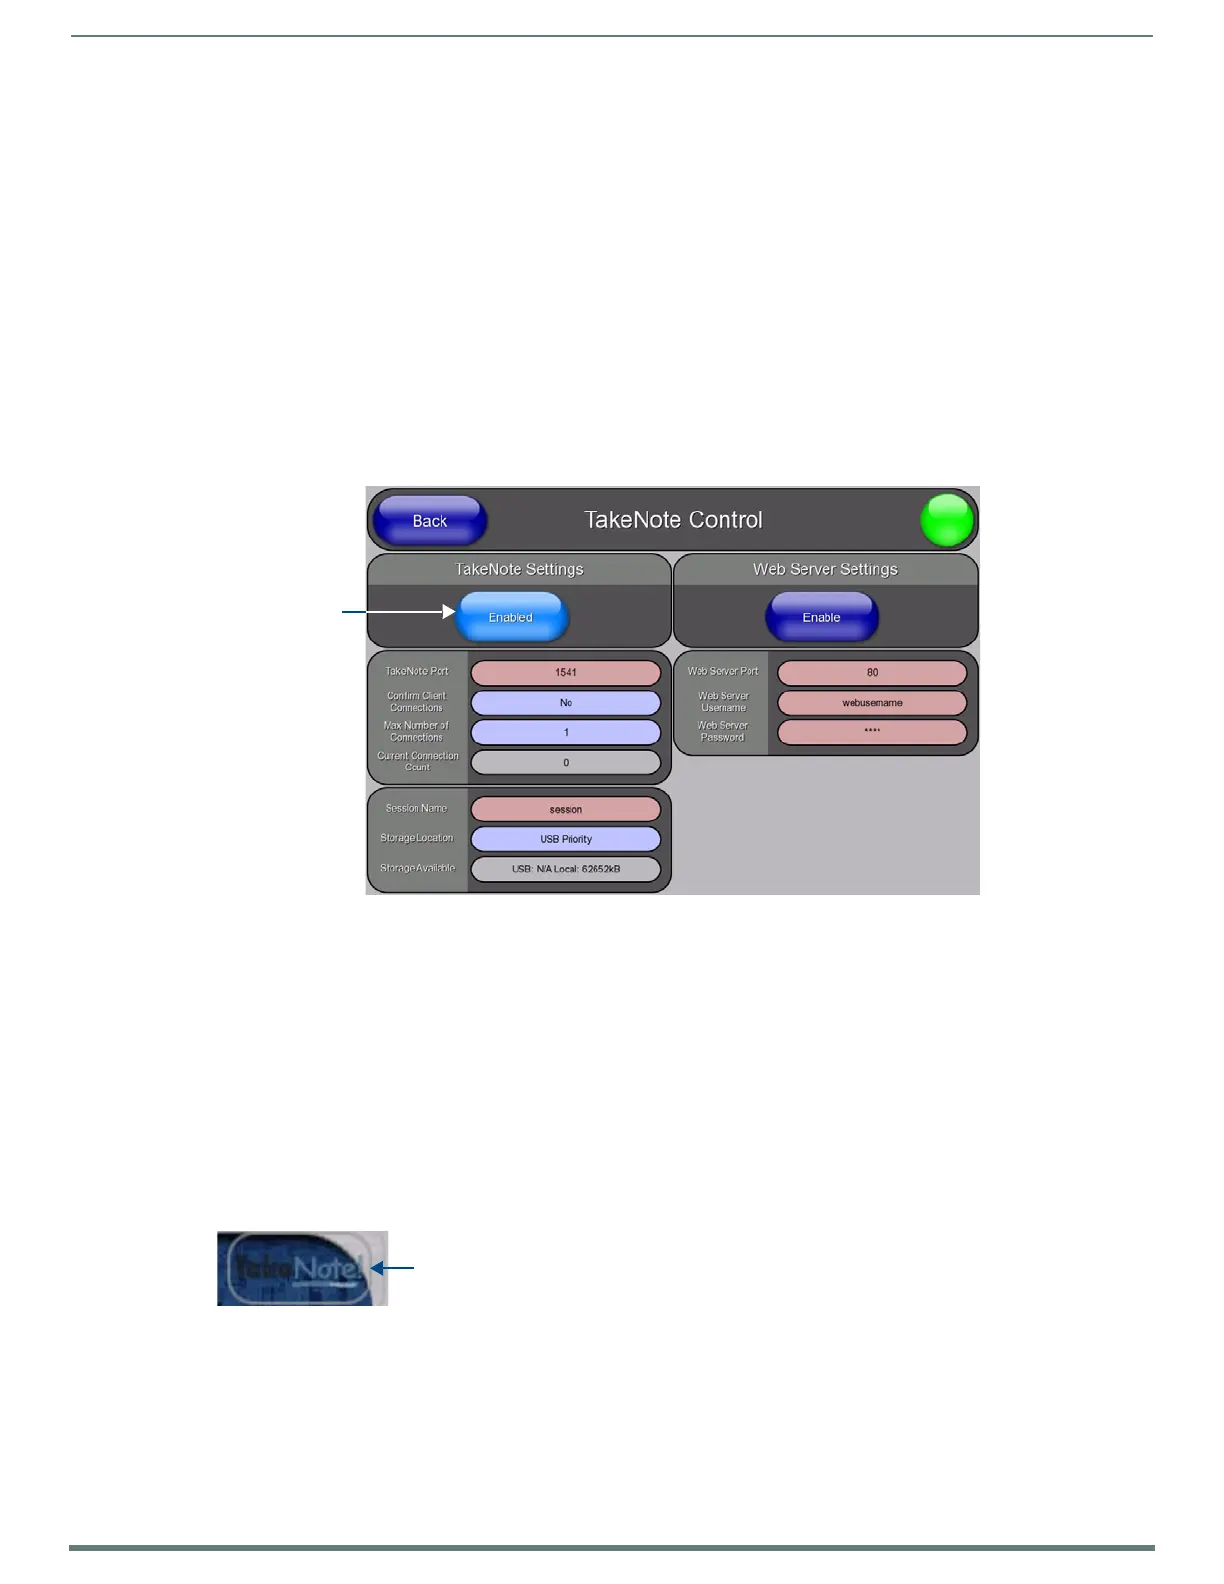
1. Open the TakeNote Contro l page (FIG. 89):
a. Press the front panel SETUP pushbutton to open the Setup page.
b. Press Protected Setup to open the Protected Setup page. This page is password-protected:
Use the on-screen keypad to enter the default password - 1988.
Press Done to close the keypad.
c. Press TakeNo te to open the TakeN o te C ontrol page.
2. Press Enable/Enabled until it toggles to Enabled (as shown in FIG. 89).
Starting a TakeNote Session
Once TakeNote has been Enabled, it is ready to use:
1. Click Back in the Protected Setup page to return to the Setup Page.
2. Click Exit in the Setup Page to close the Setup page.
3. When TakeNote is enabled, the TakeNote icon is displayed in the upper-right corner of the display area (FIG. 90):
4. Click this icon to access the TakeNote menu bar, which provides access to all TakeNote annotation tools, in the TakeNote Menu
Bar.
5. Use the options in the TakeNote Menu Bar to perform various types of on-screen annotations, using the pointing device (i.e.
mouse) and keyboard connected to the TPI.
FIG. 89
TakeNo te C ontro l page
FIG. 90 Ta ke No te ico n
Press to toggle
Enable / Enabled
Press to access the TakeNote menu bar

 Loading...


