Configuring Communication Settings
47
TPI-PRO-DVI - Instruction Manual
2. Press the Master IP/URL button to open the on-screen keyboard, and enter the Master’s IP address or URL. This information
can be obtained from the Networking Addresses dialog in NetLinx Studio:
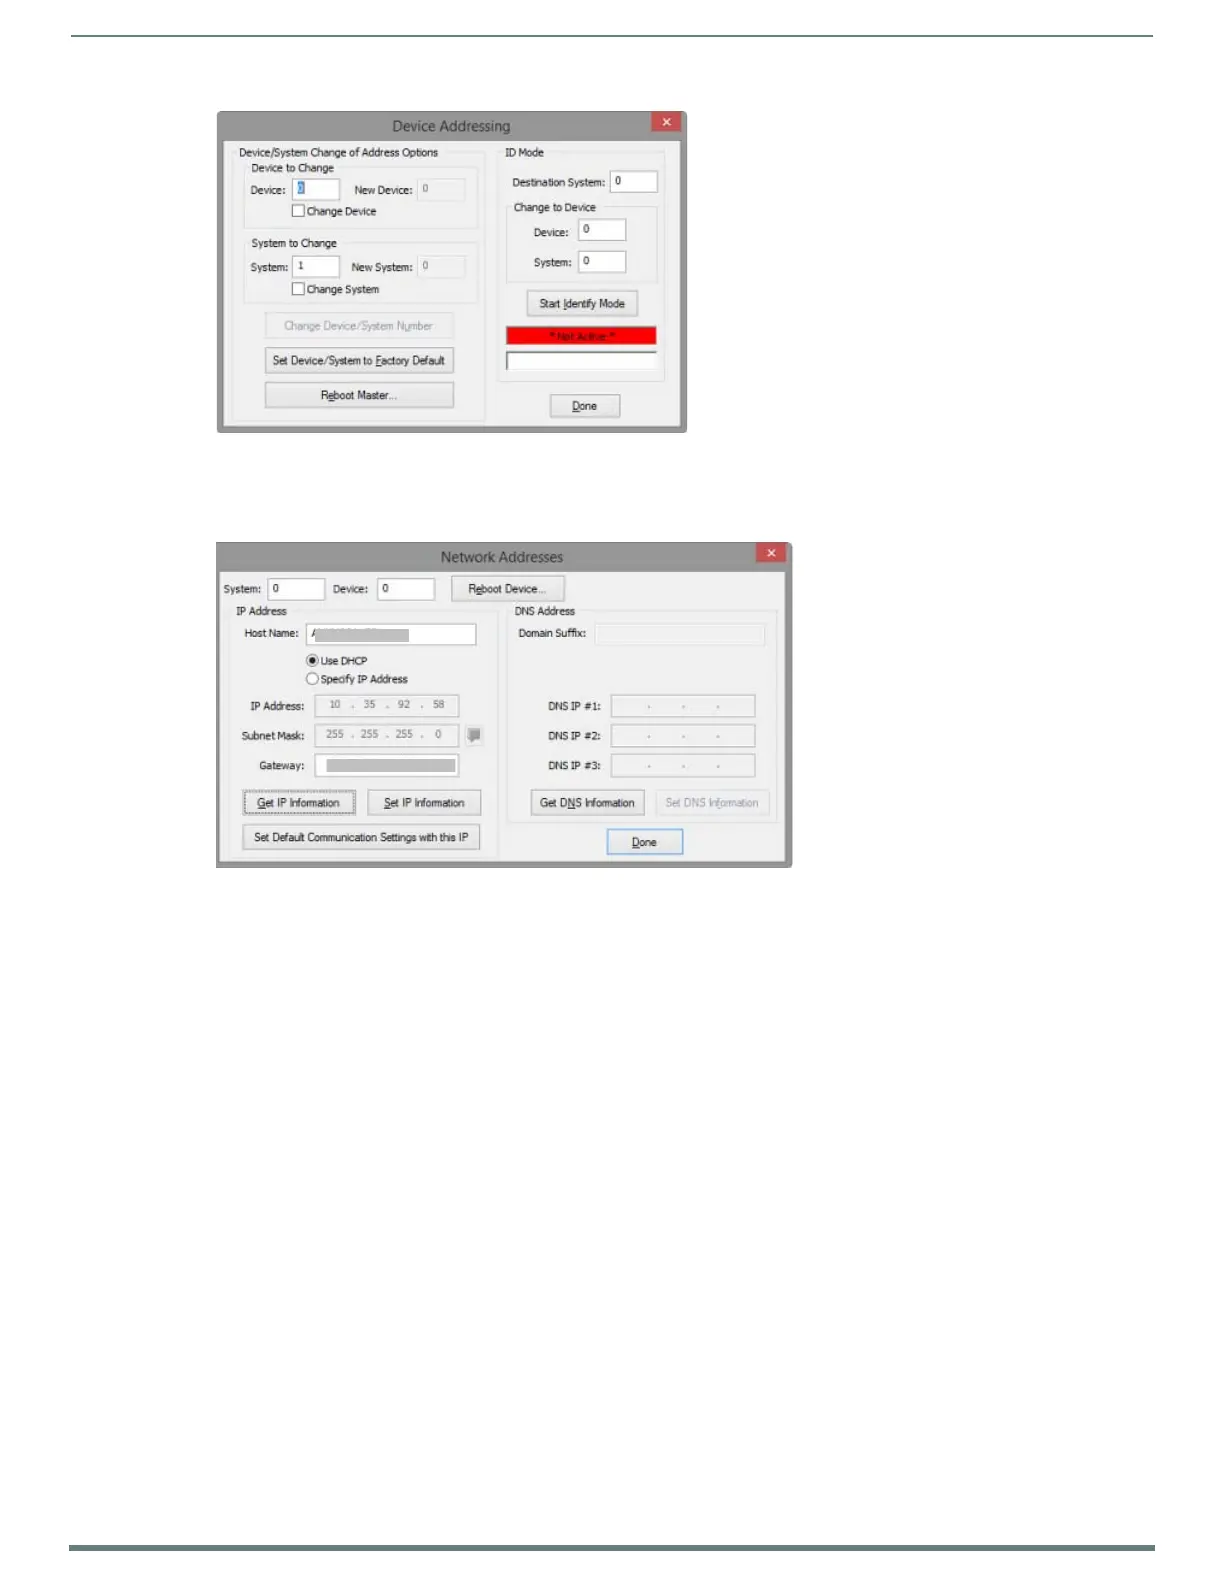
a. In NetLinx Studio, select Diagnostics > Network Addresses to open the Network Addresses dialog (FIG. 45).
b. Click Ge t I P I n f o r m at i o n to retrieve IP information from the NetLinx Master.
3. Click Done to accept the new value and return to the System Configuration page.
4. Press the Back button to open the Protected Setup page.
NOTE: If the Master has been secured, a Username and Password are required.
5. Reboot the TPI (see the Rebooting the TPI section on page 51).
NetLinx Master IP Address - Listen Mode
When in Listen mode, the TPI will listen for connections from the Master (using the TPI’s IP from its URL list). To place the TPI in
Listen mode, you must add the TPI’s IP address into the Master’s URL List (using NetLinx Studio):
1. Obtain either a Static IP for the TPI from your System Administrator, or obtain a DHCP Address from the System Settings page
(IP Settings section).
See the Conf iguring IP Settings section on page 44 for details.
2. Press the Reboot button on the Protected Setup page to save changes and restart the TPI.
3. After power-up, press the SETUP pushbutton (front panel) to access the Setup page (see FIG. 35 on page 41).
4. Navigate to the System Settings page (Setup > Protected Setup > System Settings), and note the newly obtained IP Address
information in the IP Settings section.
NOTE: The TPI’s IP Address information will be entered into the URL List for the NetLinx Master in a later step.
5. Press Mode until the option cycles to Listen.
6. Press the Back button to open the Protected Setup page.
NOTE: If the Master has been secured, a Username and Password are required.
7. In NetLinx Studio, select Diagnostics > URL Listing to open the URL Listing dialog (FIG. 46).
FIG. 44
NetLinx Studio - Device Addressing dialog
FIG. 45 NetLinx Studio - Network Addresses dialog

 Loading...


