Configuring the TPI
39
TPI-PRO-DVI - Instruction Manual
2. Press the front panel TOUCH button to cycle through the list of available Touch Input Drivers.
NOTE: Go to
http://www.amx.com//assets/manuals/TPI-PRO.Supported.Touch.Monitors.zip to view/download the most recent List
of Touch Monitors and USB Touch Drivers Tested with the TPI-Pro (including the most current listing of tested serial touch panel
drivers).
NOTE: The listing of compatible touch monitors is subject to change due to undocumented changes that 3rd-party touch
monitor manufacturers make to their products over time. Compatibility at a past date does not guarantee compatibility in the
future, and should be verified before deployment.
Verify that the selected Touch Input Driver matches the connected touch monitor.
Calibrating the TPI
Use the Calibration page to calibrate the touch input on a connected touch panel with the TPI. The Calibration page can be
accessed via the CALIBRATE pushbutton on the front panel, or via the Calibrate option in the Protected Setup page.
If no touch device is detected, the Calibration page is not available. In this case, the TPI will ignore any attempt to open the
Calibration page.
If the wrong touch driver is selected prior to the calibration process, press any of the front-panel pushbuttons to exit the
Calibration page (and select a different touch driver).
NOTE: If you are using a non-touch enabled monitor, DO NOT PRESS THE CALIBRATE BUTTON. Refer to the Setting the Output
Resolution section on page 38 for screen adjustment procedures.
Calibrating the TPI Using a USB Input
1. Connect a USB cable from a touch monitor to one of the Type-A USB ports on the front or back of the TPI.
2. Press the POWER button on the front panel to reboot the TPI and allow the unit to detect the new hardware.
3. Press the CALIBRATE button on the front panel (see FIG. 30 on page 37) to open the Calibration page.
4. Press the crosshairs to set the calibration points on the LCD.
5. After the "Calibration Successful." message appears, press anywhere to return to the Setup page. If the calibration fails,
attempt to calibrate again. If unsuccessful, call AMX Tech Support.
NOTE: It is recommended that you calibrate the TPI before its initial use, after completing a firmware download, and after
switching Touch Input Drivers (and touch devices.)
6. Press the Protected Setup button (located on the lower-left of the panel page) to open the Protected Setup page (FIG. 33).
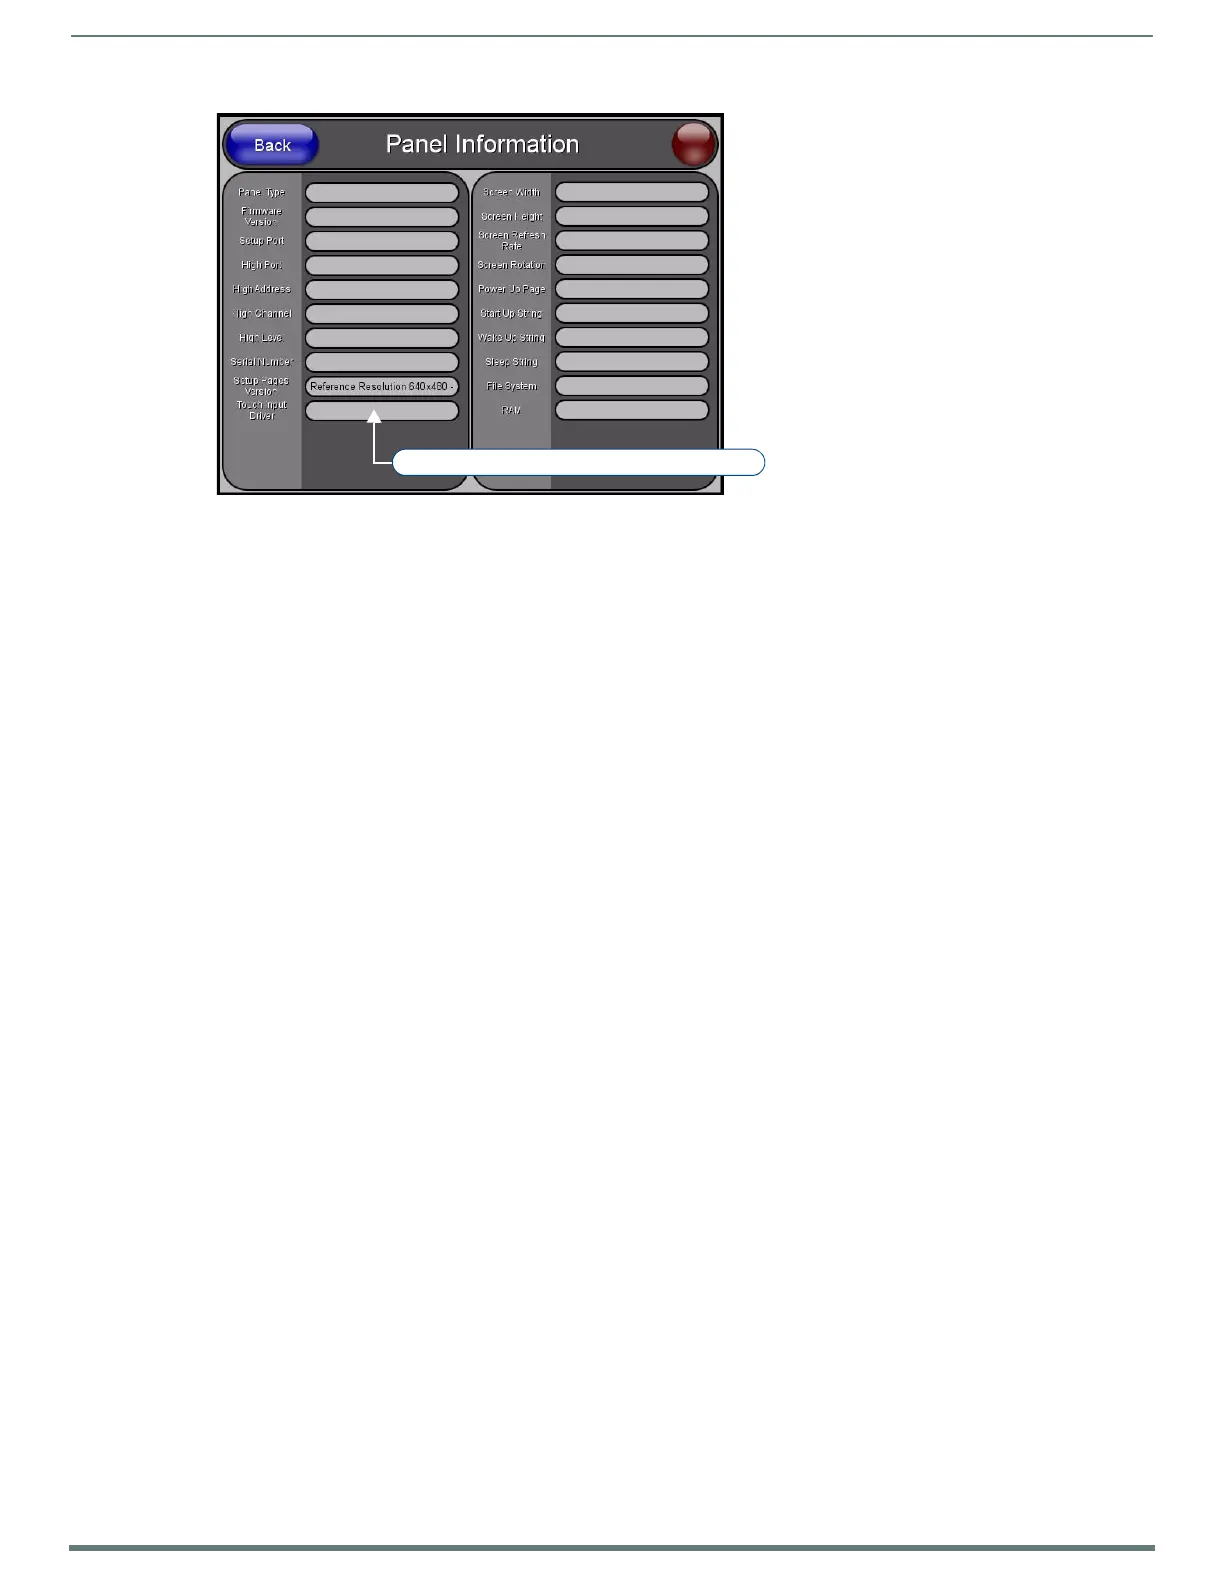
FIG. 32
Panel Information page
Select Nulltouch when using a non-touch monitor

 Loading...


