Configuring Communication Settings
43
TPI-PRO-DVI - Instruction Manual
Setting the Serial Port Baud Rate
In the Protected Setup page:
Press the Serial Port Baud Rate Up/Down arrow buttons to cycle through the available baud rates (FIG. 38).
The default Serial Baud Rate is 115200.
NOTE: Changes made in the Setup pages are not incorporated until the TPI is rebooted. See the Rebooting the TPI section on
page 51 for details.
Conf iguring the Master Connection Settings
It is necessary to point the TPI to the specific NetLinx Master with which it should be communicating. "Pointing to a Master" is
achieved via options in the System Settings page. The options on the System Settings Page allow you to enter the IP Address,
System Number, and Username/Password information assigned to the target NetLinx Master.
Use NetLinx Studio to establish and/or determine the IP address information for the target NetLinx Master.
Refer to Appendix B: Using NetLinx Studio to Connect to a NetLinx Master on page 158 for information on using NetLinx Studio to
establish communication with a NetLinx Master.
NOTE: Until you configure the System Settings parameters, the Connection Status icon remains red, indicating there is no current
connection to a Master.
1. Launch NetLinx Studio and establish communication with the target NetLinx Master.
NetLinx Studio is available to download from www.amx.com.
This program assists in developing a System Number, Master IP/URL, and Master Port number.
Refer to the NetLinx Studio online help for details.
2. Obtain the System Number, Master IP/URL, and Master Port Number for the Target NetLinx Master from NetLinx Studio. This
information must be specific for the system used with this TPI.
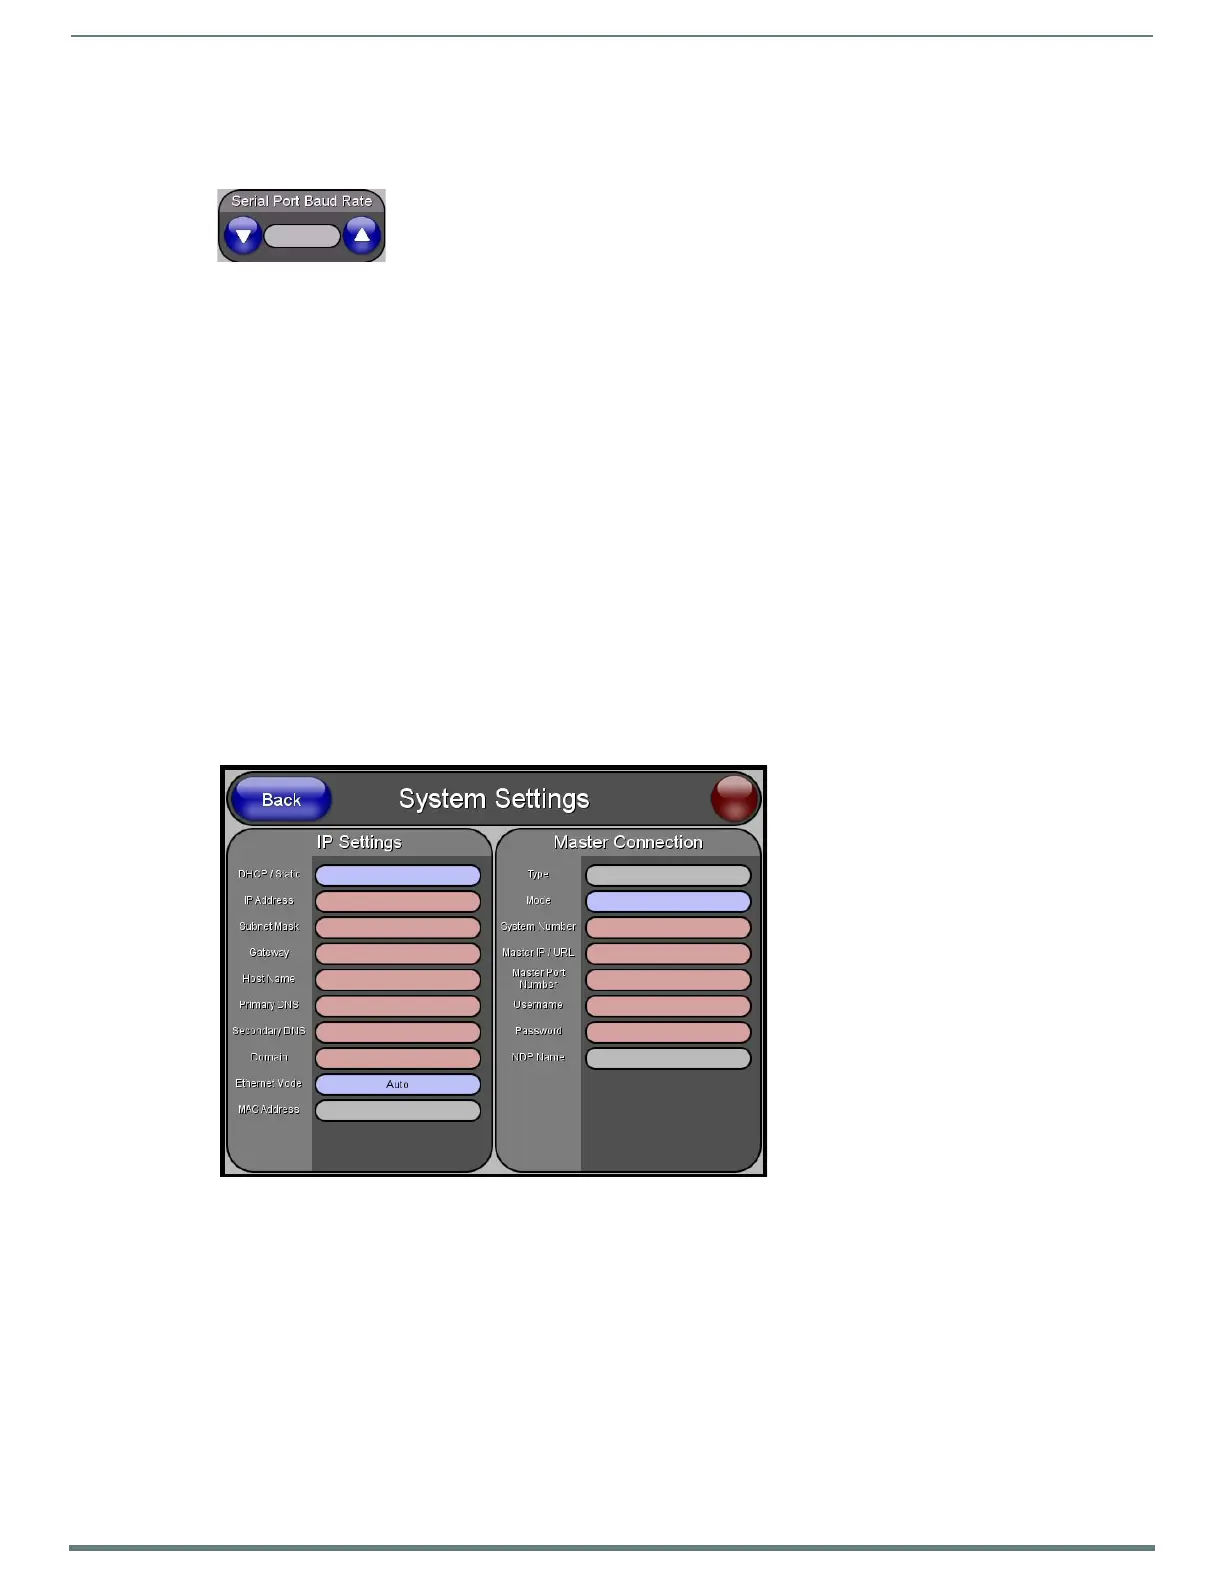
3. Press the System Settings button (on the Protected Setup page - see FIG. 37) to open the System Settings page (FIG. 39).
4. Set the Master Connection settings to match those of the target NetLinx Master.
5. Press the Back button to return to the Protected Setup page.
6. Reboot the TPI (see the Rebooting the TPI section on page 51).
FIG. 38
Protected Setup page - Serial Port Baud Rate
FIG. 39 System Settings page

 Loading...


