Using Takenote™
144
TPI-PRO-DVI - Instruction Manual
Changing the Storage Location For Captured TakeNote Screen Images
The screen image will be saved according to the settings specified in the TakeNote Control (Protected Setup) page:
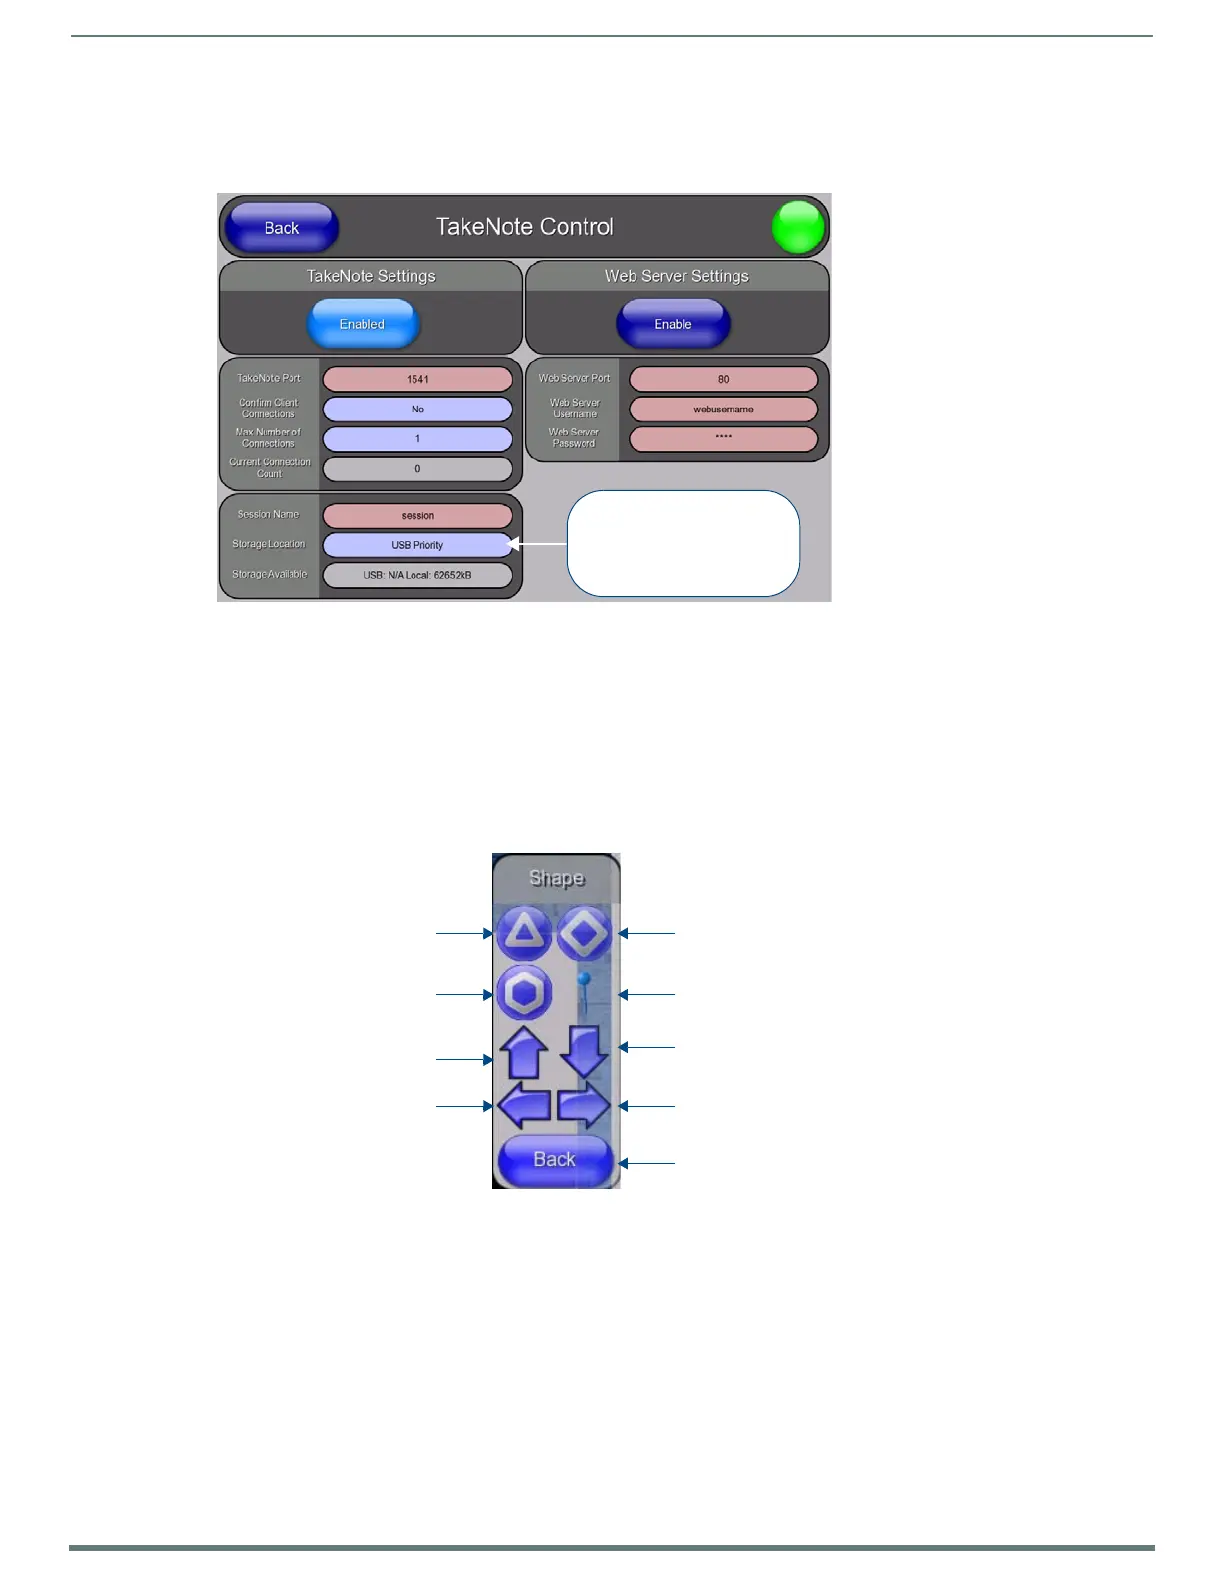
1. Open the TakeNote Contro l page (FIG. 89):
2. Press the Storage Location button to cycle through the options:
USB Priority (default) - This setting saves the image to a USB stick inserted into any of the USB Type A Input ports on the
TPI . The TPI supports a single USB Stick at a time.
Local Disk - This setting saves the image to the TPI’s internal disk. Images saved to the TPI’s internal drive can be managed
via the TakeNote Web Application - see the Using The TakeNote Web Application section on page 150 for information.
disabled - This option disables the Save feature.
Shape Options Menu Bar
Click the Shape button in the TakeNote Menu Bar (see FIG. 91 on page 140) to access the Shape Menu Bar shown in FIG. 99:
FIG. 98
TakeNo te C ontro l page
FIG. 99 TakeNote - Shape Menu Bar
Press to cycle through the
Storage Location options:
USB Priority (default)
Local Disk
disabled
Draw a triangle
Draw a hexagon
Insert an UP arrow icon
Insert a LEFT arrow icon
Draw a diamond
Insert a Push-Pin icon
Insert a DOWN arrow icon
Insert a RIGHT arrow icon
Close the Shape menu bar
(return to the main TakeNote Menu Bar)

 Loading...


