Using Takenote™
147
TPI-PRO-DVI - Instruction Manual
Press Clear to clear all characters.
Press Delete to delete the character at the cursor position.
Press Home to place the cursor at the beginning of the text line; press End to jump to the end of the line.
Use the UP/DOWN/LEFT/RIGHT arrow buttons to move the cursor within the text box.
Press Done to close the Keyboard, placing the entered text on-screen.
Creating Text Annotations
1. Set the text Size by clicking and dragging on the Text Size button (range = 12-96).
2. Set the text Color and Opacity using the options in the Pen Options Menu Bar (refer to the Pen Options Menu Bar section on
page 148).
3. Press the Keyboard button to open the TakeNote Text Keyboard (see FIG. 106 on page 146).
4. Press the character buttons on the on-screen keyboard. The entered text is displayed in the Text Window of the Keyboard.
5. When finished entering the text that you want to appear on-screen, press Done to close the keyboard.
6. The text is displayed on-screen (FIG. 107).
7. Note that the newly created text annotation is selected, when it is added to the screen. This is to allow you to position the text
annotation object without having to use the Select Object tool. Click-and-drag to move the text annotation object to the
desired position, and click anywhere to place the text.
NOTE: All lines, shapes and text annotations are treated as Objects in TakeNote. Once they are on-screen, each line can be
selected to move or delete, using the Select Object tool.
Moving Text
To move the text annotation object once it is displayed on the screen:
1. Select the Select Object tool from the main TakeNote Menu Bar (see the Using the Select Object Tool section on page 142).
2. Select the text, and drag it to the desired location on the screen.
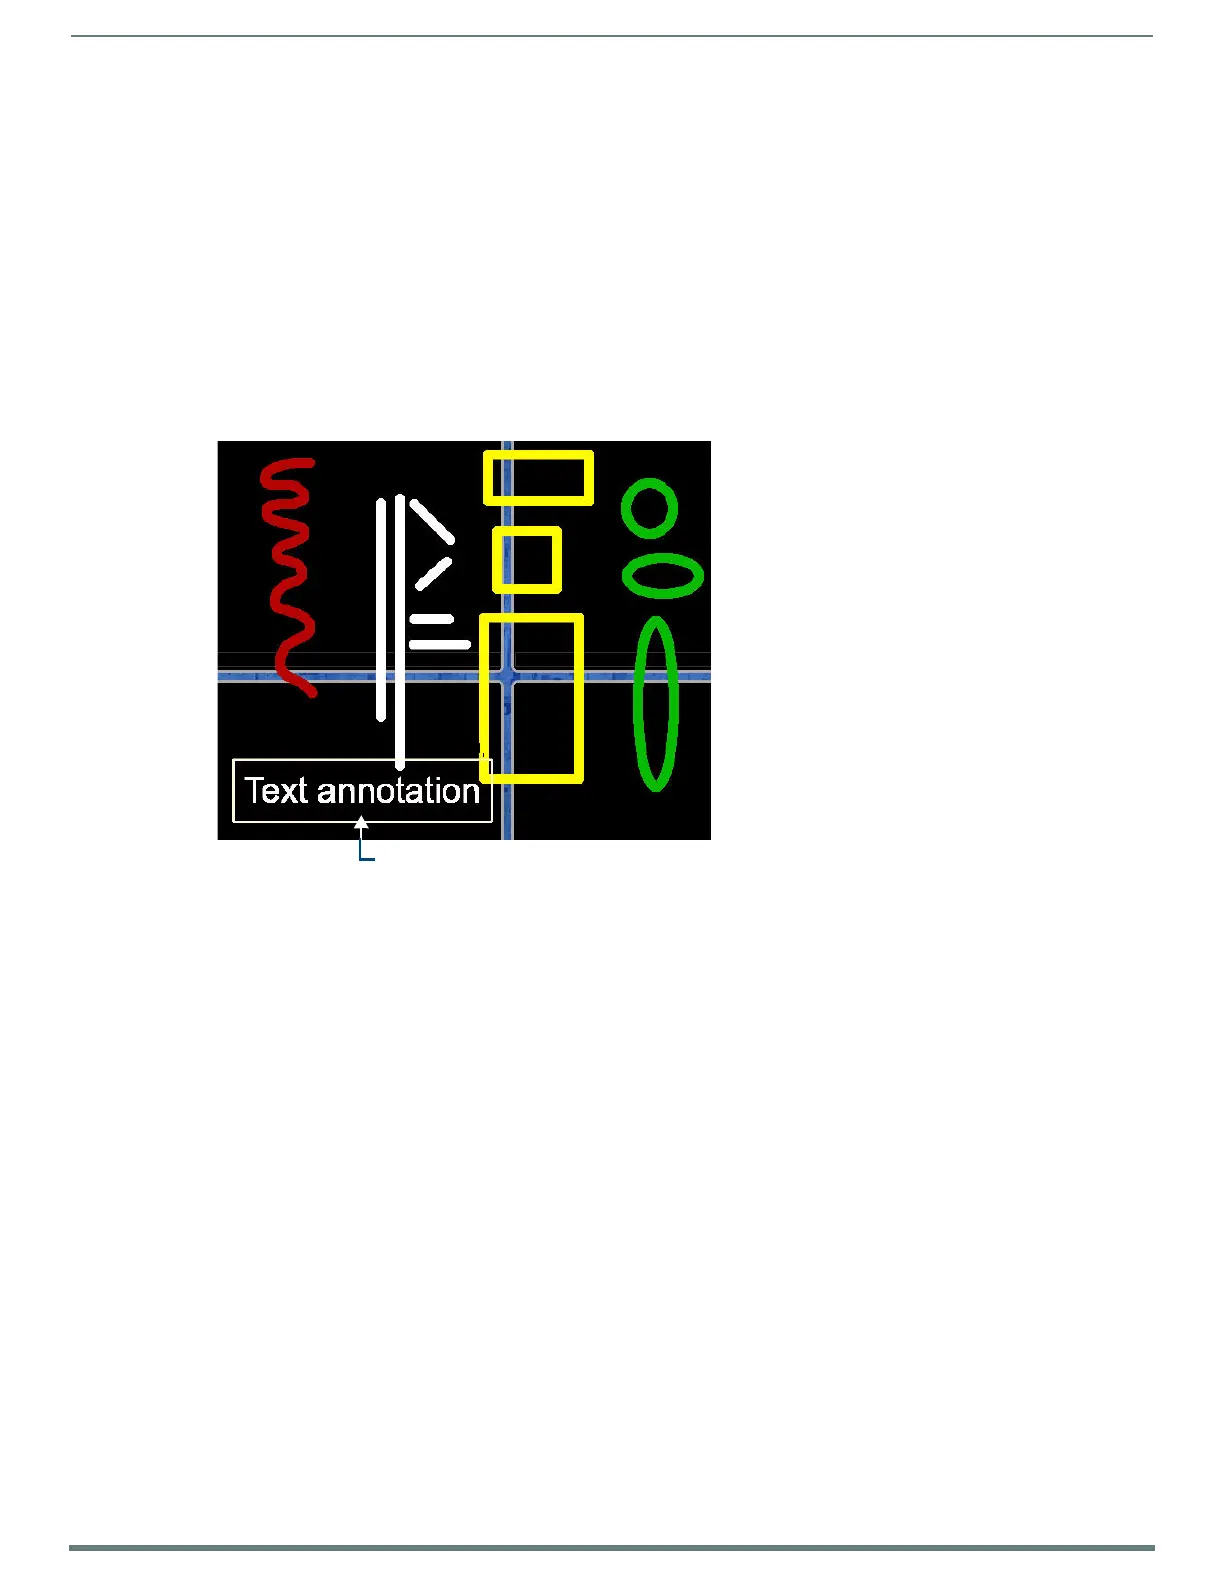
FIG. 107
Text annotations example
Text anno tation ( se lected )

 Loading...


