Using Takenote™
143
TPI-PRO-DVI - Instruction Manual
Using the Pointer
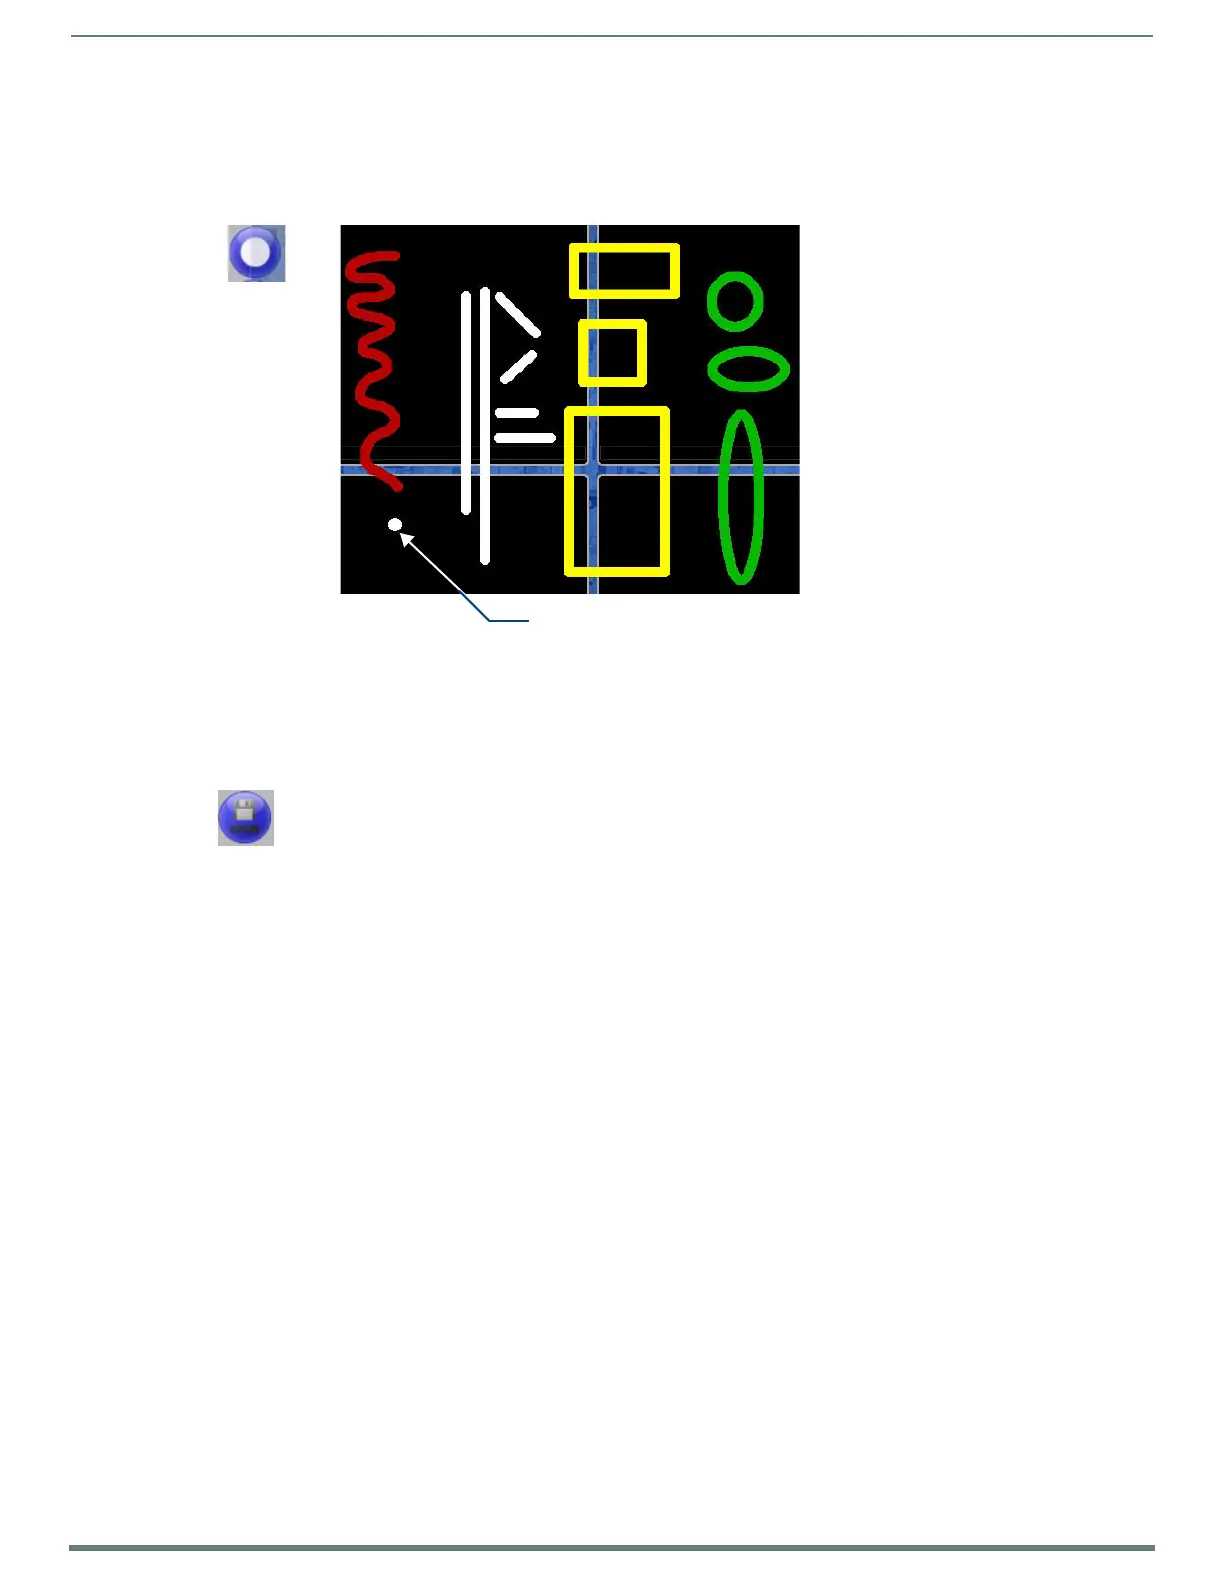
Select the Pointer tool to place a "pointer" on the screen, in the form of a colored dot that can be moved on-screen via the pointing
device (i.e. the mouse). The pointer is displayed only when the primary select button on the pointing device is enabled (i.e. the left
mouse button is clicked, or the touchscreen is touched). This allows you to point to specific areas on-screen, without drawing lines
or leaving any annotations on-screen (FIG. 96).
To change the color of the pointer, select a color from the Pen Option Menu Bar (see the Pen Options Menu Bar section on
page 148).
Using the Save Tool
The Save tool (FIG. 97) allows you to capture and save screen images from the TakeNote session.
Capturing and Saving the Screen Image
Press the Save button to capture the current screen image, including all visible annotations, and save the captured image to either
a USB stick or to the TPI’s internal disk drive.
By default, the TPI is configured to save captured TakeNote screen images to a USB stick inserted into any of the USB (Type A)
Input ports.
To save captured TakeNote screen images to a USB stick:
1. Insert a USB stick into any of the USB (Type A) Input ports on the TPI. (see the Wiring and Device Connections section on
page 24).
The TPI automatically detects the first USB stick to be inserted into any of the USB (Type A) Input ports (two available on the
front panel, two more available on the rear panel - refer to FIG. 5 and FIG. 6 on page 24).
2. Press the Save button on the Main TakeNote Menu Bar. This action will cause the screen to refresh.
3. Once the screen has refreshed, the captured screen image has been saved to the USB Stick.
Images are saved as JPG files.
Images are named according to the TakeNote session name, followed by a timestamp of the time and date the image was
saved.
FIG. 96
Drawing annotations examples (Pointer)
FIG. 97 Save Tool

 Loading...


