Protected Setup Page
70
TPI-PRO-DVI - Instruction Manual
Enabling Image Cache
By default, Image Cache is disabled. To enable Image Cache:
1. In the Flash/RAM Cache Expires field, use the UP/DOWN arrow buttons to set the cache expiration.
2. Press Enable to turn on image caching (the button appears illuminated when enabled).
3. In the Flash Cache Size field, use the UP/DOWN arrow buttons to set the amount of Flash memory used.
NOTE: The maximum amount of flash that can be allocated for caching is 75% of available flash.
Clearing the Image Cache
Press Clear Cache.
This clears all image cache currently stored on the panel (both Flash and RAM).
Checking Image Cache Status
All status information is located in the Image Cache Status section of the Cache page.
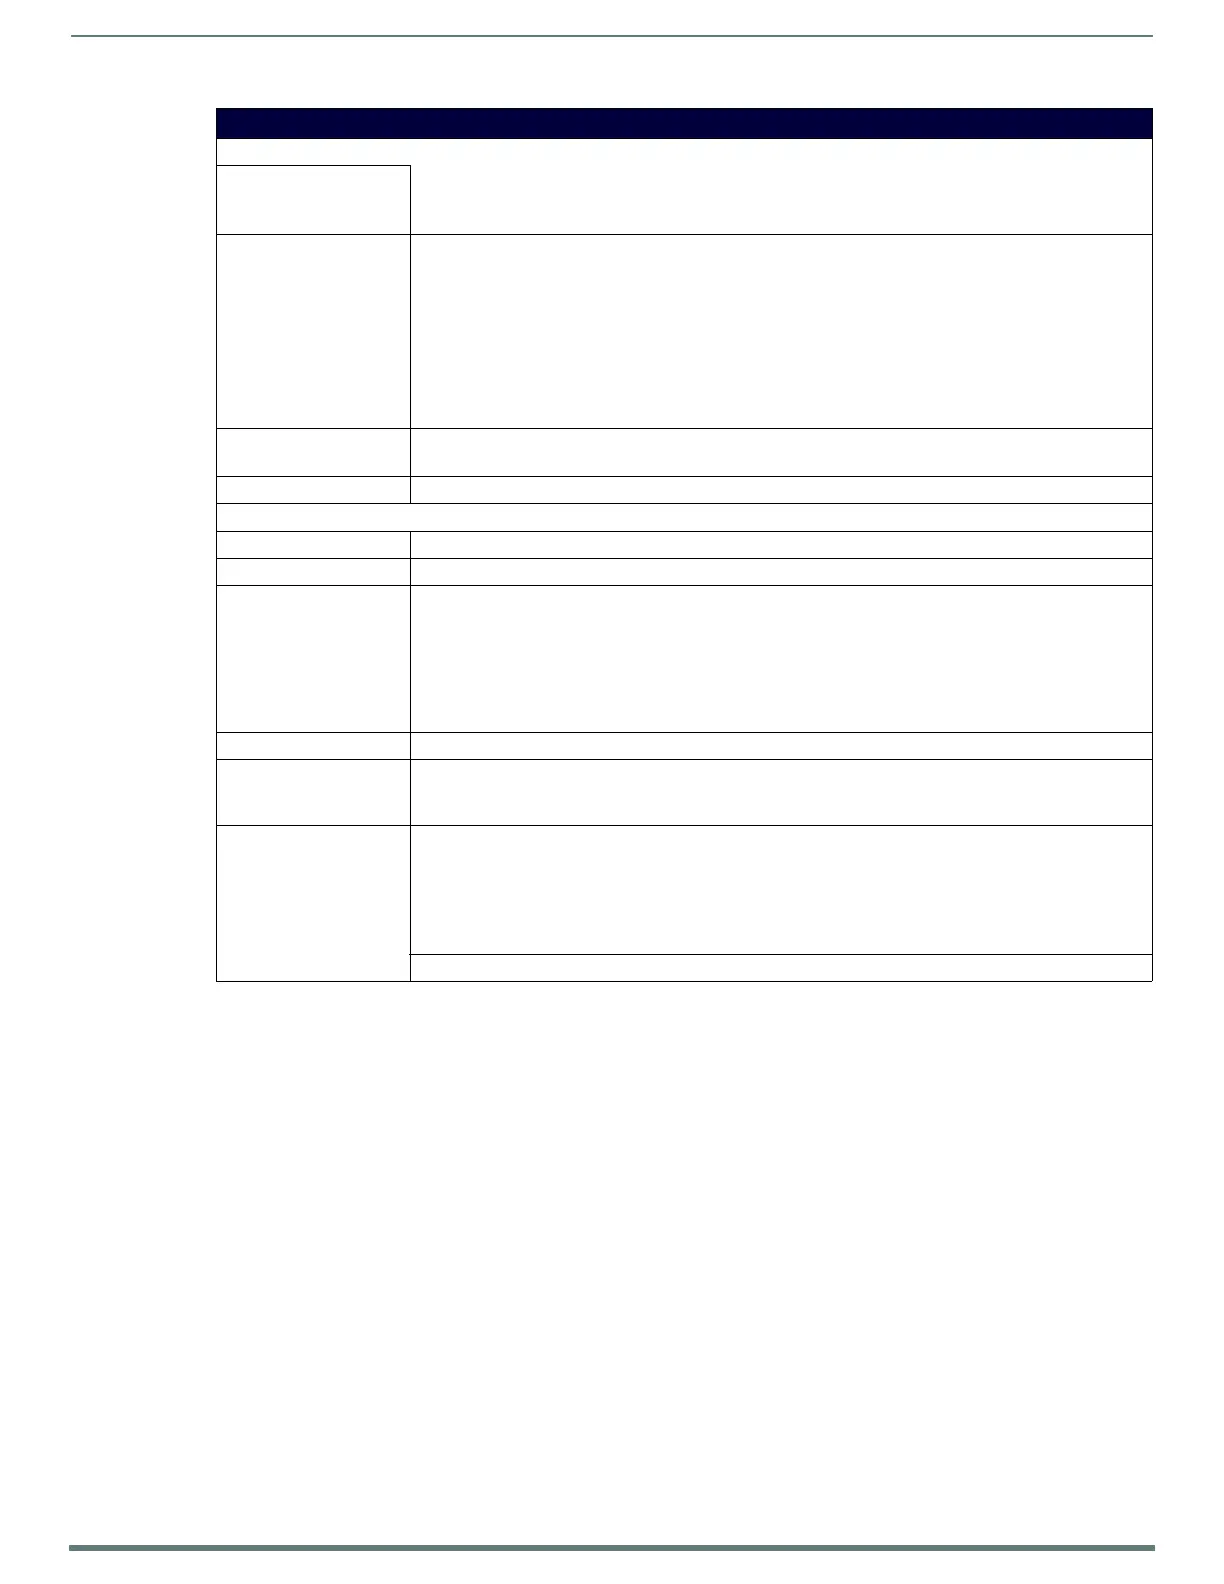
Protected Setup (Other Settings) - Cache Page
Image Cache Settings
• Flash Cache Size: Press the Up and Down arrows to add and remove Flash memory.
• Flash memory allocation cannot exceed the amount of Flash memory on the panel.
•Default = 0
•Flash/RAM Cache
Expires:
Press the Up and Down arrows to change the amount of time the images stay in cache memory. The options
are:
• Never
•2 Hours
•8 Hours
•1 Day
•2 Days
•5 Days
Default = Never
• Enable: Press this button to toggle the image Flash cache option On and Off.
Default = Disabled
• Clear Cache: Press this button to clear both the Flash and RAM cache of all stored images.
Image Cache Status
RAM Max Size: The maximum amount of memory available for all image caching.
RAM Current Size: The memory that is currently in use for caching static and dynamic images.
RAM Hit Rate: The percentage of image requests (static and dynamic) satisfied by accessing the cache.
100 * (# of cache hits) / (# of cache hits + # of cache misses)
• # of cache hits - the number of times an image was requested that the image was found in the cache. If
your hit rate is low, you may want to consider enabling Flash cache.
• # of cache misses - the number of times an image was requested that the image could not be found in the
cache, and the image had to either be loaded from flash or obtained via the network (for dynamic images).
It is considered a RAM Cache Miss even if the image is subsequently found in flash cache.
Items in Cache (RAM): The number of images that are currently stored in the RAM cache.
Flash Current Size: The maximum flash space allocated for image caching.
Flash space is used for caching only when there is not enough available memory in the RAM cache for a newly
requested image (it is used only for dynamic images).
Flash Hit Rate: The percentage of image requests (dynamic only) that are satisfied by accessing the flash cache.
100 * (# of flash cache hits) / (# of flash cache hits + # of flash cache misses)
• # of flash cache hits - # of times a dynamic image could not be found in RAM cache but was found in flash
cache
• # of flash cache misses - # of times a dynamic image could not be found in either RAM or flash cache.
RAM cache hits are not relevant in this calculation.
Items in Cache (Flash): The number of images that are currently stored in the Flash cache.