3 System Setup
3 - 20 Instructions for Use
To connect the ultrasound system to a network through a wireless connection:
1. Disconnect the network cable from the ultrasound system, if necessary.
The ultrasound system connects to the most recently used wireless network, if the wireless
network is secured and detected. An icon indicates the strength of the wireless connection.
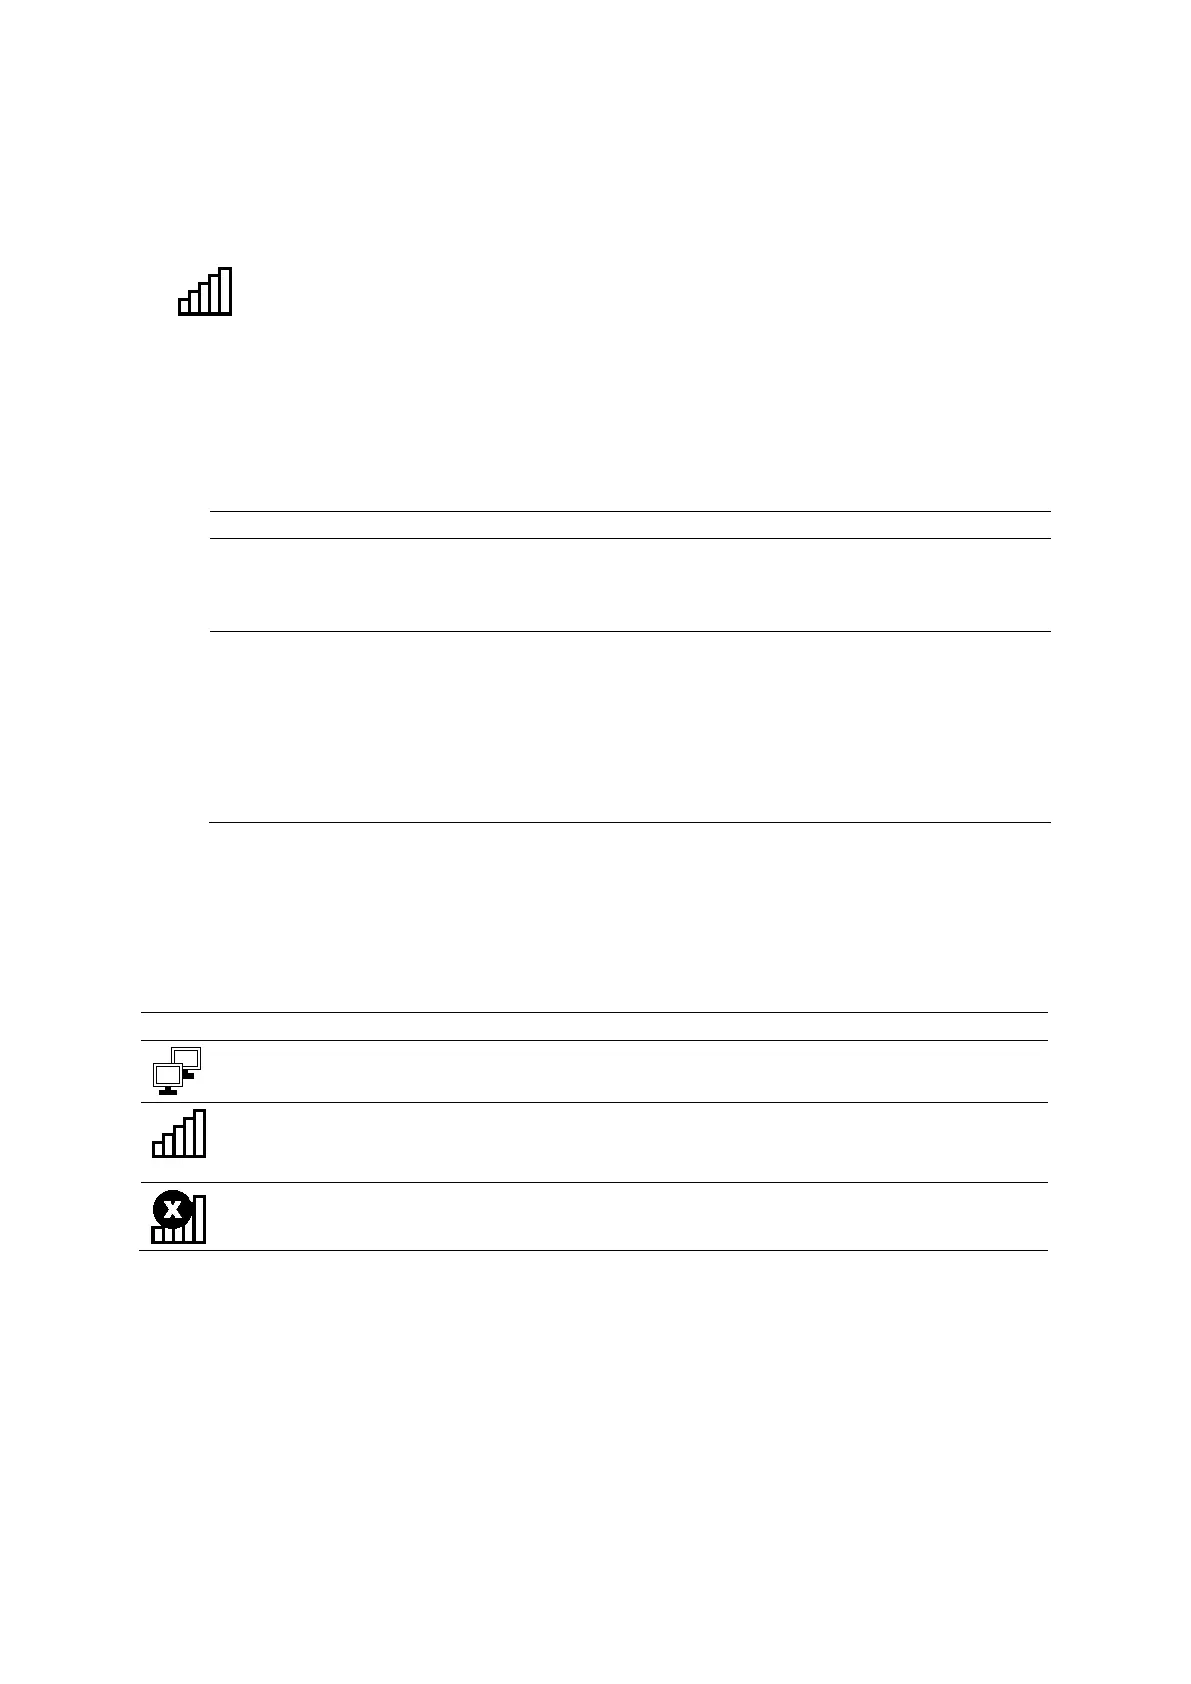
Example of the icon indicating the signal strength of a wireless connection.
2. To connect to another detected wireless network, manually connect to the required
wireless network.
a. Press System Config on the keyboard. Or, click the System Config icon on the
toolbar.
b. Select DICOM / Wireless.
c. Click the Wireless tab.
To Do This
Connect to a wireless
network with a network
profile
Click the Available Networks tab, select the required wireless network,
and then click Connect.
Click the Network Profiles tab, select the required wireless network, and
then click
.
Connect to a wireless
network without a network
profile
1. Click the Network Profiles tab.
2. Under the Profile Names list, click Add.
The tab displays the selections for configuring a new network profile.
3. In the network profile selections, enter the required settings for the
wireless network and then click Save.
Note: Consult your network administrator for the required settings.
4. Select the required wireless network and then click Connect.
The ultrasound system connects to the wireless network. An icon indicates the
strength of the wireless connection.
d. To view the details of the wireless connection, click the Status tab.
Network Connection Icons
When connected to a LAN, the ultrasound system displays a network connection icon at the
bottom of the image screen.
Status: Wired Network Connected
Connected to a local area network (LAN) through a wired connection
Connected to: <network name> Speed: _____ Mbps
Connected to a wireless network.
The network speed is indicated in megabits per second (Mbps).
Status: Not Connected
Not connected to a wireless network
 Loading...