6-8
6
TIP:
Cover the quick connector, fuel rail, and
vapor separator using a plastic bag 2 to pre-
vent damage and to protect them from dirt.
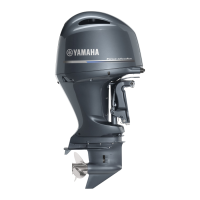
Connecting the quick connector
1. Connect the quick connector 1 to the
fuel rail or vapor separator, and then
move the locking slider a to the lock
position.
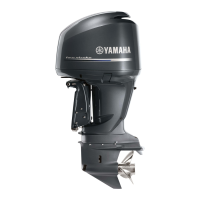
TIP:
• If the quick connector 1 is not installed
completely onto the fuel rail or vapor sepa-
rator, the locking slider a cannot be moved
to the lock position.
• Confirm that the quick connector is installed
properly by making sure there is a small
amount of free play when the quick connec-
tor is pulled and pushed.
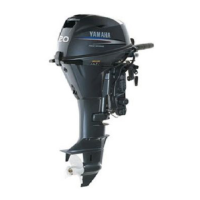
• If there is no free play in the quick connec-
tor, disconnect the fuel hose and check the
O-ring for damage and proper installation.
See “Checking the quick connector” (6-46).
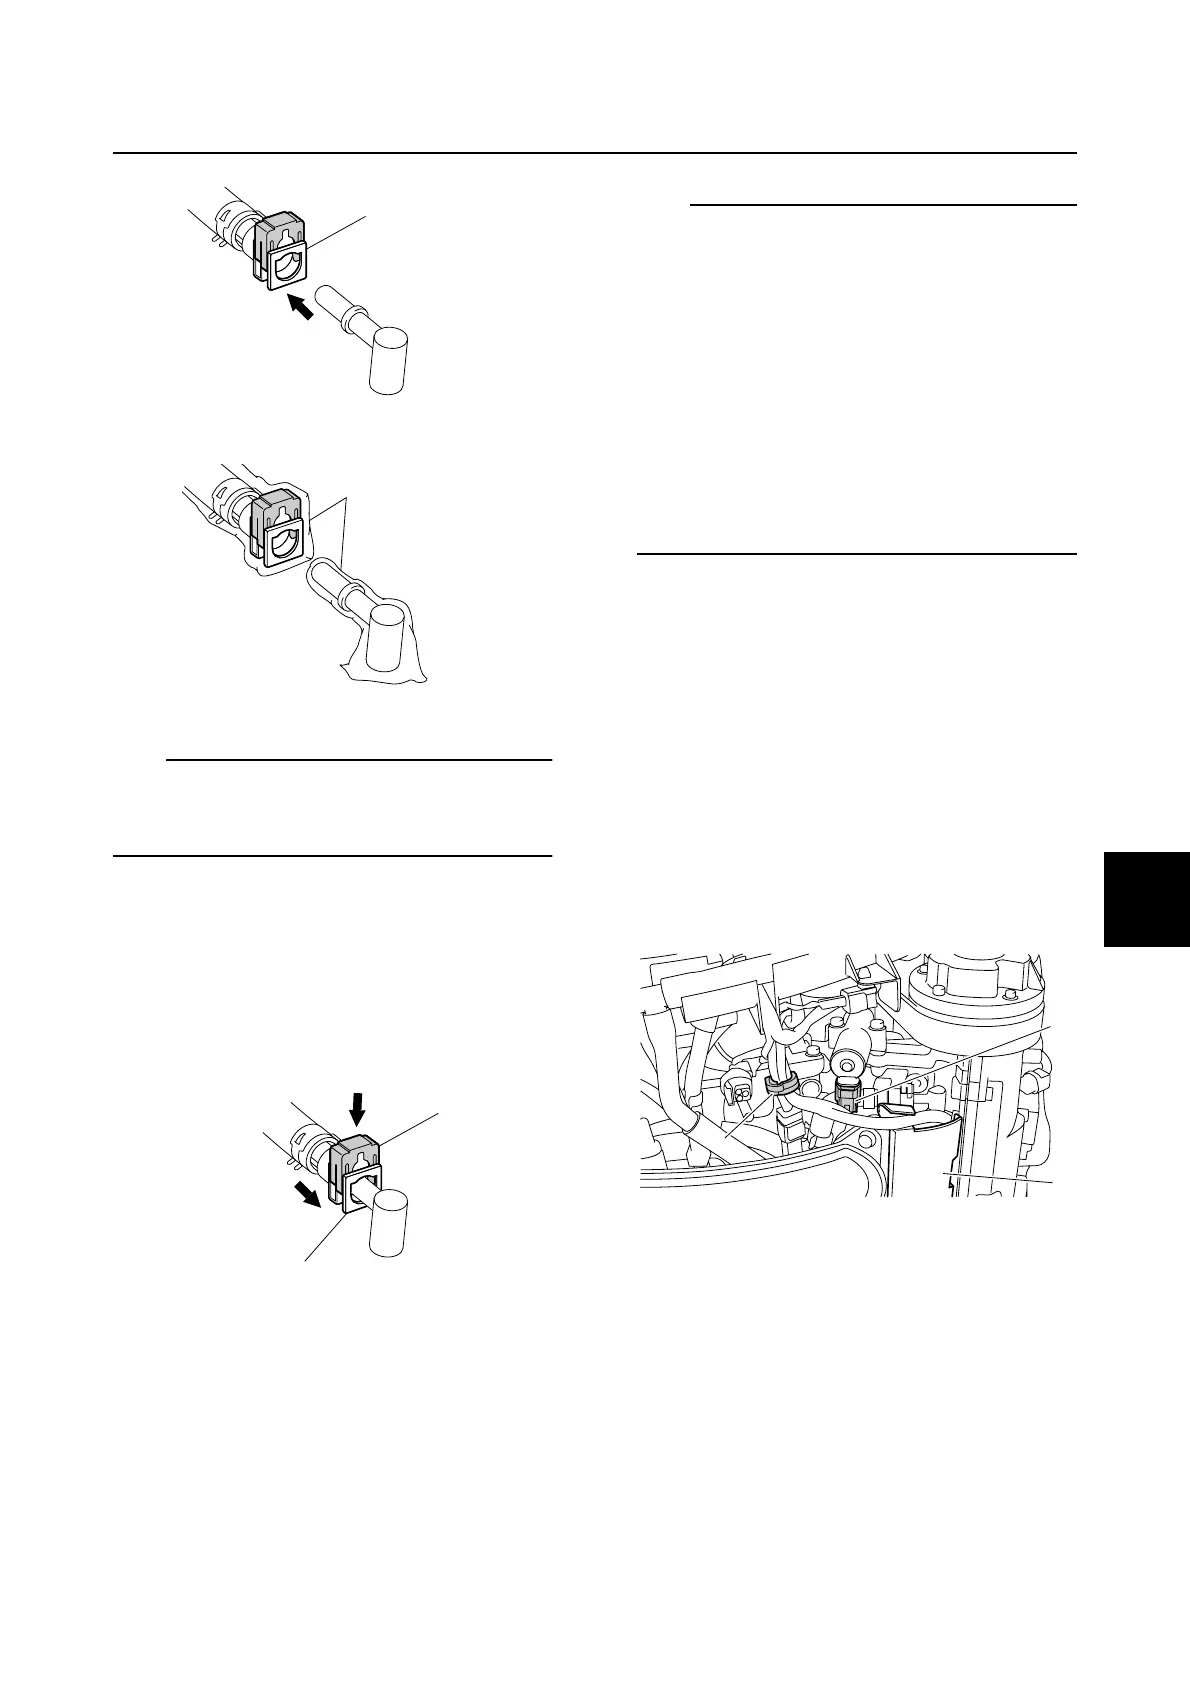
Measuring the fuel pressure
1. Reduce the fuel pressure. See “Reduc-
ing the fuel pressure” (6-7).
2. Disconnect the quick connector from the
fuel rail (PORT). See steps 2–5 in “Dis-
connecting the quick connector” (6-7).
3. Remove the fuel rail cover (PORT) 1,
and then disconnect the OCV coupler
(PORT) a.
4. Remove the holder 2.
5. Connect the special service tool 3
between the quick connector and the fuel
rail (PORT).
1
2
a
1
a
1
b
2
Fuel system

 Loading...