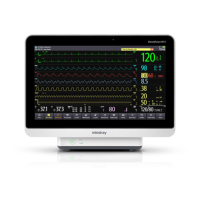
BeneVision N1 Patient Monitor Operator’s Manual 4 - 7
• The SpO
2
screen is intended for neonatal patient only.
4.4.1 Entering the SpO
2
Screen
To enter the SpO
2
screen, choose any of the following ways:
■ Swipe left or right on the touchscreen with two fingers to switch to the SpO
2
screen.
■ Select the Screen Setup quick key → select the Choose Screen tab → select SpO2 Screen.
■ Select the Main Menu quick key → from the Display column select Choose Screen → select SpO
2
Screen.
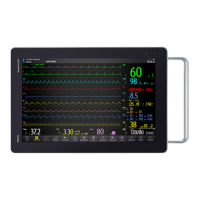
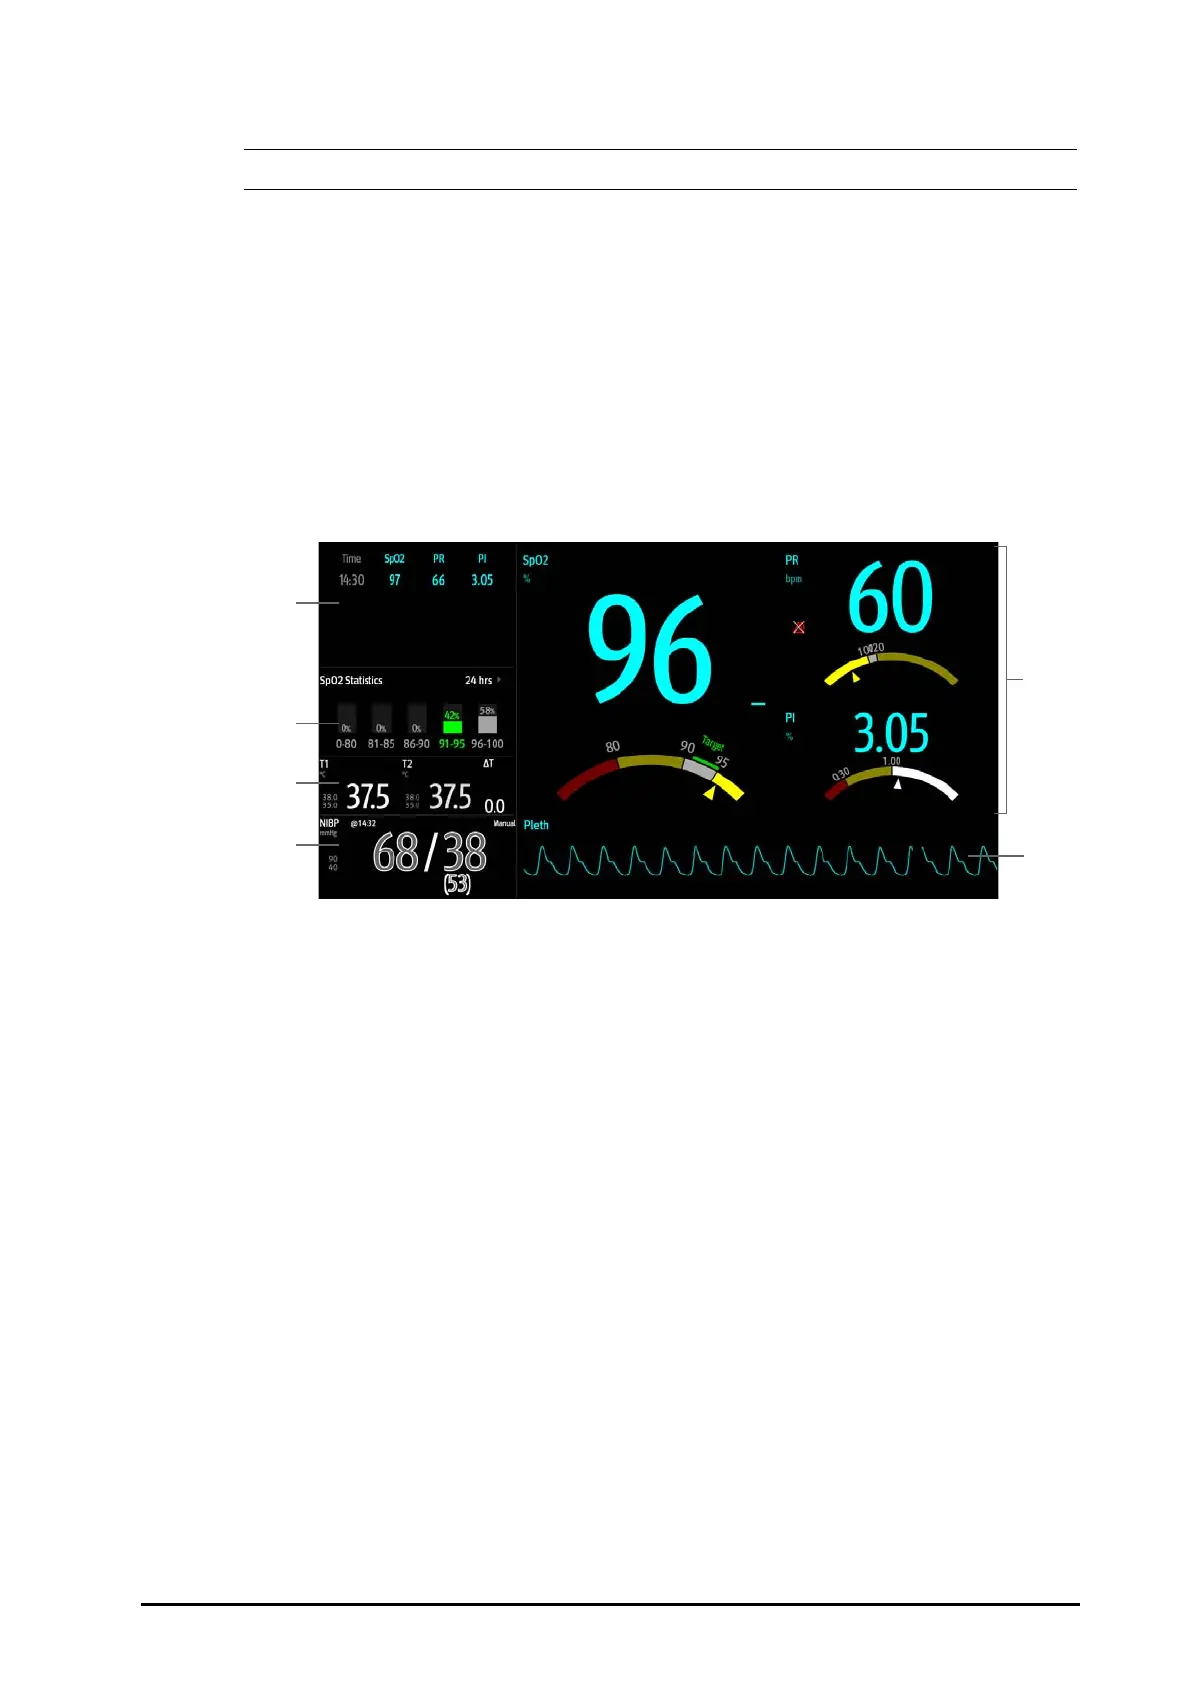
4.4.2 The Display of SpO
2
Screen
The following figure shows the SpO
2
screen. Your display may be configured to look slightly different.
4.4.3 Operating the SpO
2
Screen
You can access parameter setup and trends review from the SpO
2
screen. To do so, follow this procedure:
■ Select the trend of SpO
2
, PR, or PI to enter the Tabular Trends review page.
■ Select the SpO
2
statistics area to enter the SpO2 Statistics setup menu. Set the range of each SpO
2
section
and the target section.
■ Select the value of SpO
2
, PR, or PI, the dashboard, or Pleth waveform to enter the SpO2 menu.
■ Select the Temp area to enter the Temp menu.
■ Select the NIBP area to enter the NIBP menu.
(1)
Tabular trend: displays trends of SpO
2
, PR, and PI.
(2) SpO
2
statistics area: displays the statistics data of each SpO
2
section.
(3)
Temp area: displays Temp measurements and alarm limits.
(4)
NIBP area: displays NIBP measurements and alarm limits.
(5)
SpO
2
area: displays measurements and alarm limits of SpO
2
, PR, and PI. The dashboards show information of
alarm limits. The
△ pointers indicate the current measurement values.
(6)
The Pleth waveform
 Loading...