1126700 SmartPAC 2 User Manual
4-38 Initialization Mode
PRESS TYPE
(INITIALIZATION – SETUP NETWORK – PRESS TYPE)
Your entry for the PRESS TYPE item is used by the SmartView remote viewing utility (see
SMARTVIEW FUNCTION, page 4-35) to select the graphic it uses to illustrate the type of
press (i.e., straight side or gap frame) on which SmartPAC 2 is installed. This graphic appears
in the press information summary on the SmartView Main Page.
To set the press type, do the following:
1. With the highlight bar in the PRESS TYPE field, press ENTER to toggle between GAP
FRAME and STRAIGHT SIDE until the option you want is displayed.
2. Press RESET to return to the Main Initialization Menu.
DIAGNOSTICS
(INITIALIZATION – DIAGNOSTICS)
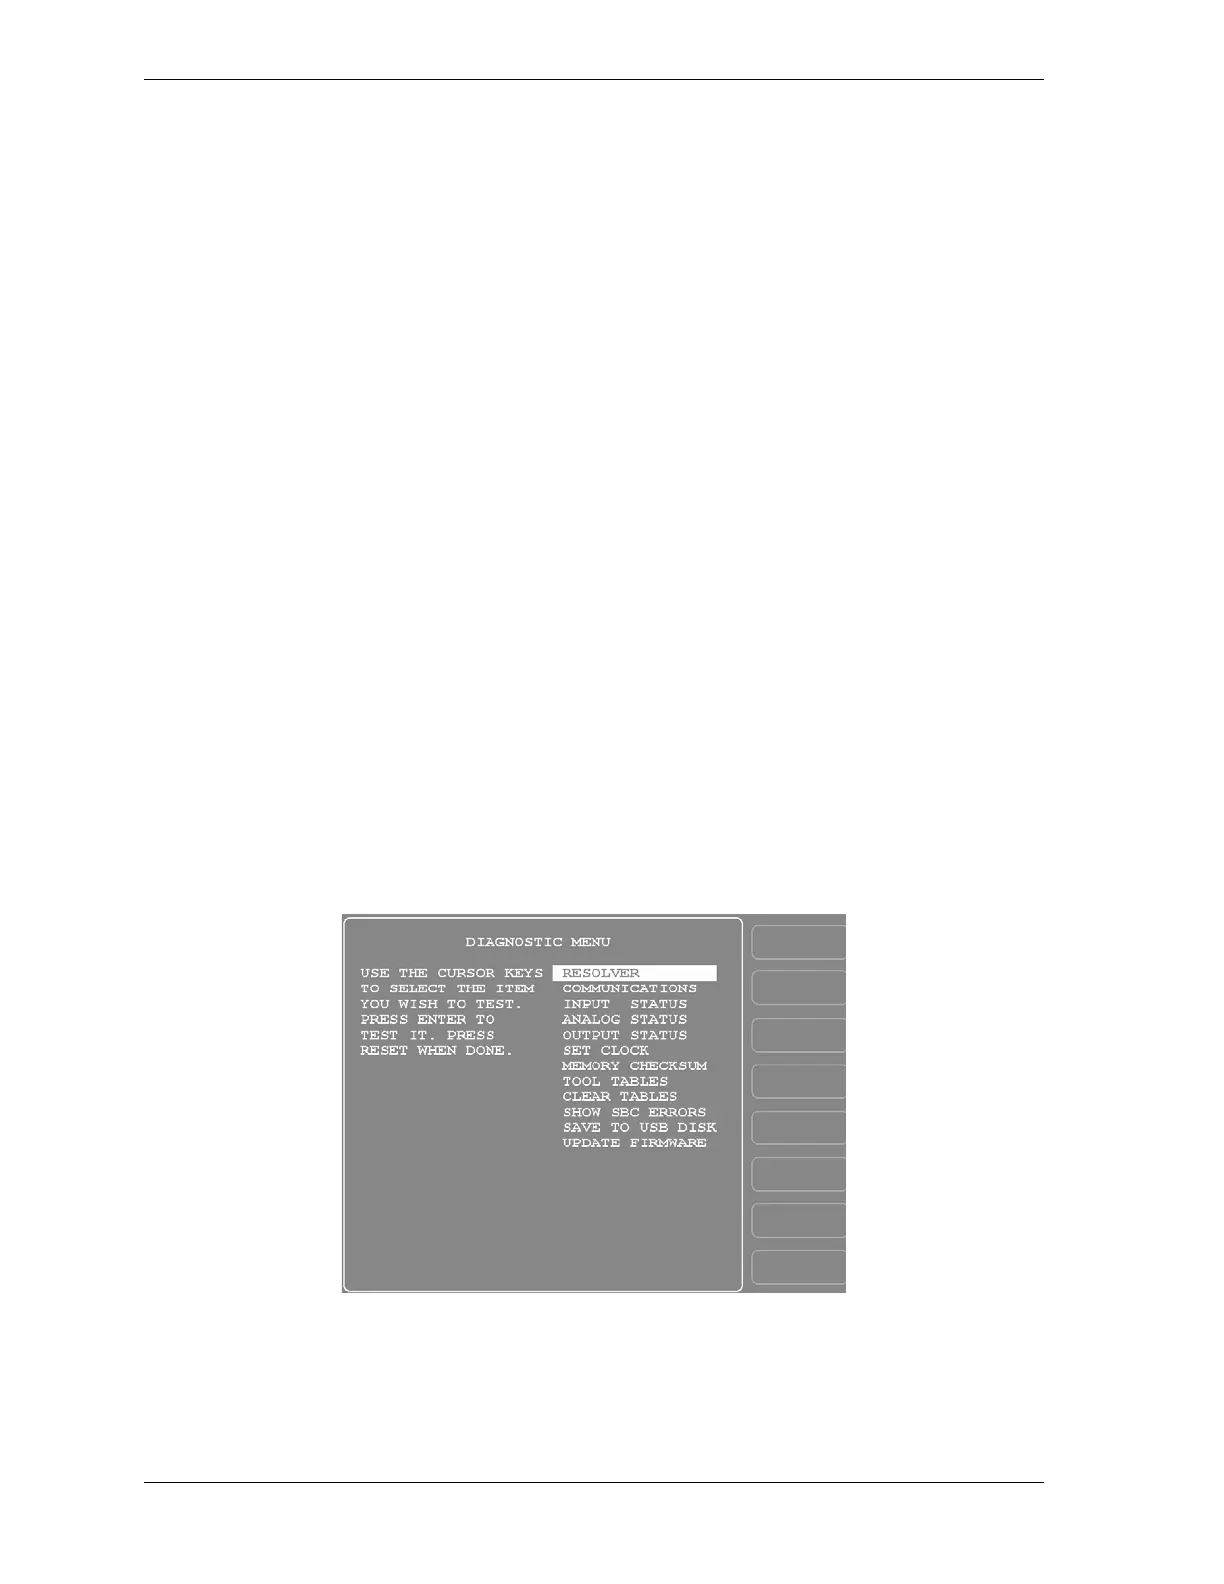
The DIAGNOSTICS item on the Main Initialization Menu gives you access to the
Diagnostics Menu (see Figure 4-29), which you use primarily when you are working with
Wintriss Tech. Support for initial setup or troubleshooting. This section documents only the
following items:
• COMMUNICATIONS, which allows you to run a communications loopback test
• SET CLOCK, which allows you to set SmartPAC 2’s internal clock to local time
• SAVE TO USB DISK, which allows you to save screen captures and other items to a USB
disk
• UPDATE FIRMWARE, which allows you to upload revised firmware to SmartPAC 2
Figure 4-29. Diagnostics Menu
 Loading...