Keyboard, Displays, Etc. 3-1
Chapter 3. SmartPAC 2 Keyboard,
Displays and Operating Modes
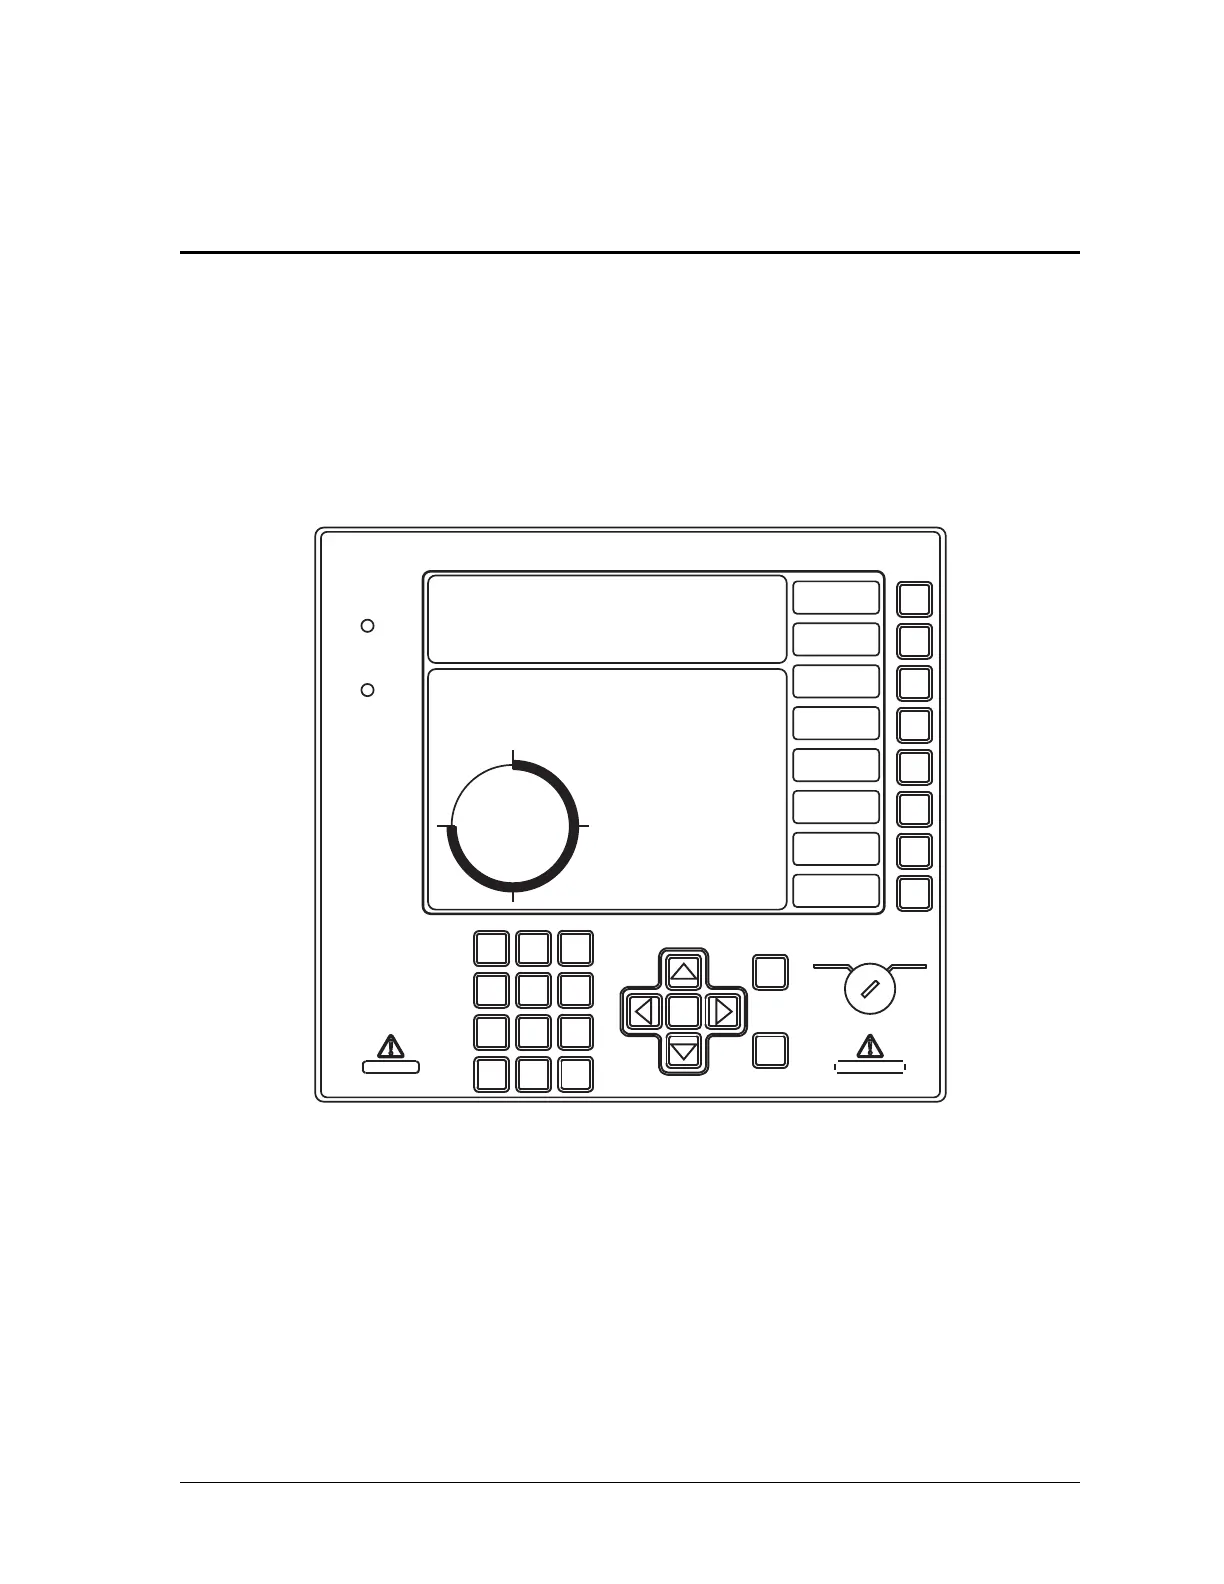
This chapter shows you how to use the SmartPAC 2 keyboard and displays and introduces
you to SmartPAC 2’s three operating modes. The keyboard and the screen on which the
displays appear are located on the SmartPAC 2 front panel, which is shown in Figure 3-1.
It is a good idea to learn how to use SmartPAC 2 before you install it. Set up the unit on a
bench and wire a power cord and a resolver to it, then try making settings on the displays.
SmartPAC 2 is easy to use. The instructions on each display tell you which key to press in
order to proceed to the next step.
This chapter covers the following topics:
• Comparing SmartPAC 2 with Original SmartPAC, next page
• SmartPAC 2 Keyboard, page 3-3
• SmartPAC 2 Display Layout in Run Mode, page 3-12
• Selecting an Item on a Display, page 3-13
• SmartPAC 2 Operating Modes, page 3-14
• Screen Capture, page 3-22
Figure 3-1. SmartPAC 2 Front Panel
ENTER
RESET
PROG RUN
POWER
BRAKE
WARNING
HELP
123
456
987
.
0
CLEAR
SmartPAC 2
F1
F2
F3
F4
F5
F6
F7
F8
PRESS #14
TOOL NUMBER 6160 PART CNTR 0
FLANGE TWO HAND S.S.
PRESS SPEED 80
CAMBIE
AL ESPANOL
USE THE CURSOR KEYS ENABLE SENSORS
TO MAKE SELECTIONS. COUNTERS
PRESS ENTER TO CAM SWITCH
ACCESS SELECTION. BRAKE MONITOR
TONNAGE/WAVEFORM
PROCESS MONITOR
FEED CONTROL
PM MONITOR
TOOL INFORMATION
SHUTHGT/CNTRBAL
ERROR LOG
LOAD NEW TOOL
DIALOG MENU
TOGGLE HOT KEYS 1
270
 Loading...
