SmartPAC 2 User Manual 1126700
Replacing SmartPAC 2 PC Board E-5
17. Close the door of the SmartPAC 2 enclosure or console.
18. On the SmartPAC 2 display, press and hold down the F1 function key while powering up
the SmartPAC 2, releasing F1 when the red Wintriss SmartPAC 2 screen displays. After
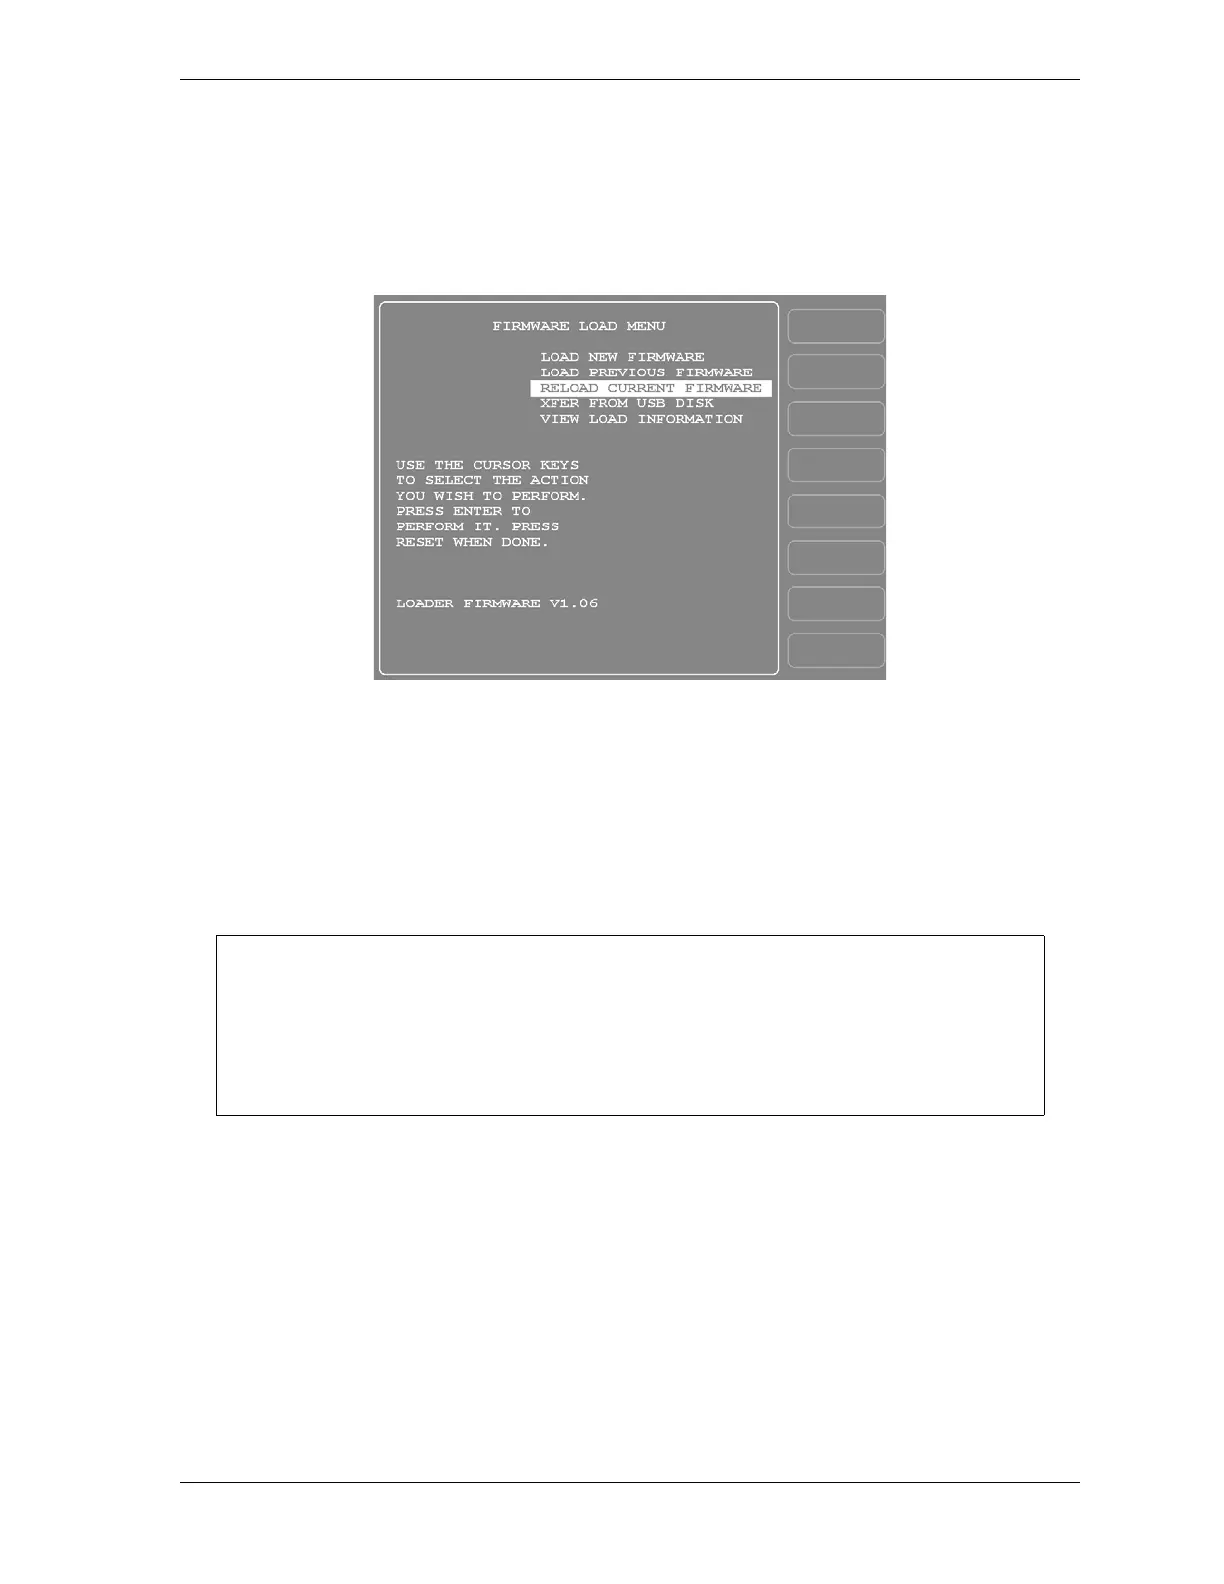
about a minute the FIRMWARE LOAD MENU (see Figure E-2) will appear.
19. Select “RELOAD CURRENT FIRMWARE” (if this menu choice does not appear, call
Wintriss Tech. Support), and press ENTER.
20. Follow the on-screen instructions for loading new firmware. This process will take
approximately 4 to 5 minutes.
21. When the reload process has been completed, you are ready to resume normal operation.
22. Place the malfunctioning board in the anti-static bag in which you received the
replacement board.
Place the anti-static bag with the old board in the box in which you received the replacement
board, and ship it back to Wintriss, using the shipping label with the Return Authorization
(RA) number. Contact Wintriss Tech. Support if you have additional questions.
Figure E-2. Firmware Load Menu with “RELOAD CURRENT FIRMWARE” Highlighted
Before setting up and running a job, it is a good idea to test a few SmartPAC 2 modes and
menus to make sure the unit is operating normally. If you have swapped the Battery
Backed Up Ram chip in step 10, go into the Tool Manager (enter from the Main Program
Menu) and verify that all your tools have been restored. If you experience any problems,
call Wintriss Tech. Support.
 Loading...