3. 3D DISPLAY, OVERLAYS
3-5
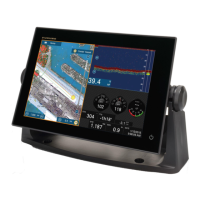
[Depth Color Shade]: Select how to display the depth colors among [ClassicHue], [In-
vertedClassicHue], [RedHue], [BlueHue], [GreenHue] and [YellowHue].
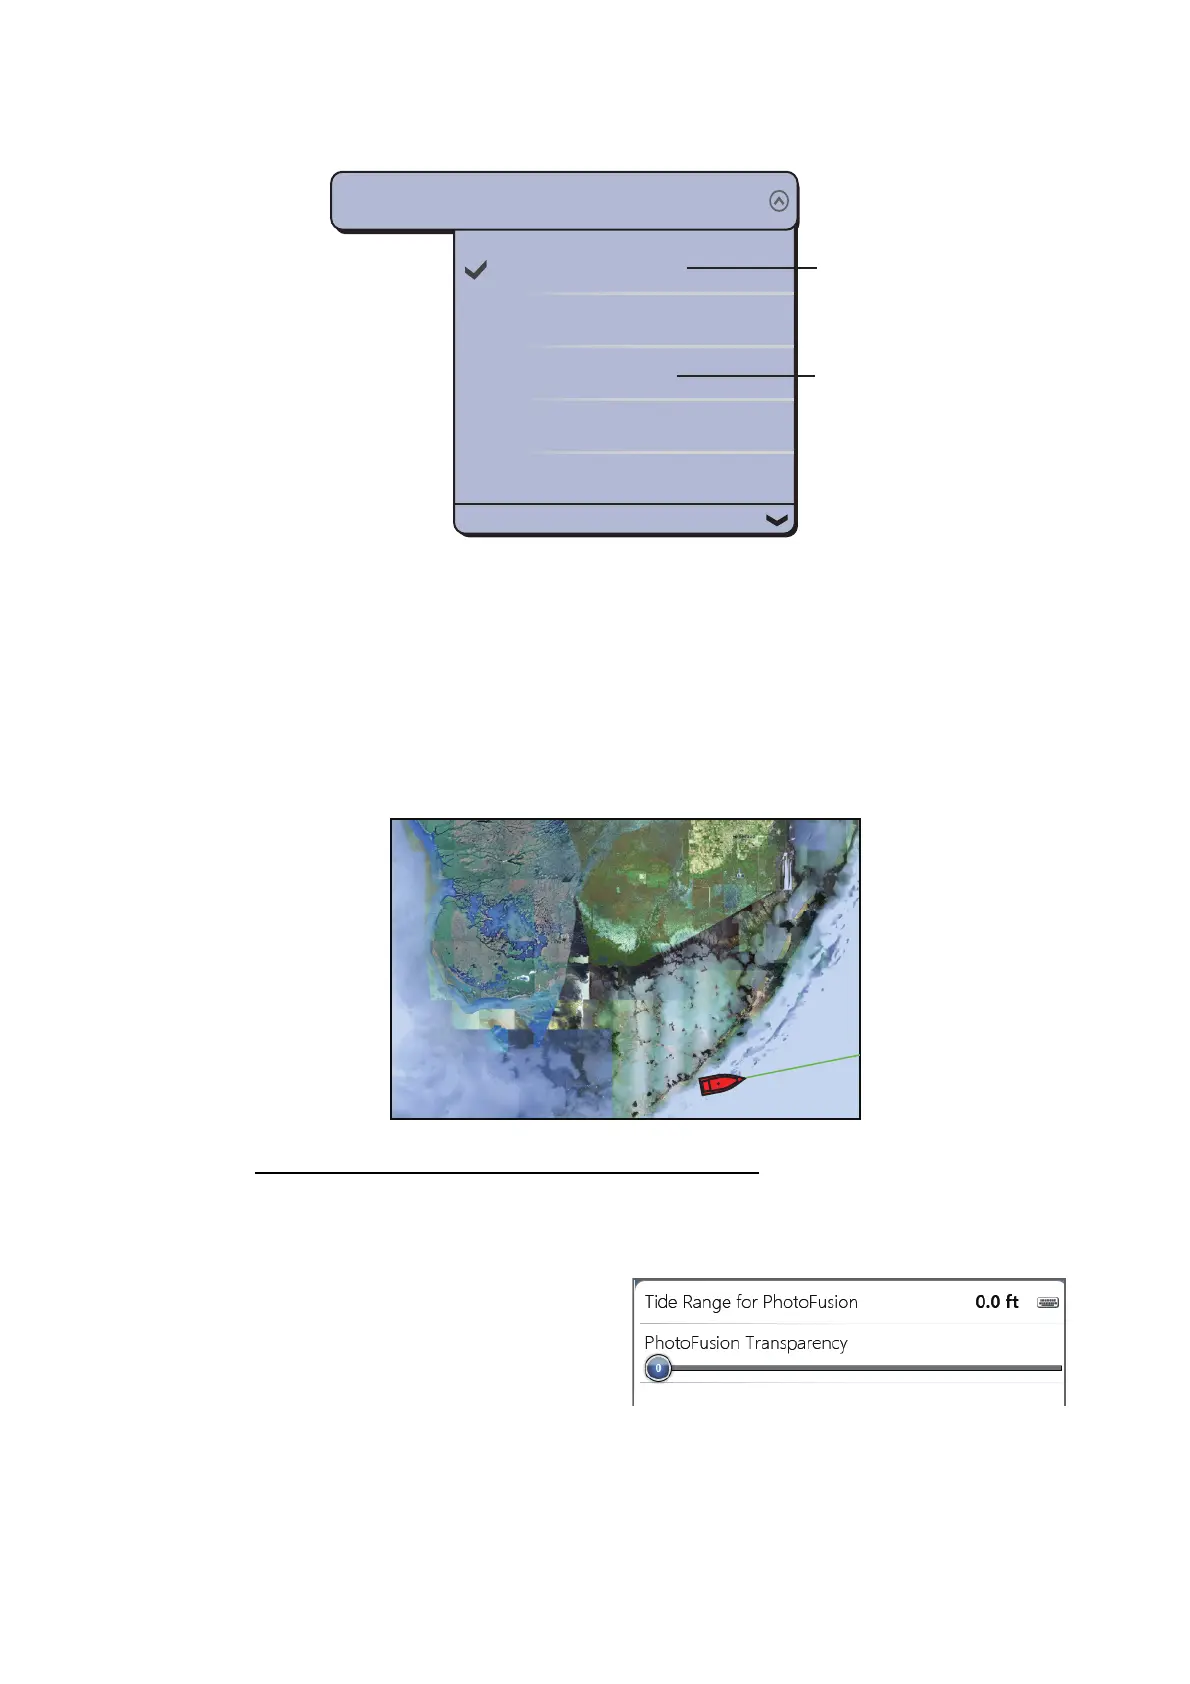
3.2.2 Satellite photo overlay
You can put the satellite photo for your area on the 2D and 3D displays. Select [Over-
lay] from the RotoKey menu then select [Sat Photo].
High resolution satellite images for the USA coastline are not provided standard, but
are available at no cost (except shipping and handling). Users can install multiple sat-
ellite photos on the hard drive of the NavNet TZtouch. The illustration below shows the
vector chart with the satellite photo overlay.
How to set up the satellite photo transparency
You can set the tide range to show and the degree of transparency for the satellite
photo on the water.
1. Select [Menu] on the menu icon
bar to open the main menu, then
select [Plotter Display].
2. Set the tide range with [Tide
Range for PhotoFusion].
3. Set the transparency level of the satellite photo over water with [PhotoFusion
Transparency Offset].
4. Select [Close] to exit the menu.
ClassicHue
InvertedClassicHue
RedHue
BlueHue
GreenHue
Depth Color Shade
ClassicHue
Colors of the rainbow
Shades of red
 Loading...