7 Increasing/Switching Measurement Scenes
7 - 4
Vision System FH/FHV/FZ5 Series User’s Manual (Z365)
7-2 Switching the Scene or Scene Group
You can switch the scene to perform a process change. The default display is scene 0 when the power
supply is turned ON. You can create many scenes (scenes 0 to 127).
Also, if you use scene groups, you can set up to 4,096 scenes.
You can also send commands from an external device to switch the scene group or scene
For details, refer to Vision System FH/FHV/FZ5 Series User's Manual for Communications Settings
(Cat. No. Z342).
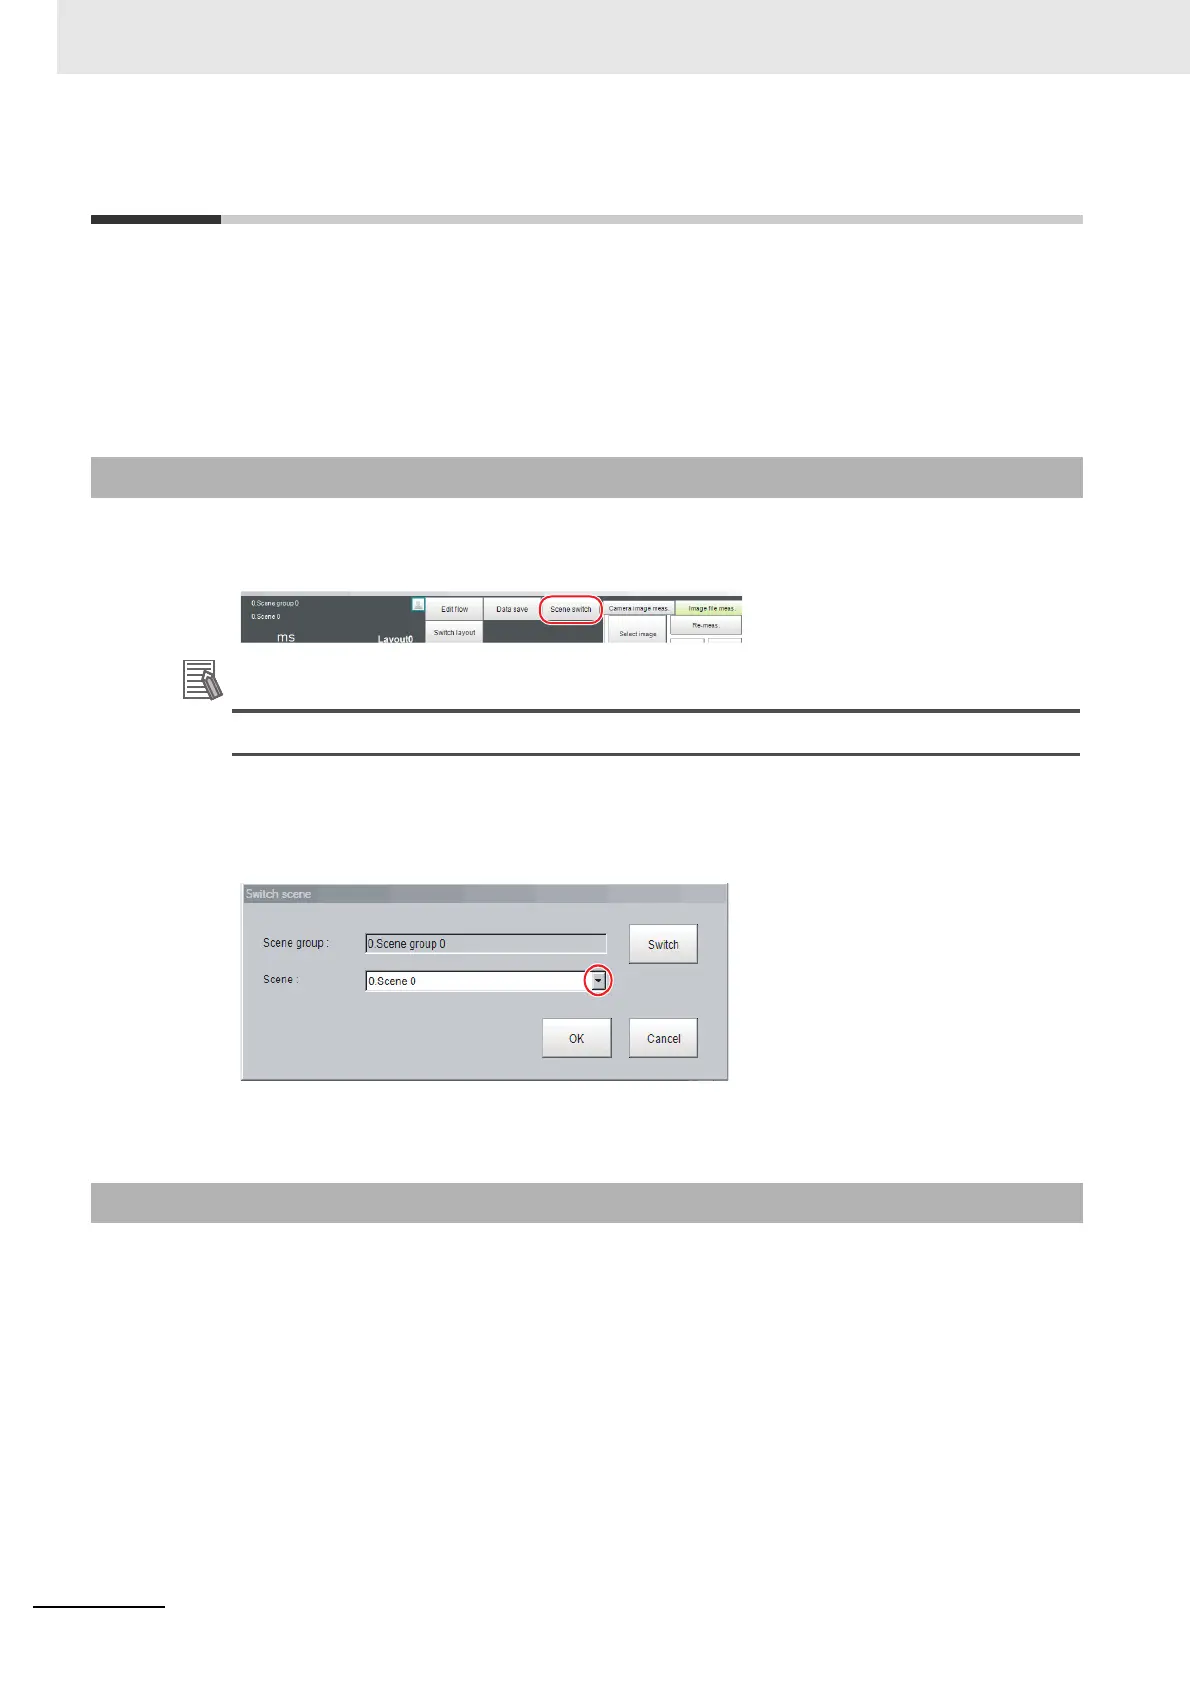
1 In the Main Window (layout 0), click the [Scene switch] button in the Toolbox Pane
The [Scene switch] dialog box is displayed.
.
An alternative operation is to select [Switch scene] from the [Function] menu.
2 Click [] to select the scene to switch to.
To change the scene group, click [Switch], and then click [
] in the displayed dialog box to
select the scene group to switch to.
3 Click [OK].
The scene is switched to the specified one.
Use the following procedure to switch to the scene group in which the scene to be edited is stored.
1 In the Main Window (layout 0), select [Scene maintenance] from the [Function] menu.
The [Scene maintenance] dialog box is displayed.
2 Click the [Switch] button in the Scene Group Area.
The [Scene group switch] dialog box is displayed.
7-2-1 Switching the Scene
7-2-2 Switching Scene Groups
 Loading...