7-60 CHASSIS
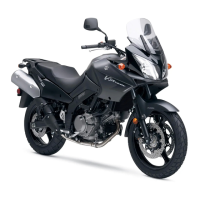
• Install the inner pad so that the inner pad will be seated on the
hatched part
C.
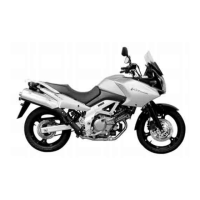
• Install the pad mounting pin
3.
• Install the pin
4 securely.
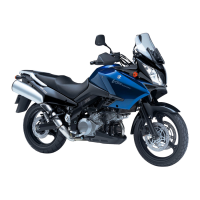
• Install the caliper.
• Tighten the caliper mounting bolts to the specified torque.
! Front brake caliper mounting bolt:
39 N·m (3.9 kgf-m, 28.0 lb-ft)
NOTE:
After replacing the brake pads, pump the brake lever several
times to check for proper brake operation and then check the
brake fluid level.
BRAKE FLUID REPLACEMENT
• Place the motorcycle on a level surface and keep the handle-
bars straight.
• Remove the brake fluid reservoir cap and diaphragm.
• Suck up the old brake fluid as much as possible.
• Fill the reservoir with the new brake fluid.
, Specification and Classification: DOT 4
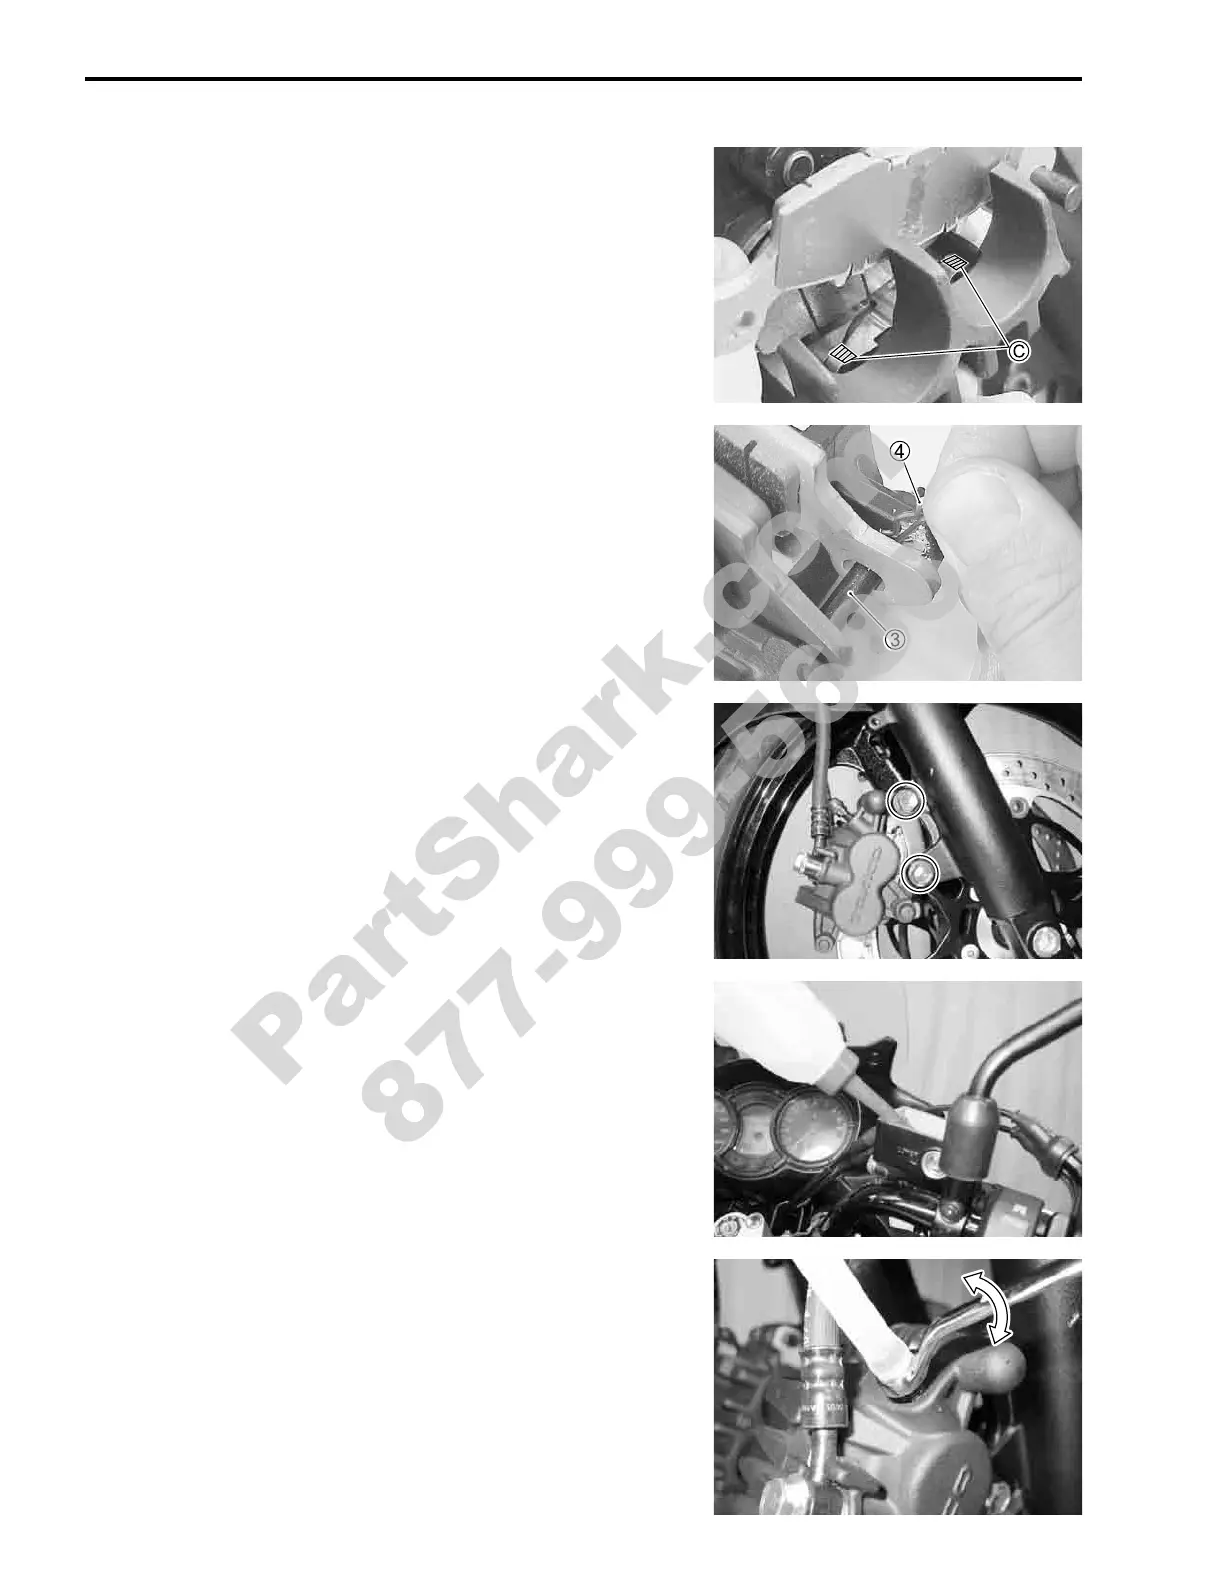
• Connect a clear hose to the caliper air bleeder valve and
insert the other end of hose into a receptacle.
• Loosen the air bleeder valve and pump the brake lever until
old brake fluid flows out of the bleeder system.
• Close the caliper air bleeder valve and disconnect a clear
hose. Fill the reservoir with the new fluid to the upper mark of
the reservoir.
! Brake air bleeder valve: 7.5 N·m (0.75 kgf-m, 5.5 lb-ft)
PartShark.com
877-999-5686
 Loading...