47.6 Virtual LAN Interface (VLAN)
A virtual LAN interface enables you to group workstations together into one broadcast
domain, even if they are not located on the same LAN segment. The device allows you to
create virtual Ethernet-based networks according to the IEEE 802.1Q standard.
To create a VLAN interface:
1. In the Connections page, click the New icon; the Connection Wizard opens.
2. Select the Advanced Connection option, and then click Next; the Advanced
Connection page appears.
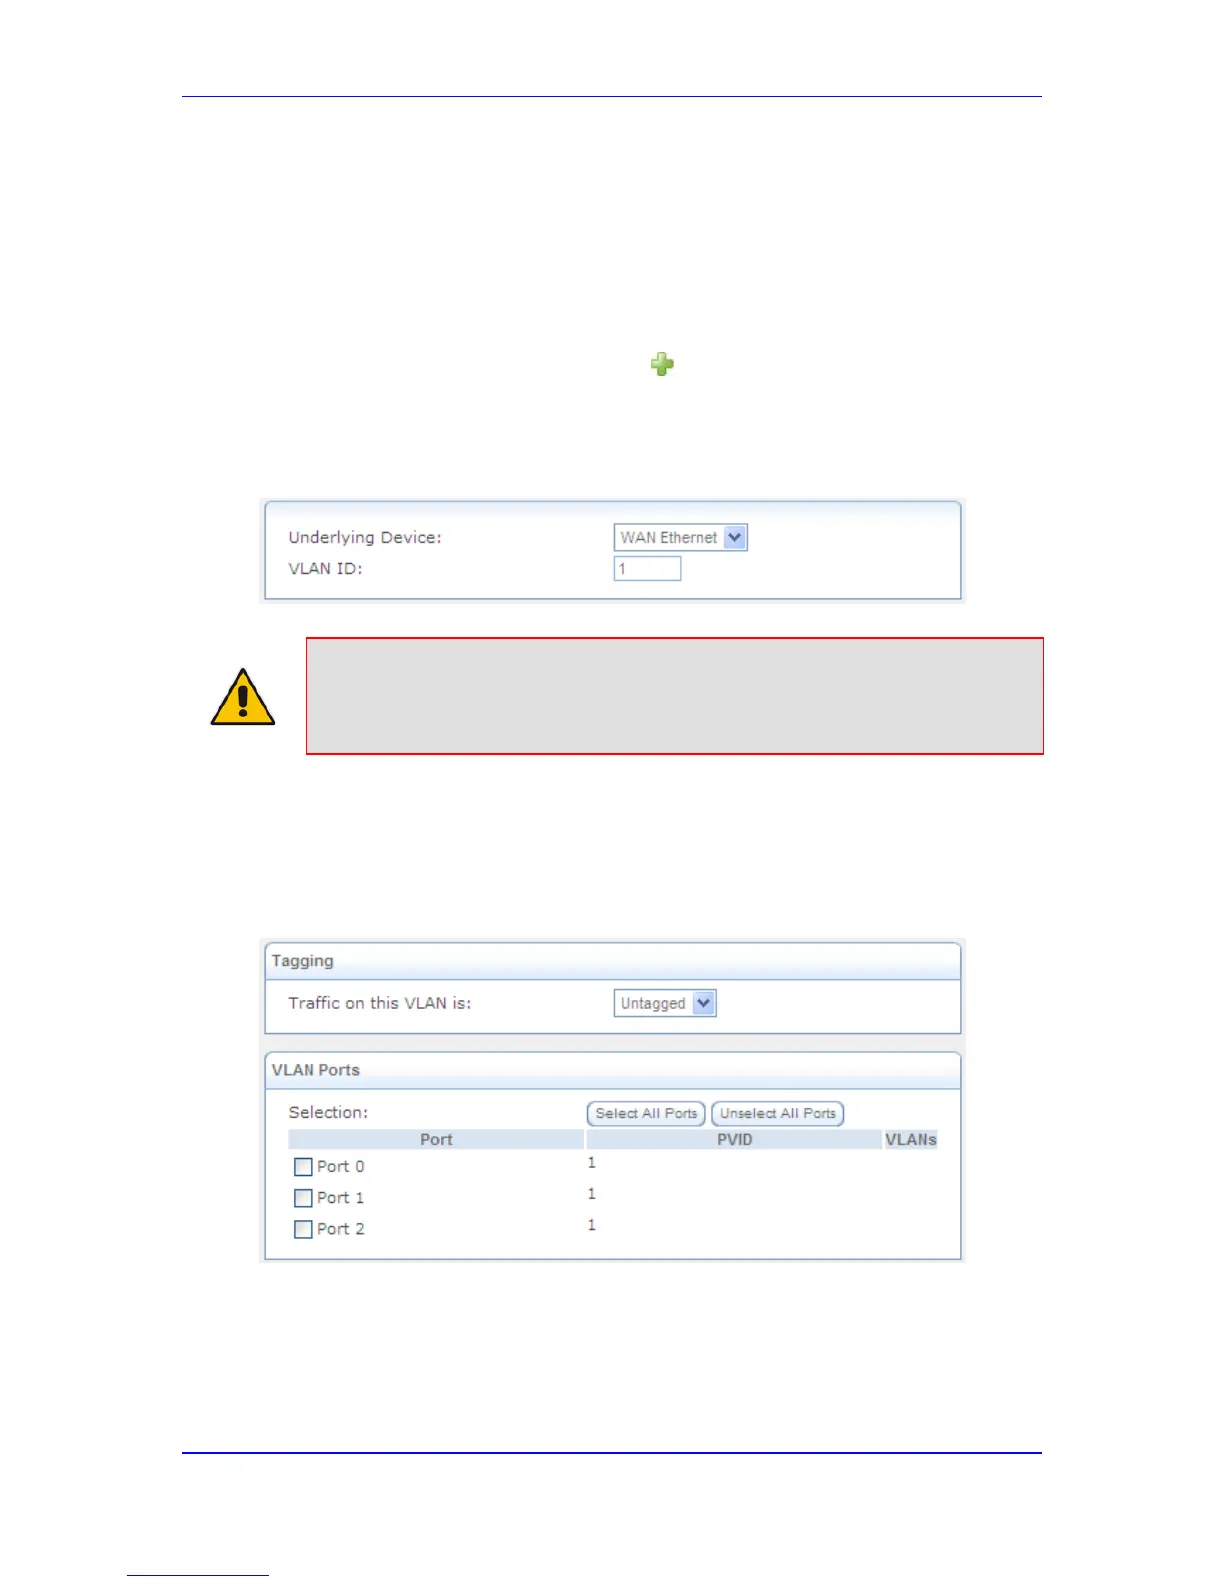
3. Select the VLAN Interface option, and then click Next; the following page appears.
Figure 47-24: Adding a VLAN Interface
Note: By default, all the device's physical LAN devices are enslaved by the device's
LAN bridge. A VLAN cannot be created over an enslaved network device.
Therefore, remove a device from the bridge before creating a VLAN over it.
4. From the 'Underlying Device' drop-down list, select the underlying device for this
interface. The list displays the device's Ethernet connections.
5. In the 'VLAN ID' field, enter a value for the VLAN ID, and then click Next. If you chose
to create the VLAN over the WAN, skip to Step 9. If you chose to create the VLAN
over the LAN bridge, the following page appears.
Figure 47-25: Assigning VLAN to LAN Ports
6. From the 'Traffic on this VLAN is' drop-down list, select one of the following:
• 'Untagged': the VLAN is determined based on information such as the ID of a port
on which the data arrives (PVID).
• 'Tagged': adds a tag header (a 32-bit label serving as a VLAN ID) to the frames
transferred over the VLAN.
 Loading...