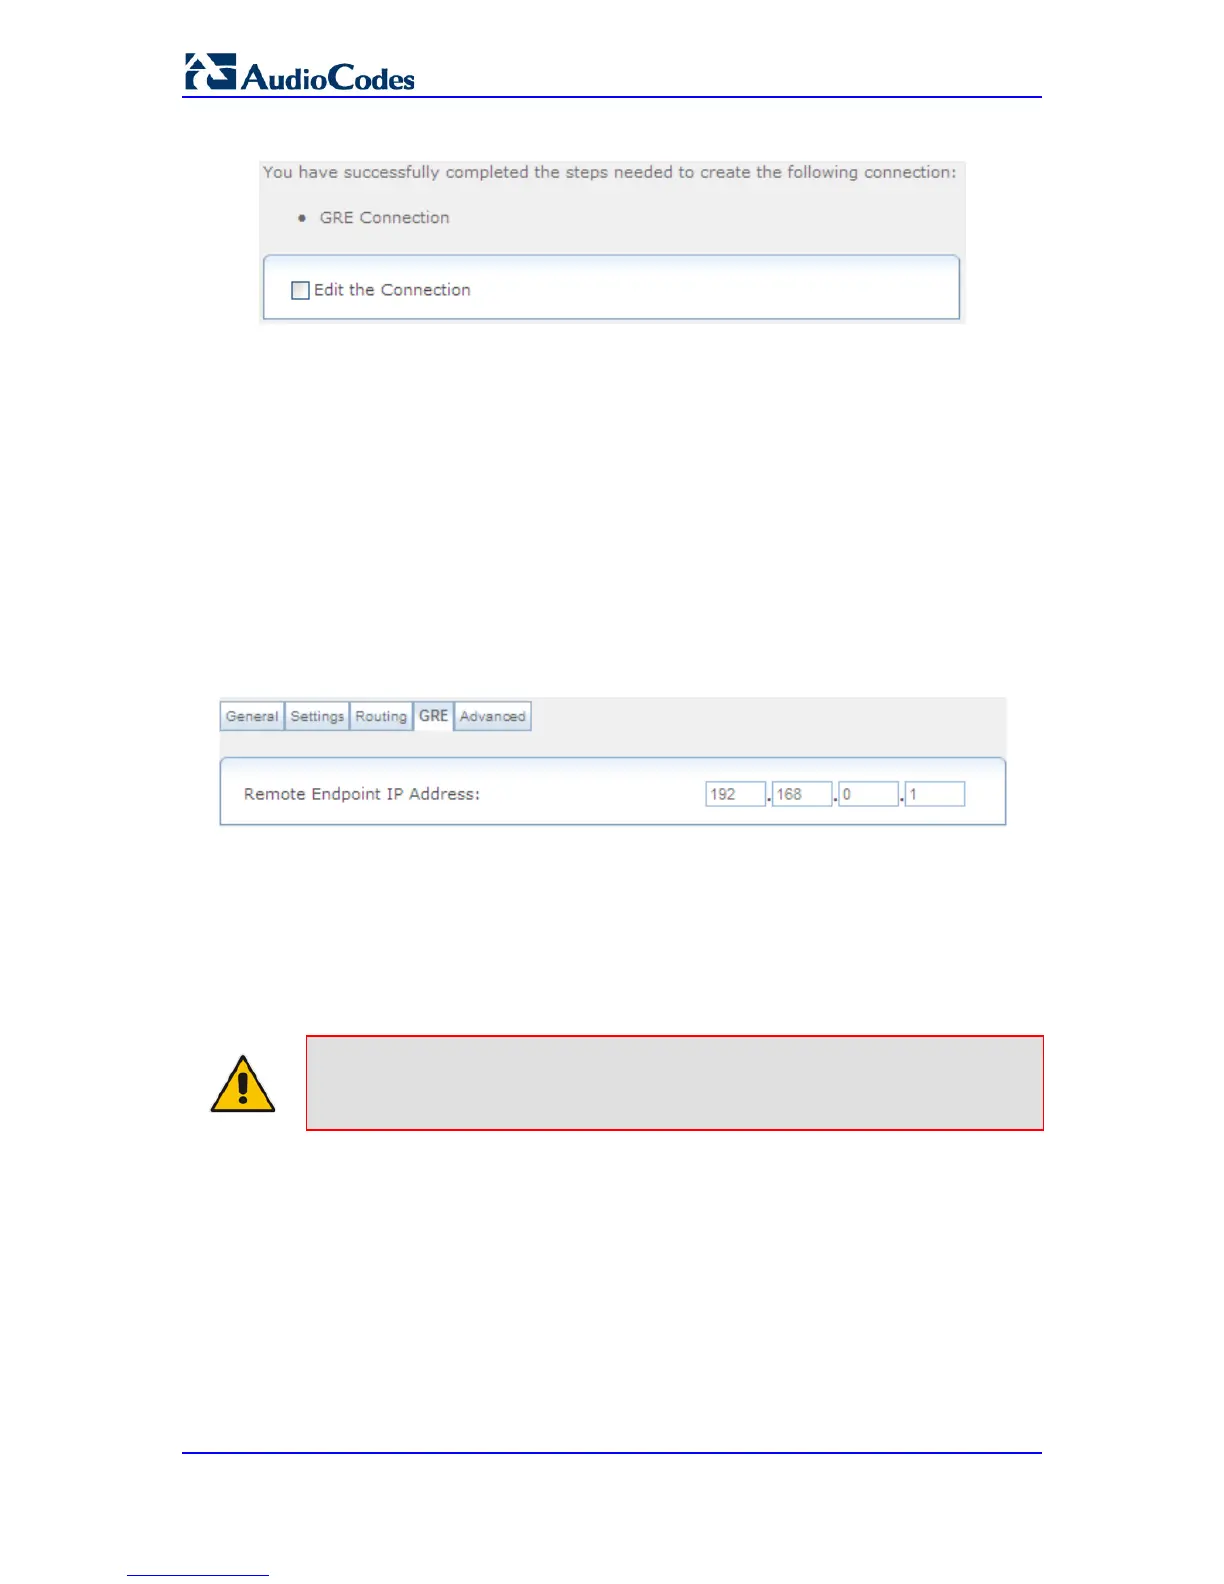
Figure 47-55: GRE Connection Successfully Added
7. Select the 'Edit the Connection' check box if you want to edit the new connection after
clicking Finish.
8. Click Finish to save the settings; the new GRE tunnel is added to the network
connections list.
To edit the GRE tunnel connection:
1. In the Connections page, click the "WAN GRE" link; the General tab appears
displaying general properties.
2. Select the Settings tab to edit various settings (see 'Editing Existing Connections' on
page 614).
3. Select the Routing tab to edit the routing parameters (see 'Editing Existing
Connections' on page 614).
4. Select the GRE tab to define the tunnel's remote endpoint IP address.
Figure 47-56: Editing GRE Remote Endpoint IP Address
5. Select the Advanced tab to enable the firewall for this network connection (see
'Editing Existing Connections' on page 614).
47.11.1 GRE Example Scenario
The following example demonstrates the usage of a GRE interface to communicate
between two hosts located on different LANs, behind separate MSBR devices.
Note: A GRE tunnel is an unsecured (unencrypted) tunnel. Safety measures must
be taken when setting up such a tunnel.
This example includes the following setup:
 Loading...