Version 5.8 107 October 2009
SIP User's Manual 3. Web-Based Management
¾ To create a dynamic DNS:
1. Click the DDNS item (Configuration tab > Data Settings menu > Services submenu
> DDNS page item); the following page appears:
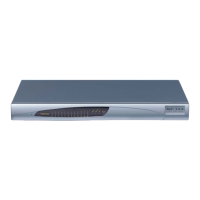
Figure 3-89: Configuring Dynamic DNS (DDNS) Services
2. Click the New Dynamic DNS Entry link to add a new DDNS entry; the following page
appears:
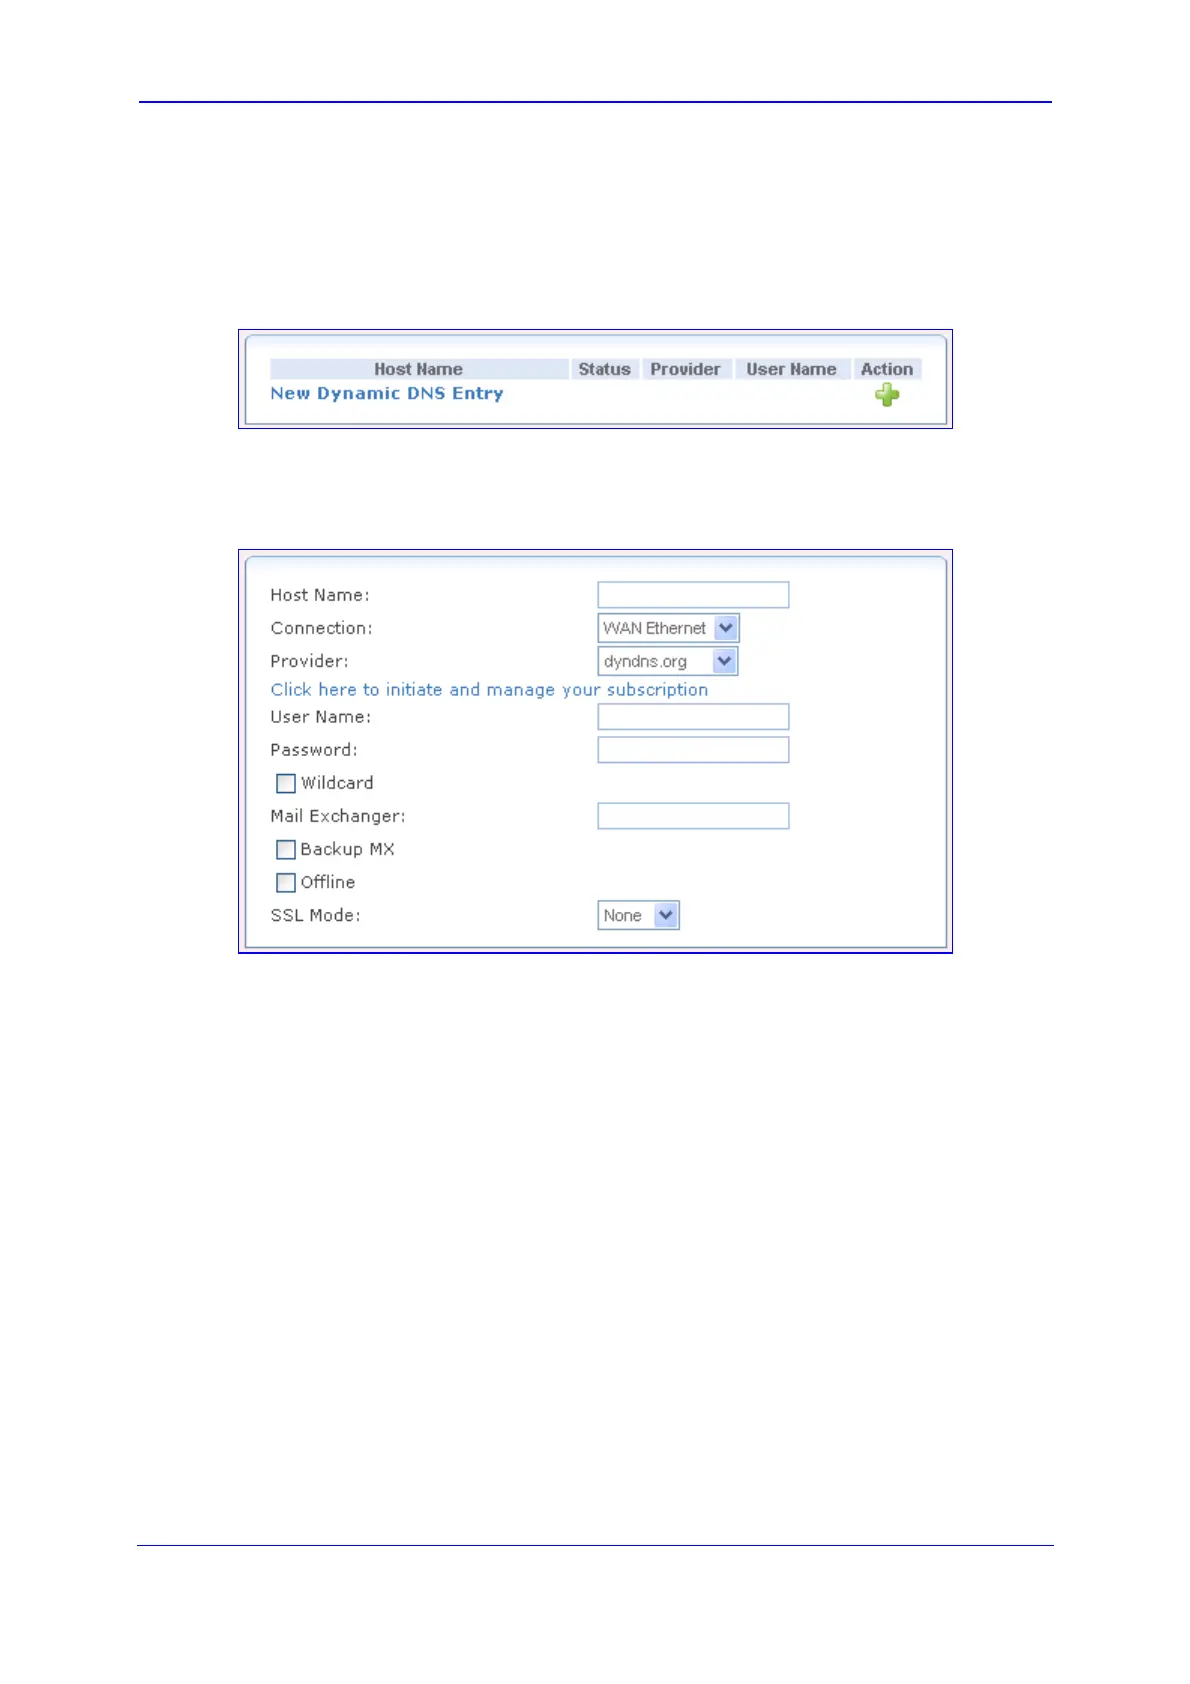
Figure 3-90: Adding a DDNS
3. In the 'Host Name' field, enter your full DDNS domain name.
4. From the 'Connection' field, select the connection to which you want to couple the
DDNS service. The DDNS service only uses the selected device, unless failover is
enabled. In this case, the failed-to device is used instead (assuming its route rules
consent), until the selected device is up again.
5. From the 'Provider', select your DDNS service provider; the page displays parameters
required by the selected provider. To open the selected provider's account creation
Web page, click the link Click here to initiate and manage your subscription.
6. The parameters described below are available if you select the provider dyndns (in
Step 5), which includes all available parameters.
• User Name: enter your DDNS user name.
• Password: enter your DDNS password.
• Wildcard: select this check box to enable use of special links such as
http://www.<your host>.dyndns.com.
• Mail Exchanger: enter your mail exchange server address to redirect all e-mails
arriving at your DDNS address to your mail server.
• Backup MX: select this check box to designate the mail exchange server to be a
backup server.

 Loading...