300 HD96-24-CC-TP User Manual
3. Delete
Each prole can be deleted by pressing the delete button located beside the prole button.
When a prole is deleted, all the other proles get numbered according to the same criteria used when they were generated.
4. Auto Name
After a channel has been proled the system will tell you what it believes the instrument or vocal is. This is achieved by in depth analysis of the audio signal and based
on the Midas database. If the system doesn’t recognise the instrument it will be listed as unknown.
5. Auto Set-up
The Auto Set-up function aims to speed up your workow. It allows with a single touch of a button to name the channel and apply all default preset settings to the
channel. This includes setting channel name, trim value, Filters, EQ, Compression and Gate settings. Triggering Auto-Setup does not result in any audible changes since
you will need to activate the respective DSP units (i.e. EQ, Gate and Compressor) which are turned o by default. This allows you to decide if the suggested EQ, Gate
and Compression settings work in context before applying them to the channel. All this means, is that you are always fully in control of the system.
Adaptive Conguration Suggestions
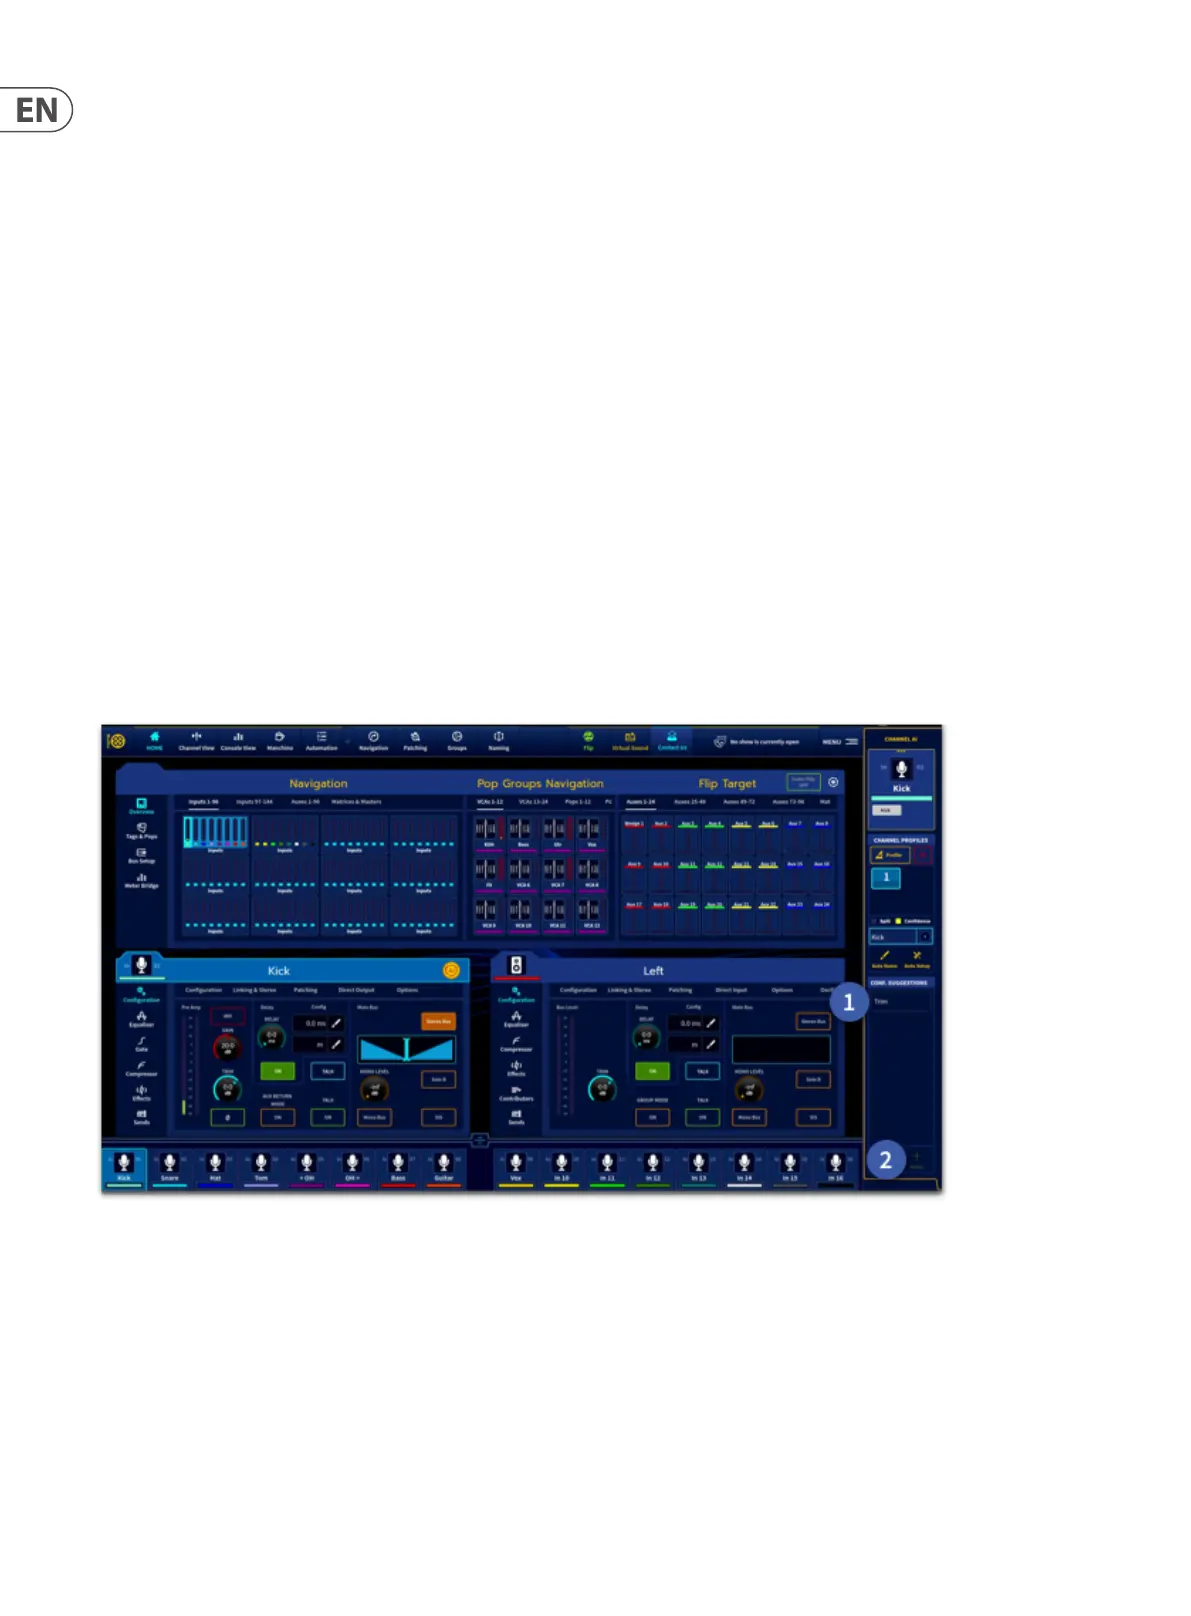
When selecting a prole from the list, the presets associated to this prole will be displayed in the Conguration Suggestions eld. However, this will not result in
any changes to your settings, unless you decide to select a preset from the Conguration Suggestions list and explicitly apply to the channel by touching on the Apply
button. The Conguration Suggestions eld is context dependent. In order to display the presets associated to a particular digital signal processing unit (e.g. EQ,
Compressor, Gate) you will need to select the respective DSP unit for that channel. For instance, if you select the Equaliser all EQ presets for the selected channel and
prole will displayed.
Individual component processing
Individual components can be applied by navigating to that section and applying the presets in the list.
Trim suggestions
After proling the channel navigate to the cong widget then:
1. Select the Trim type required from the conguration suggestions’ list.
2. Press apply to set the trim level.
All instruments will have the following suggestions:
• • Trim (0dB): should statistically normalize the input to target 0 dBu
• • Trim (10dB): should statistically normalize the input to target 10 dBu
Note: If you change the preamp gain of an input you will also need to re-prole the channel in order to get the maximum benets from the system.

 Loading...