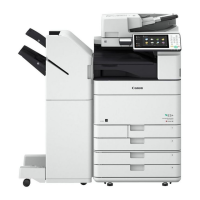
Tray B
The prints are output to this tray. You can specify functions for which the tray is used by conguring <Output
Tray Settings>. <Output Tray Settings>(P. 760)
◼ Internal View
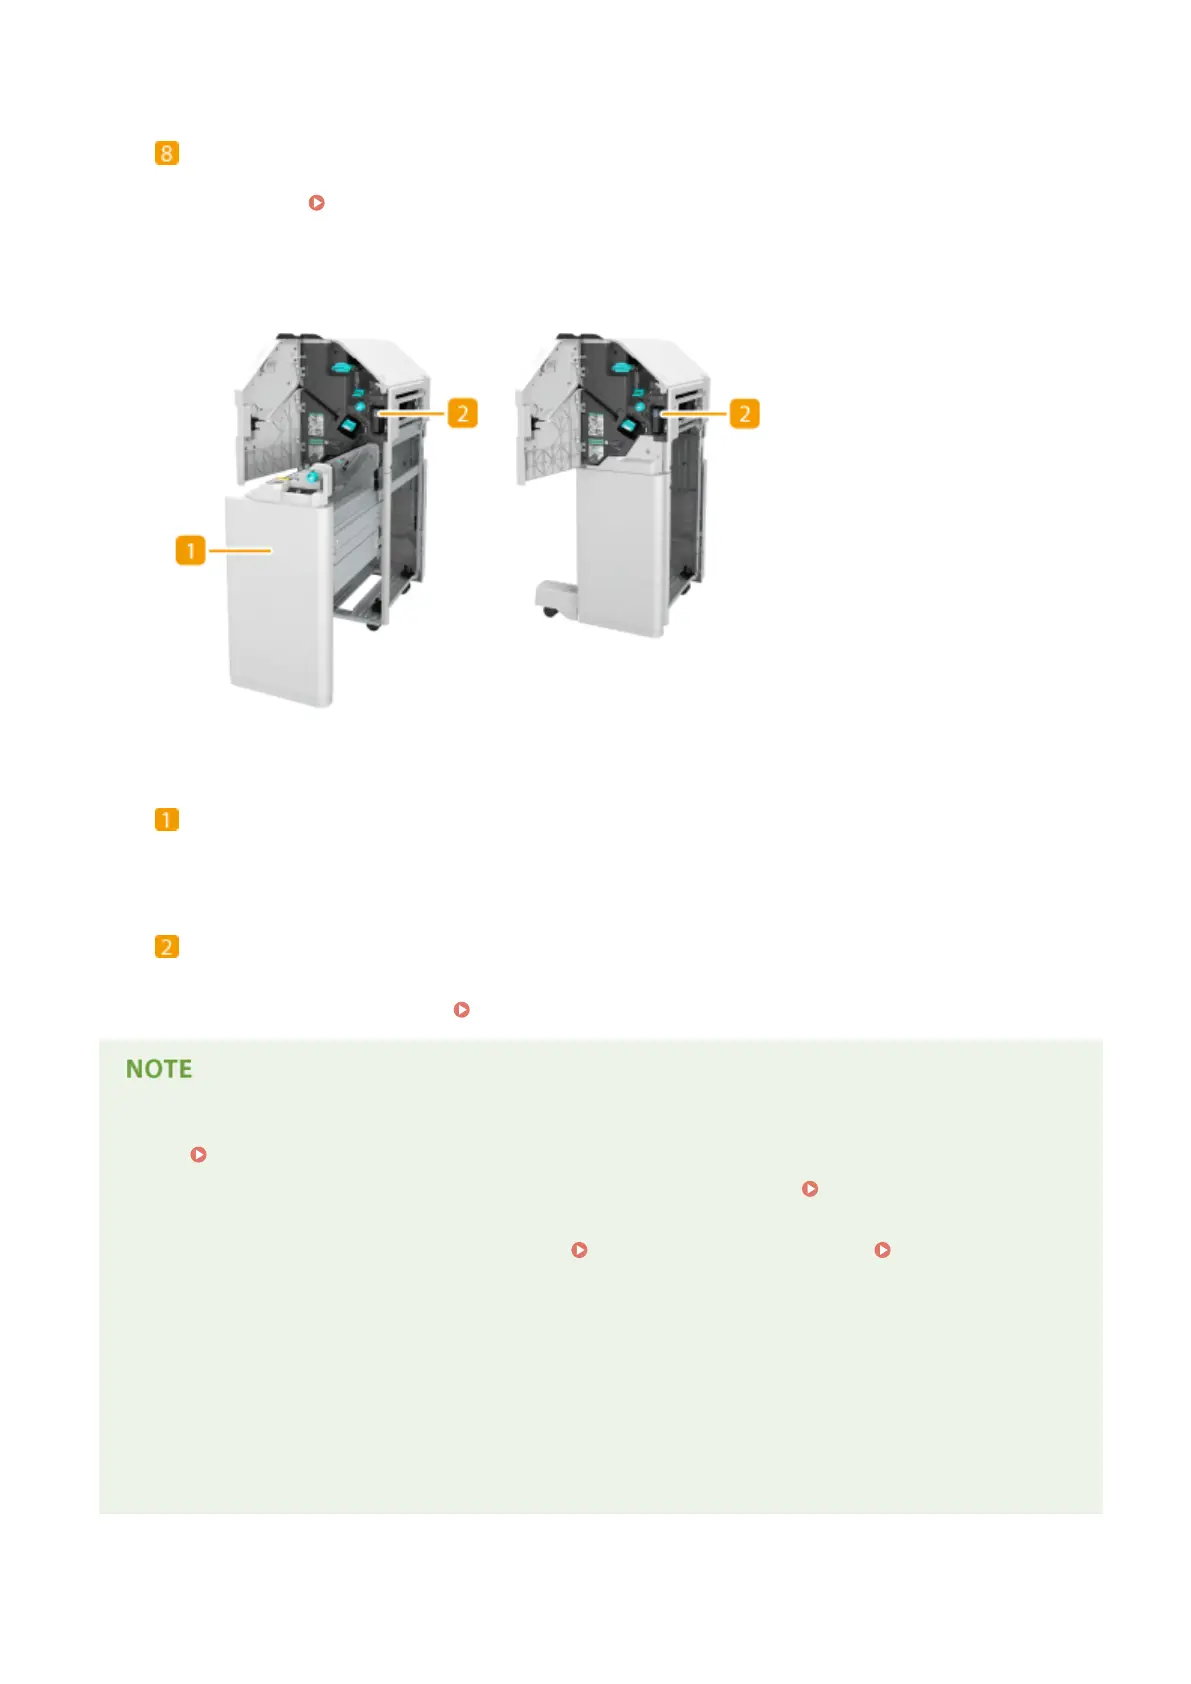
Booklet Finisher-Y1 Staple Finisher-Y1
Saddle stitcher unit (Booklet Finisher-Y1 only)
Pull out to remove jammed paper or clear a staple jam in the saddle stitcher unit, or to replace the staple
cartridge.
Punch waste tray (2/4 Hole Puncher Unit-A1/2/3 Hole Puncher Unit-A1/4 Hole
Puncher Unit-A1)
Pull out to discard punch waste. Emptying the Punch Waste (Optional)(P. 863)
● For information on the paper sizes that can be used for Staple, Saddle Stitch, Hole Punch, and Saddle Fold,
see Specications(P. 1029) .
● To replace the staple cartridge of the stapler unit or saddle stitcher unit, see
Replacing the Staples
(Optional)(P. 851) .
● For how to clear a paper jam or a staple jam, see Clearing Paper Jams(P. 977) and Clearing Staple
Jams (Optional)(P. 1007) .
● The maximum number of bindable sheets may not be possible, depending on the paper type. In this case,
change the paper type, or reduce the number of sheets to bind.
Collate and group
● If you select <Offset> in combination with the collate or group function, each printout group is shifted.
● Once an output tray has reached its stacking limit, subsequent prints are automatically delivered to the next
available tray. If all of the available trays have reached their stacking limits, printing stops. Remove all of the
output paper from the trays to resume printing.
Appendix
1108
 Loading...