1F-4 Engine Cooling System:
Diagnostic Information and Procedures
Engine Cooling Symptom Diagnosis
B817H21604001
Repair Instructions
Cooling Circuit Inspection
B817H21606001
WARNING
!
• Do not open the radiator cap when the
engine is hot, as you may be injured by
escaping hot liquid or vapor.
• When removing the radiator cap tester, put
a rag on the filler to prevent the engine
coolant from spraying out.
Inspect the cooling circuit in the following procedures:
1) Remove the fuel tank. Refer to “Fuel Tank Removal
and Installation in Section 1G (Page 1G-9)”.
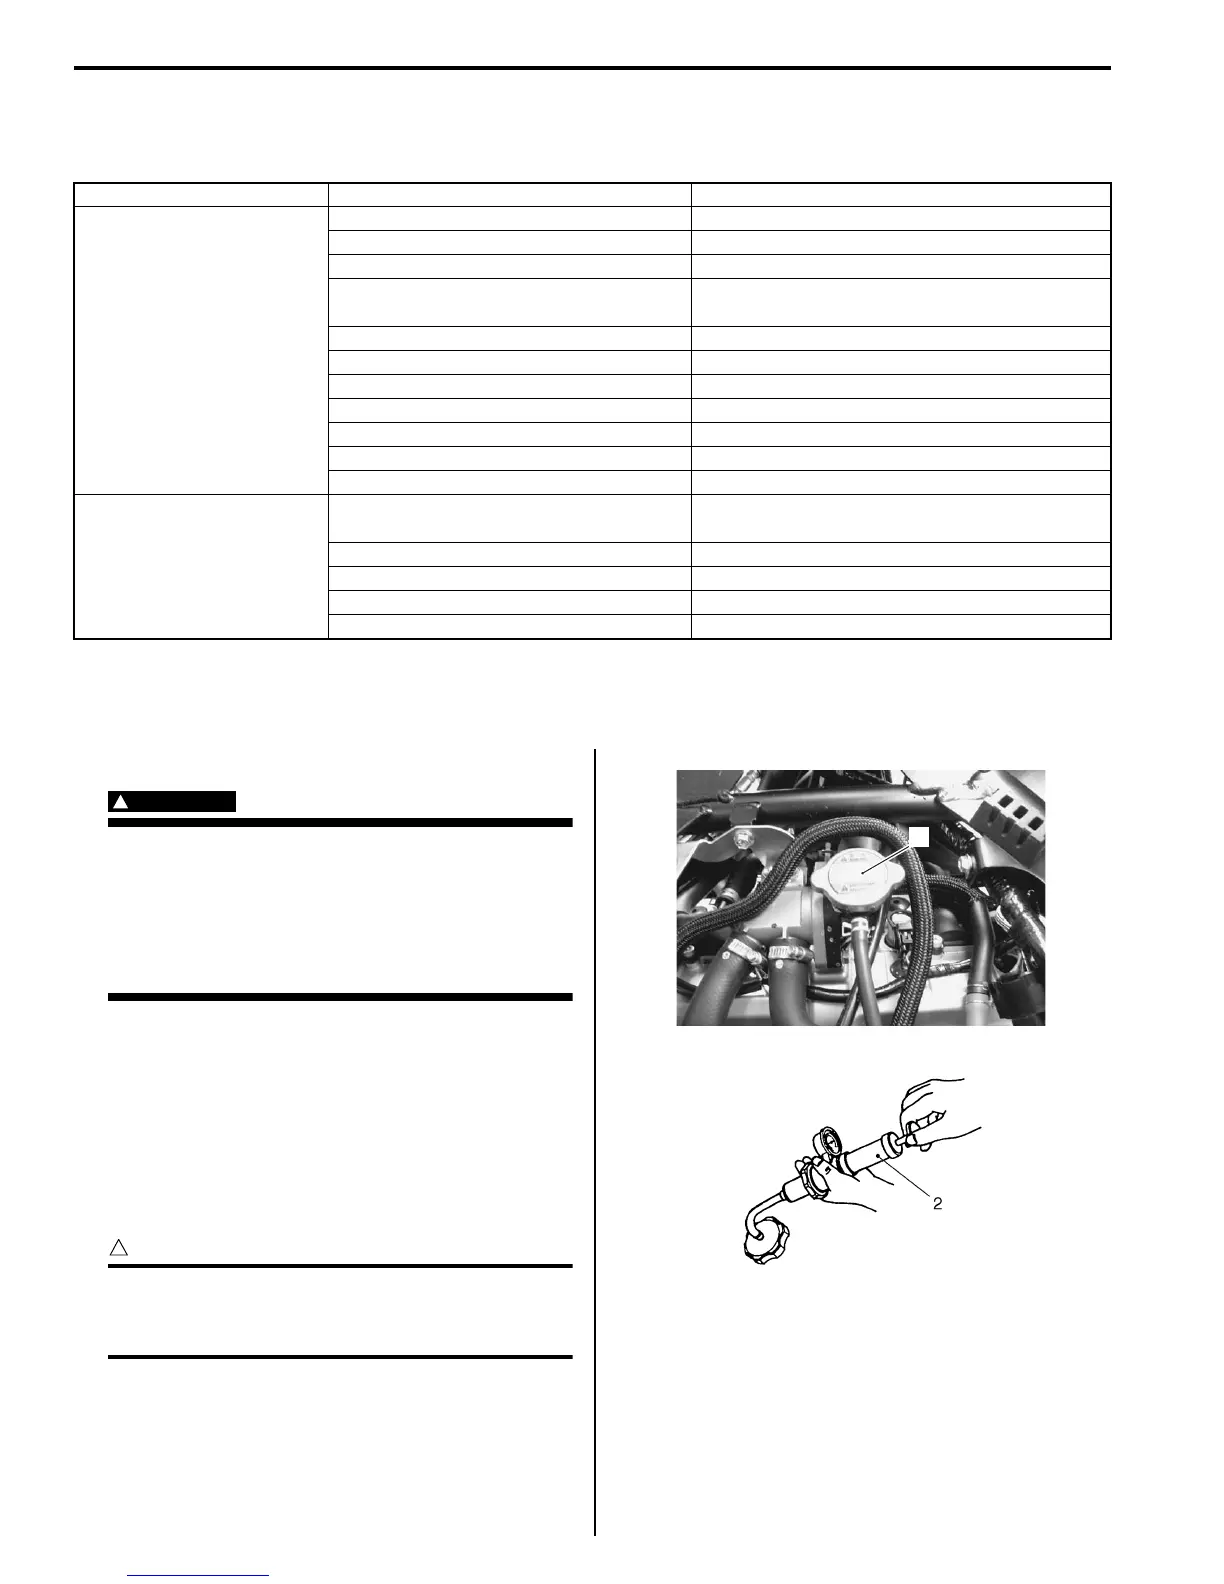
2) Remove the radiator cap (1) and connect the
radiator tester (2) to the filler.
3) Pressurize the cooling system with 120 kPa (1.2 kgf/
cm, 17 psi) of pressure, and then check if it holds the
pressure for 10 seconds.
CAUTION
!
Do not exceed the radiator cap release
pressure, or the radiator cap and
subsequently the radiator, can be damaged.
4) After finishing the cooling circuit inspection, reinstall
the removed parts.
Condition Possible cause Correction / Reference Item
Engine overheats Not enough engine coolant. Add engine coolant.
Radiator core clogged with dirt or scale. Clean.
Faulty cooling fan. Repair or replace.
Defective cooling fan relay, or open-or-
short circuited.
Repair or replace
Clogged water passage. Clean.
Air trapped in the cooling circuit. Bleed air.
Defective water pump. Replace.
Use of incorrect engine coolant. Replace.
Defective thermostat. Replace.
Defective ECT sensor. Replace.
Defective ECM. Replace.
Engine over cools Defective cooling fan relay, or open-or-
short circuited.
Repair or replace
Extremely cold weather. Put on radiator cover.
Defective thermostat. Replace.
Defective ECT sensor. Replace.
Defective ECM Replace.
1
I717H1160003-01
I705H1160004-01
 Loading...